
The Battle of Balikpapan was the concluding stage of Operation Oboe, the campaign to liberate Japanese-held British and Dutch Borneo.

The landings took place on 1 July 1945. The Australian 7th Division, composed of the 18th, 21st and 25th Infantry Brigades, with a small number of Netherlands East Indies KNIL troops (Unfortuately I was unable to complete the KNIL forces so these were not represented), made an amphibious landing, codenamed Operation Oboe Two, a few miles north of Balikpapan. The Allied invasion fleet consisted of around 100 ships.
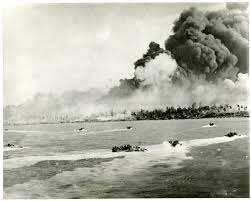
The landing had been preceded by heavy bombing and shelling by Australian and US air and naval forces. The Allied force totalled 33,000 personnel and was commanded by Major General Edward Milford, while the Japanese force, commanded by Rear Admiral Michiaki Kamada, numbered between 8,400 and 10,000, of which between 3,100 and 3,900 were combatants.
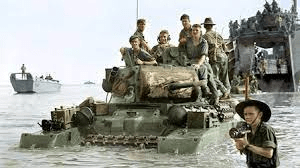
After the initial landing, the Allies secured the town and its port, and then advanced along the coast and into the hinterland, capturing the two Japanese airfields.
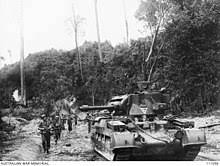
Major combat operations concluded around 21 July, but were followed by mopping-up operations, which lasted until the end of the war in mid-August. Australian troops remained in the area until early 1946.
We are re-fighting the landings on the left of the Milford Highway towards the Oil Refineries at Balikpapan itself. The Australian 2/27th was tasked with this role. The forces consisted of:

In addition 9 tanks of the Royal New South Wales Lancers were attached. These included 1 Matilda Hedgehog, I Matilda Dozer, 3 Matilda II 2pdr, 2 Matilda CS, and 2 Matilda Frogs.
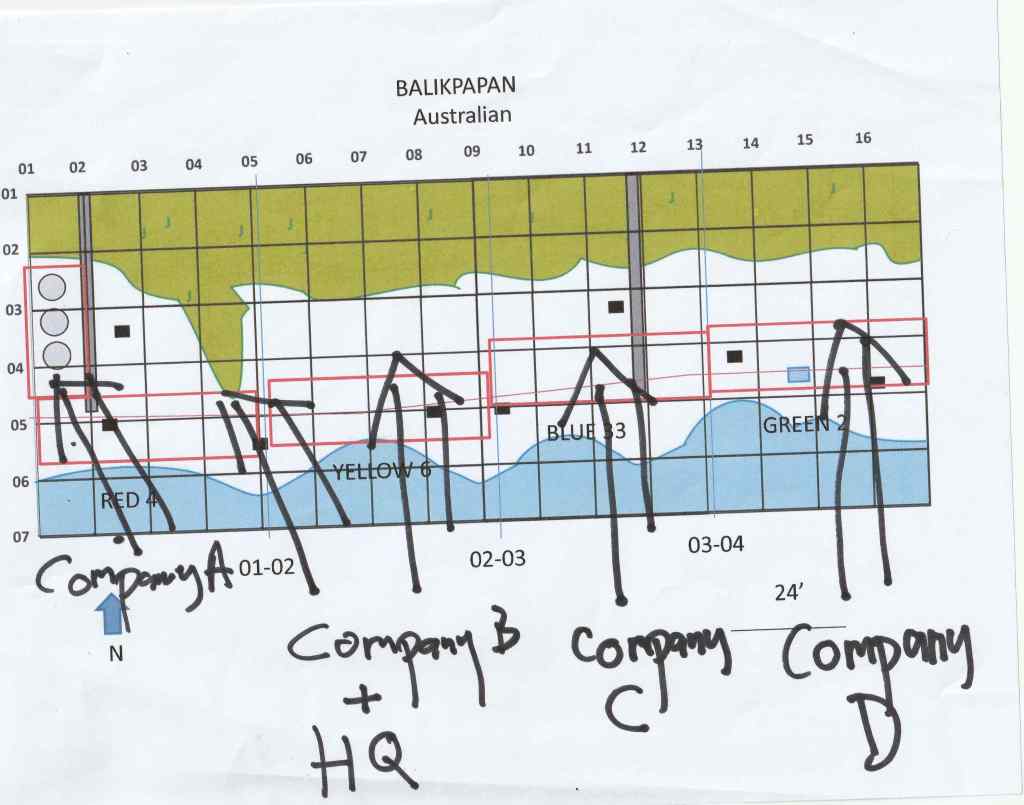
The Australian dispositions are above. Attached to both Company A and Company B were two Matilda Frogs and Two Matilda II’s. Company C had attached the Matilda Hedgehog ( from the centre position it could almost reach the entire table), and a Matilda IICS, and Company D had the Matilda Bulldozer and a Matilda II CS.
The objectives were simple: control all five red biox objectives. These consisted of taking the refineries intact and having no enemy within 12 inches of the the four sector boxes.
The Australians historically obtained a detailed map of the Japanese deployments which they were able to use but could not be sure the “sneaky” Japanese would use the same.
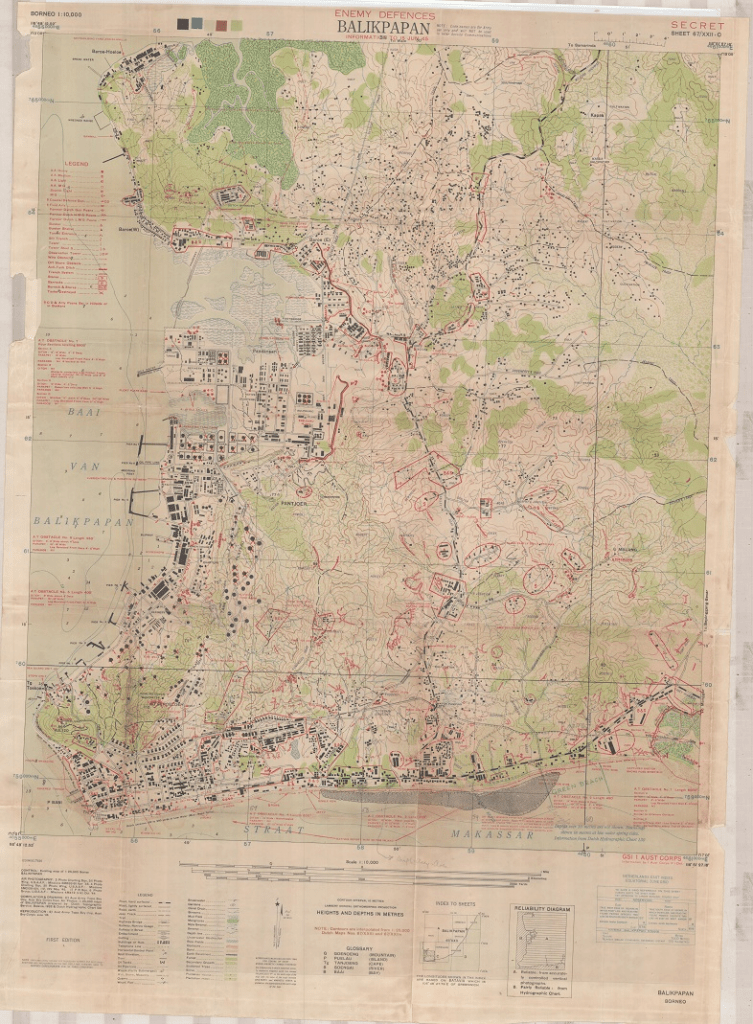
The Australians knew the Japanese were understrength, low on ammunition, but fanatical. From a map obtained after the battle the Japanese forces and deployment were as follows:

Captured from the Japanese Commander after the battle. Thanks Rob !
The OOB for the Japanese was:
The Japanese could achieve victory by holding/denying the Australians the oil fields and inflicting heavy casualties – hard but possible. Australian players were allowed to decide which units were in each of the landing waves as was the Japanese with their deployment.
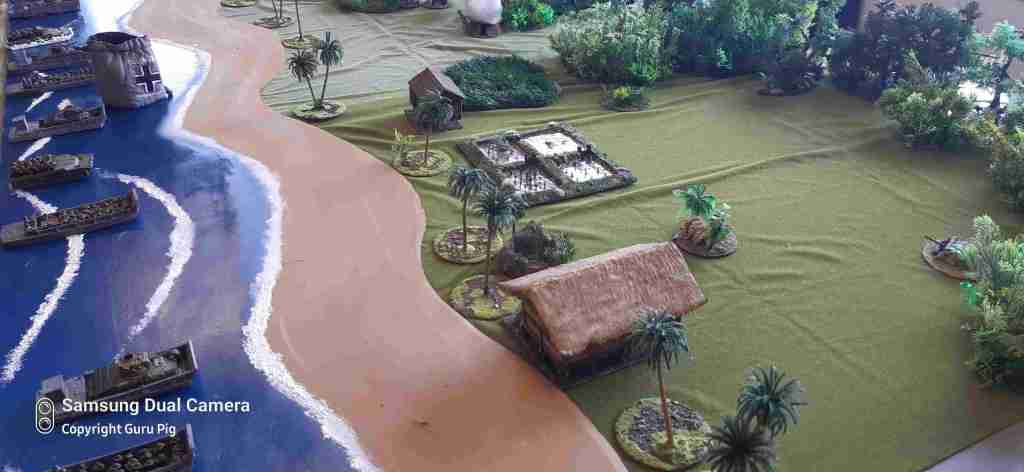
Following the Allied preliminary bombardment, which was reasonably effective, and a smoke barrage which landed in the water, the first wave of landing craft approach the beach. The preliminary bomardment cost the allies two turns and the smoke barrage one turn making it a 9 turn games instead of the 12. The initial bombardment took out one of the oil refinery tanks as occurred historically, reducing the capacity of the Australians to achieve enough victory points (see photos with the black smoke above). Despite this the Australian orders were still Go! Go! Go!

Japanese positions at the junction between the Australian 2/27th A and B Companies. At this stage the Australian players did not know which bunkers were dummies or real nor did they know the placement of any hidden bunkers.

Landing craft “hit the beach”. The Australian figures in the landing craft are a single piece 3D print made by Drew from the Australian Wargames Holiday Centre, and can be removed when they have disembarked.

The initial wave is a mixture of troops and armour as it was historically. I should say at this stage that the game was a re-fight and not a re-enactment, although both forces stayed close to the historical deployments and objectives.
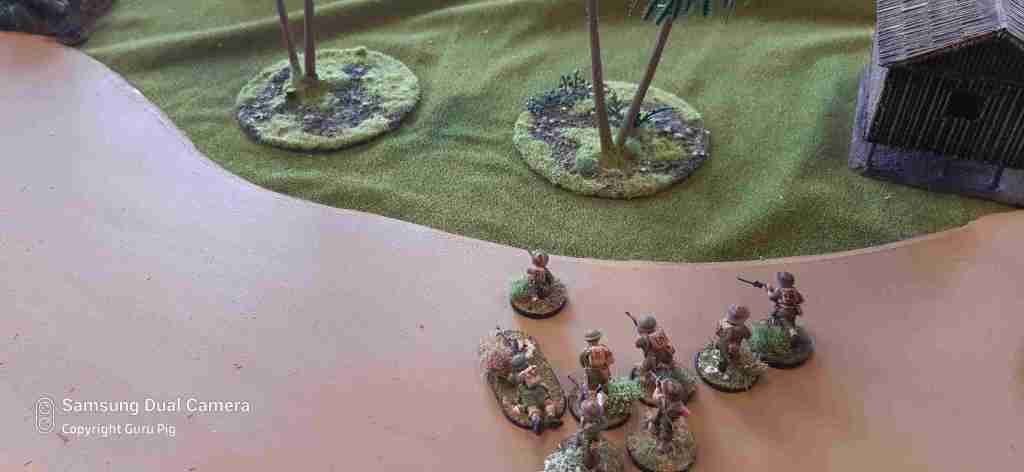
The first troops come ashore.

The tanks come ashore. Historically they were severely hampered by soft ground and in game terms this was reflected by becoming bogged on a roll of 1 when moving in open ground and a 1-2 when moving in jungle. The left flank were severely hampered by this but the right and centre were able to push forward without any issues (lucky buggers”).

The bunker was a fake and the hut empty.
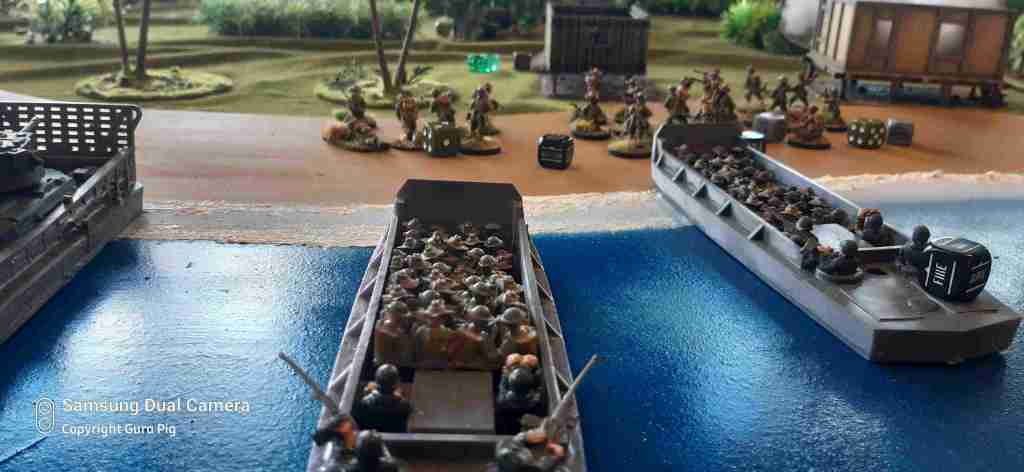
The second wave is about to “hit the beach”.
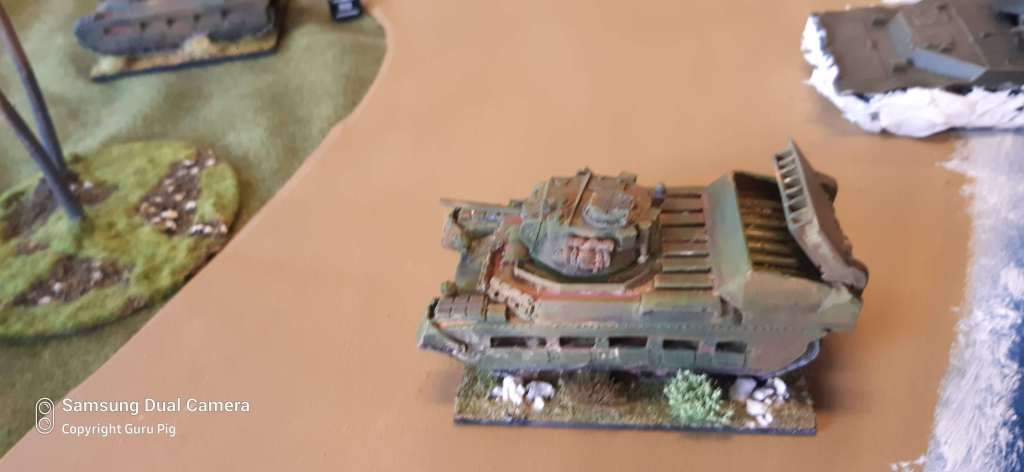
Dave, the hedgehog finally sees combat and proved extremely effective. This was the only engagement in which it was used historically and only then to a limited extent.
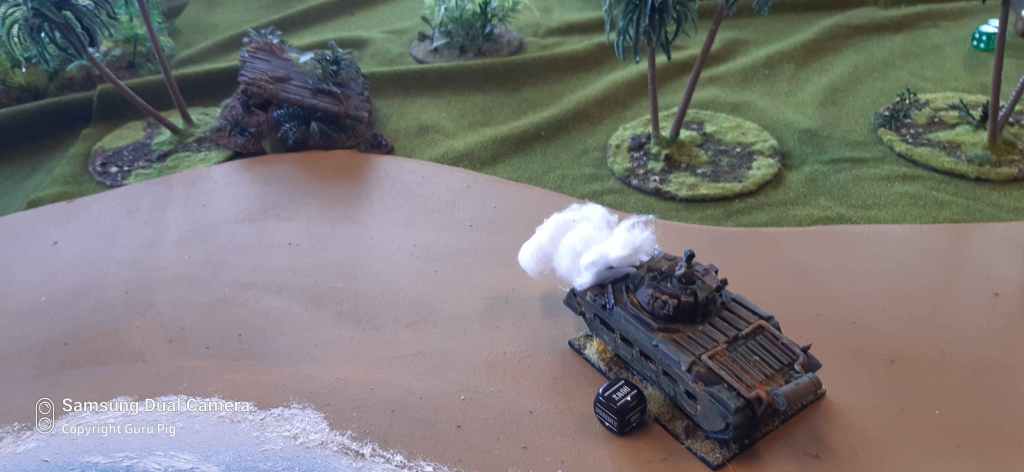
The Matilda Frog unleashed its flamer on a squad of Japanese in a fortified bunker to great effect.

Bunkers and huts destroyed viewed from the Japanese side.

One of the two 240mm naval guns deployed by the Japanese. One was captured and held by Australian Commandos secretly deployed prior to the engagement.
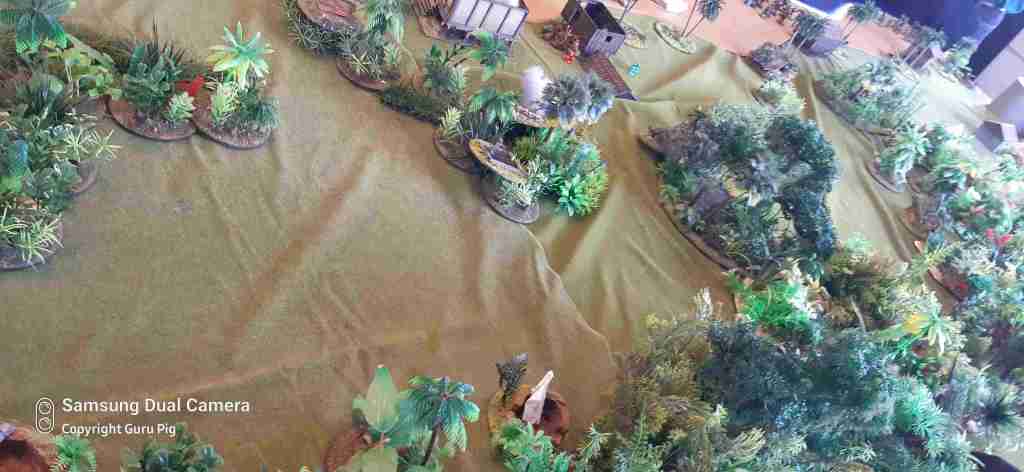
The “killing ground” once the Australians push through the Japanese defences.

An Australian Spitfire takes out a Kamikaze Zero threatening the landing area. The American PT boat having already disposed of Japanese Kamikaze boat, arrives to support but is not required.
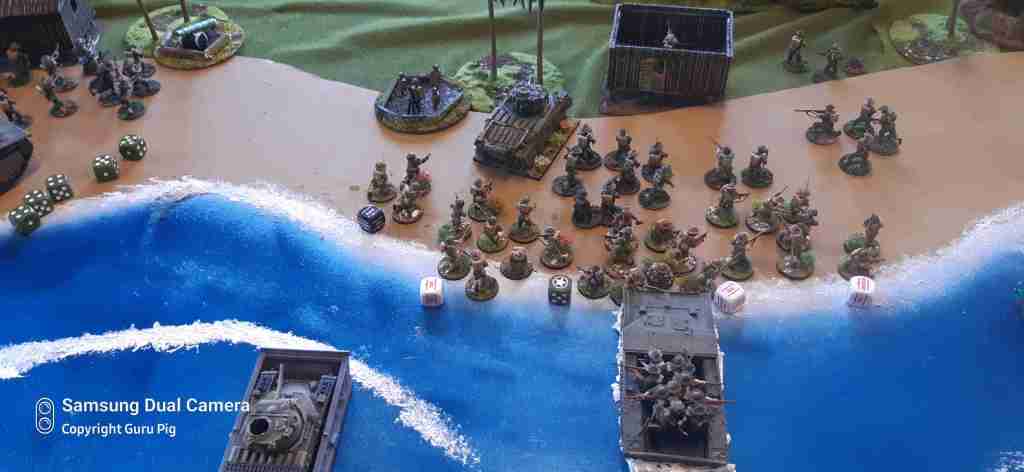
The mass of Australians landing in the left/centre. The Japanese were outnumbered 10 to 1 historically, but only about 3 to 1 in our re-fight.

Having dealt with the Zero the Spitfire eliminates some suicide bombers that were about to threaten a bogged Matilda tank.
The triple 120mm AA gun can be seen at the top of the photo. This was captured by secretly deployed Australian Commandos.

Having unloaded its troops the “Buffalo” moves in to provide close machine gun suppressive fire.
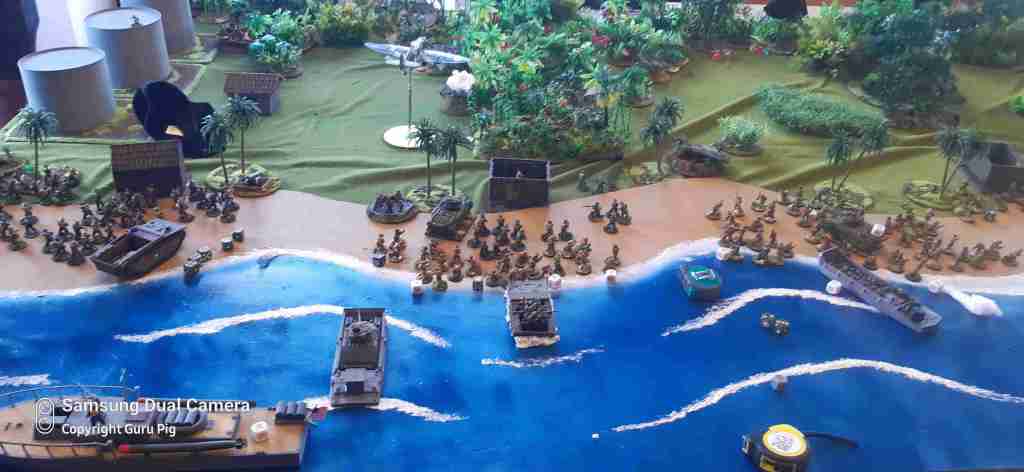
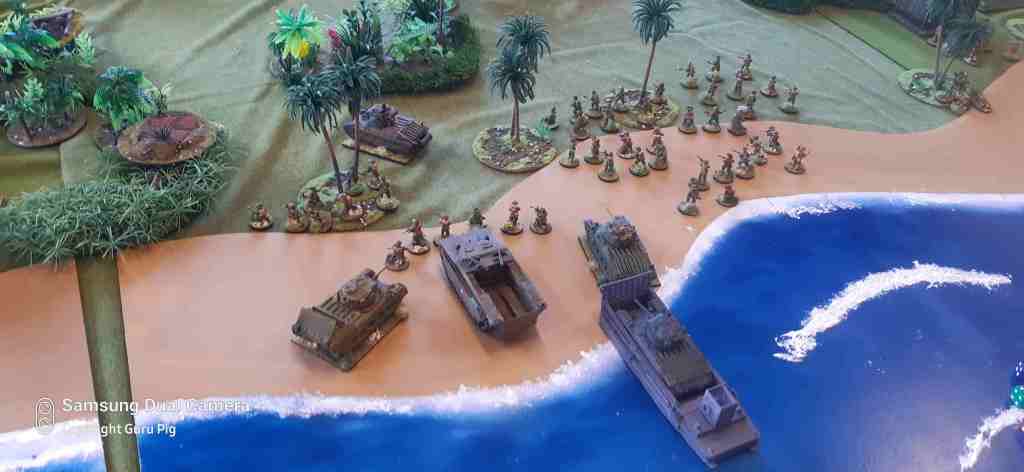
The attack in the centre is moving to plan as the Australian infantry and armour push forward.
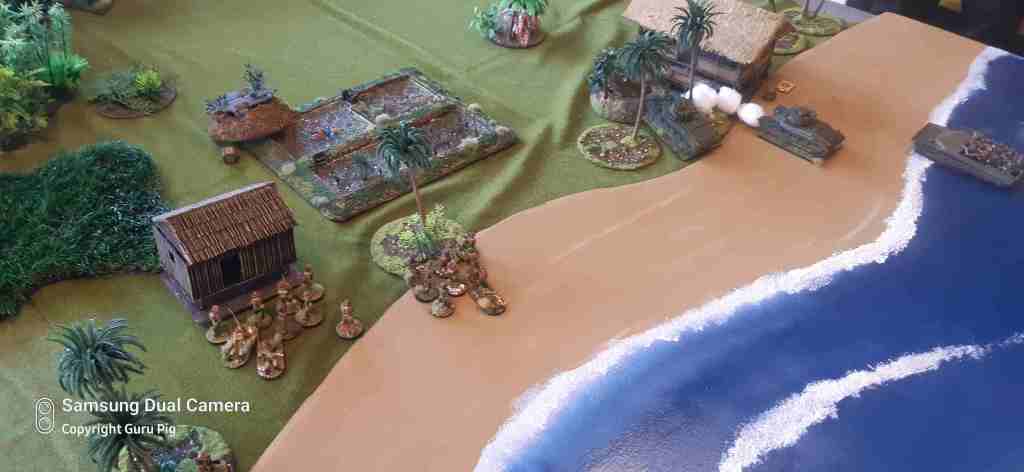
The right flank is also pressing ahead according to plan.
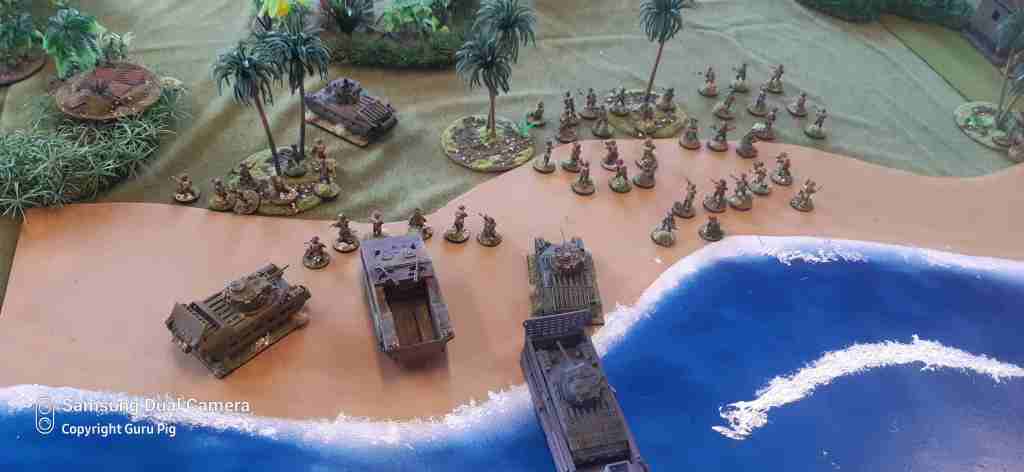
The armoured support from the New South Wales Lancer Regiment is now proving very effective.
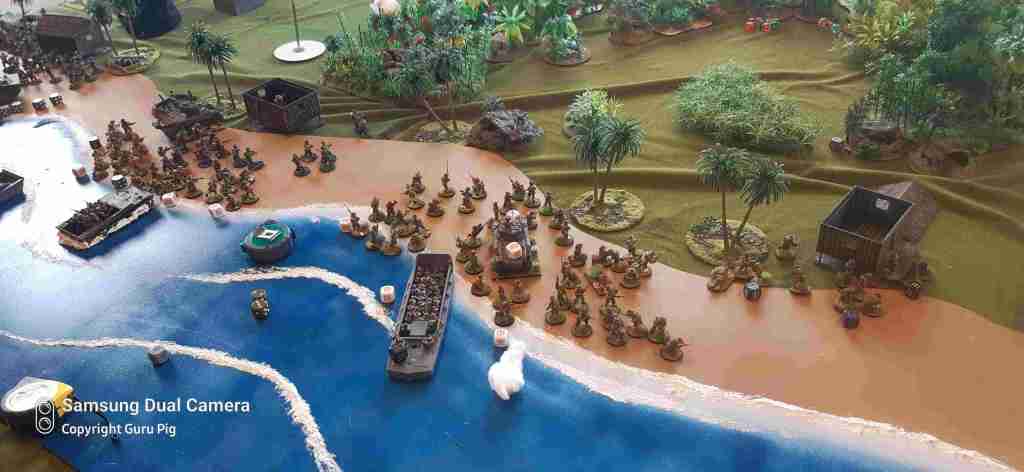
The Australian major attack on the oil refineries is now ready for the final push.

C Company advancing from the beachhead.
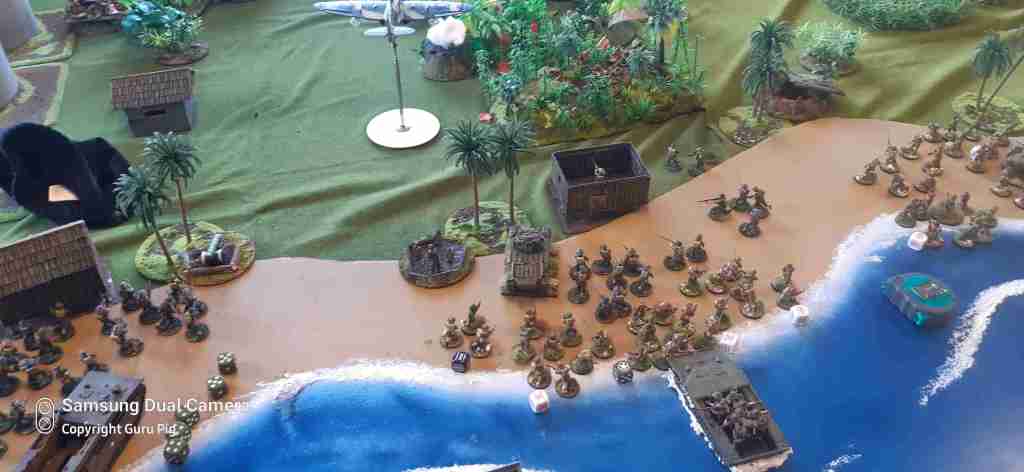
The juncture of Company B and C. The Japanese did not have the troops to take advantage of the gap.
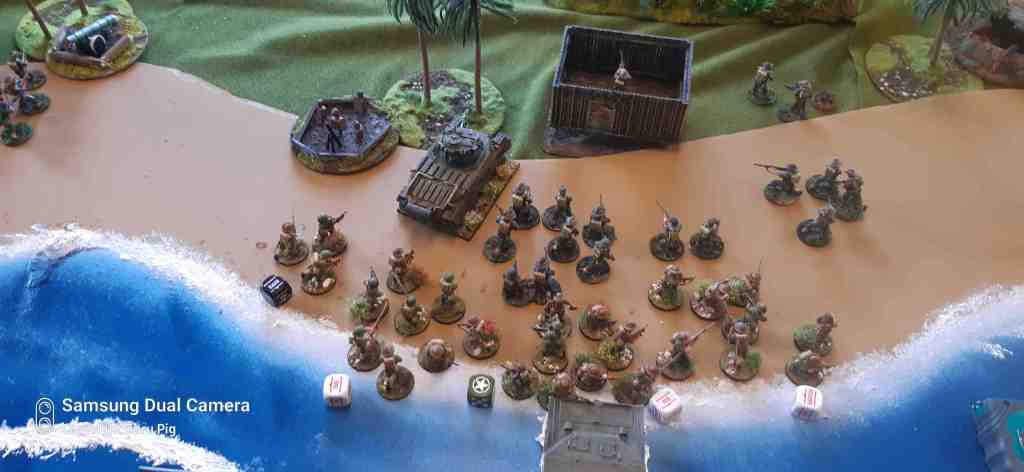
With most Japanese resistance suppressed the Australians advance to secure the beachheads.
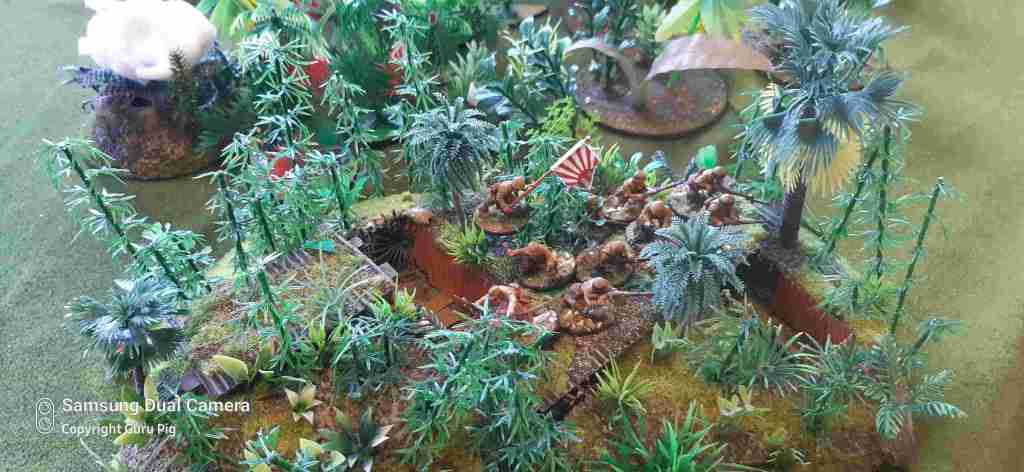
The fortified bunker still holding out against the Matilda Frog with its flamer.

Looking along the beach head to the Australian right flank.

The Company HQ mortar and MMG supports have now landed. The mortars concentrated on the Japanese concrete bunker to no effect.

A Buffalo and two Landing craft move towards the beach.

The Australians have totally cleared any threat to the Australian right flank’s attack on the refineries.

Australian sniper comes out on top in a sniper duel.
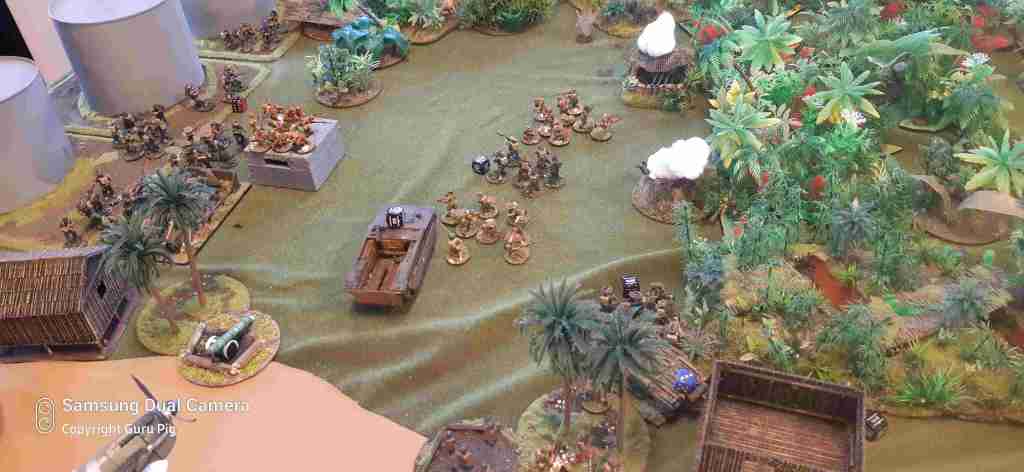
Two of the three refineries are now in control of the Australians with only the concrete bunker holding out. The bogged Matilda Frog ( bottom right) is urgently required to take out this last threat.
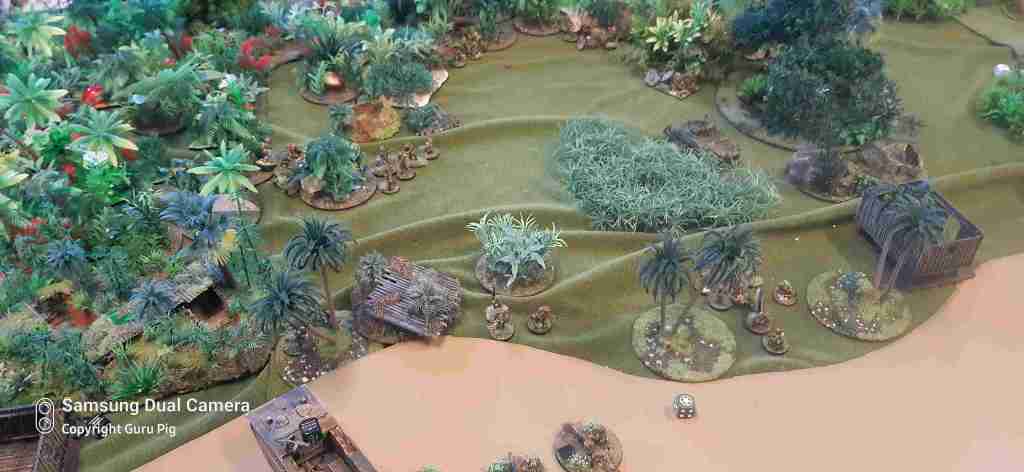
Company C has cleared all opposition.

Company D has also achieved their objective.
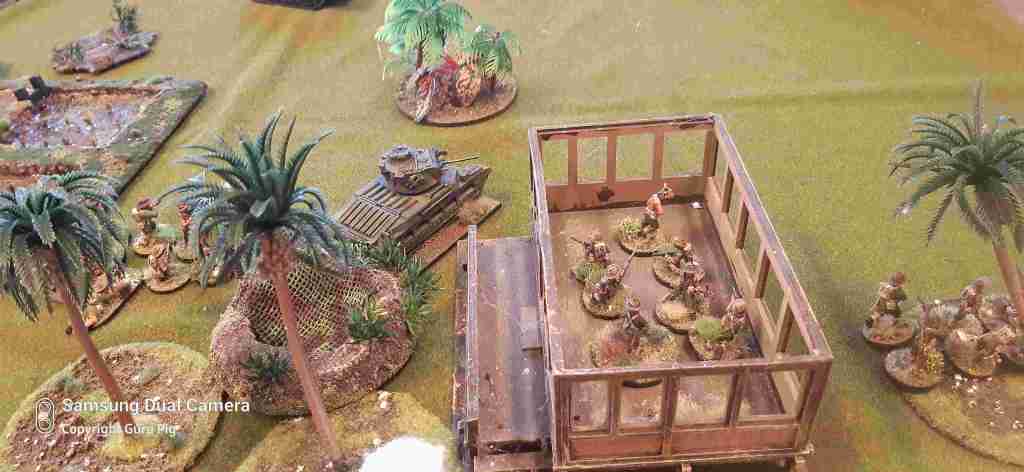
Close up of Company D.

Although the Australians had suffered significant losses (carry forward to the push inland) to be re-fought soon), having achieved three of the four landing objectives and secured two of the three oil tanks it ended up a decisive Australian victory.
The figures and terrain were supplied by Guru, and Drew from the Wargames Holiday Centre Australia.
Thanks to every one who took part and hope you join us for the Battle of Coke Hill as the Australians advance further inland. Coke Hill was the only major resistance that the Australians faced.
Very Impressive! You have put a lot of work into that game, Dave!
Regards, Chris.
Thanks Chris. It turned out well worth the effort and “ticked off” a number of outstanding projects to boot. Nothing like a deadline is there.
Totally agree with Chris! brilliant Dave.
Thanks Pat you can come and watch/join in the next battle in Broadford if you want.
Cheers mate I’ll think about that 😃
That’s a huge battle and looks great. Looking forward to the next.
Well done!
Thanks it was an excellent team effort.
Fabulous spectacle- very cool there is more to come
Yep – one more game which will be at Drew’s place at Broadford if you want to come.
in excellent timing, Auntie Rona has come for a visit; feeling fine, but not about to share that particular love either. Looking forward to the reports
Wow, that looks amazing! You must have had a brilliant time playing it plus all the time spent painting, reading, building etc in preparation. Thank you for sharing so we can enjoy it vicariously.
GThanks the whole project has been great from start to….. I was going to say finish, but we still have the major battle for Coke Hill to come!
Fantastic history Dave, and the game looked epic, all the hard work paid off.
It was a great game and the scenario design made it possible for Japanese to lose the fight for the beaches but win on points. It was very finely balance.
Amazing stuff- everything from the maps and orbats to the table itself. Very impressive.
Cheers,
Pete.
Thanks Pete. I supplied most of the infantry and tanks and ome of the jungle, but the scenario design, orbats, etc was done by Drew fro Wargames Holiday Centre Australia.