The Bren fired at an impressive rate of 120 rounds per minute, engaging targets in bursts of three to five rounds for optimal accuracy and control. This versatile machine gun was typically used on the ground, mounted securely on a bipod, which allowed for stability and precision during use. However, it also had the unique capability of being fired from the hip, providing greater mobility for the user in close combat situations. When positioned on the bipod, the Bren demonstrated an effective range of nearly 550 metres, making it suitable for various combat scenarios. Moreover, when mounted on a robust tripod, it could deliver sustained fire with remarkable effectiveness, reaching out to nearly one and a half kilometres, thus making it a formidable asset on the battlefield for covering long distances and engaging enemy forces at a safe range. The adaptability and firepower of the Bren made it a favored choice among soldiers during its operational years.
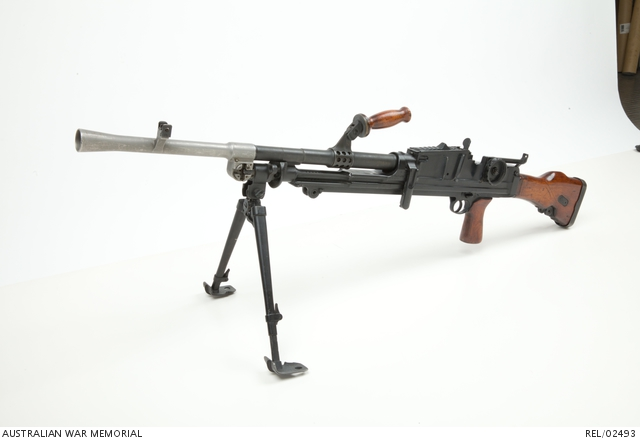
The Bren light machine gun (LMG) was a key weapon for Australian infantry during World War II particularly during the Battle for Australia.
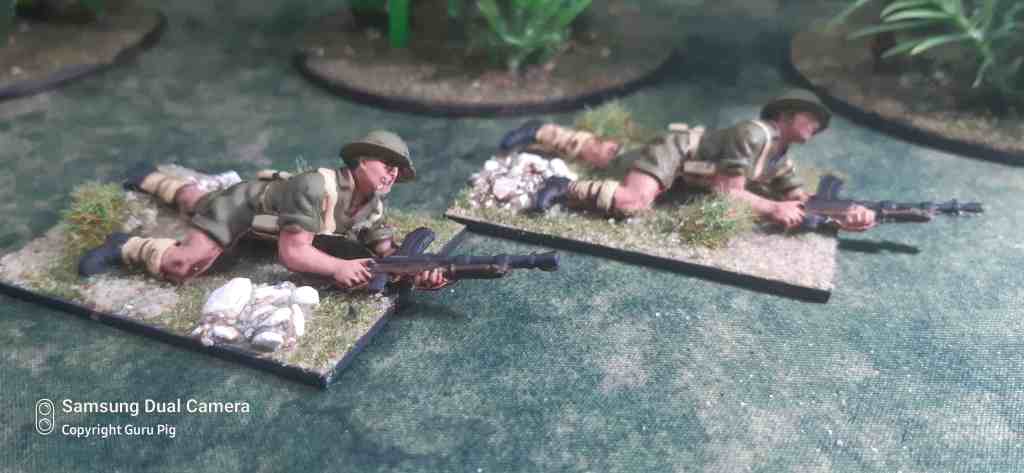
The Bren was originally a Czech design, and its name comes from the cities of Brno and Enfield, where it was developed.

The Bren was a reliable and accurate weapon that could be fired by a single soldier. It had a quick-change barrel that could be replaced in seconds to prevent overheating and barrel warping.
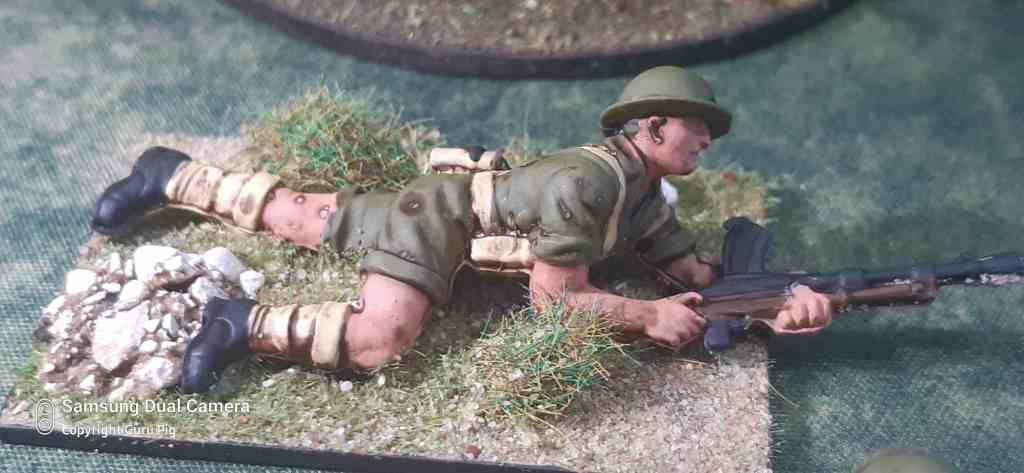
The Bren fired .303-inch caliber ammunition in 30-round magazines, but they were usually only filled with 28 rounds to prevent jamming.

The Bren gun was used by Australian soldiers during the Kokoda campaign, including by Private Bruce Kingsbury VC, who bravely employed a Bren gun to charge at Japanese soldiers during this crucial conflict, single-handedly killing several adversaries and forcing many others to retreat in fear.

Kingsbury’s exceptional courage and determination not only inspired his fellow soldiers, instilling in them a renewed sense of hope and strength amidst the chaos of battle, but also significantly demoralised the Japanese forces, providing his company with the vital momentum needed to seize the enemy position. This pivotal moment in the Kokoda campaign exemplified the bravery of Australian troops and highlighted the impact of individual acts of valor on the broader course of the war, as Kingsbury’s tenacity became a symbol of resistance and perseverance, leaving a lasting legacy for future generations. See a previous post on Bruce Kingsbury.

This has to be the worst posed Airfix figure ever made. I ju hate it and will replace both of them when I finish the Expeditionary forces ones.
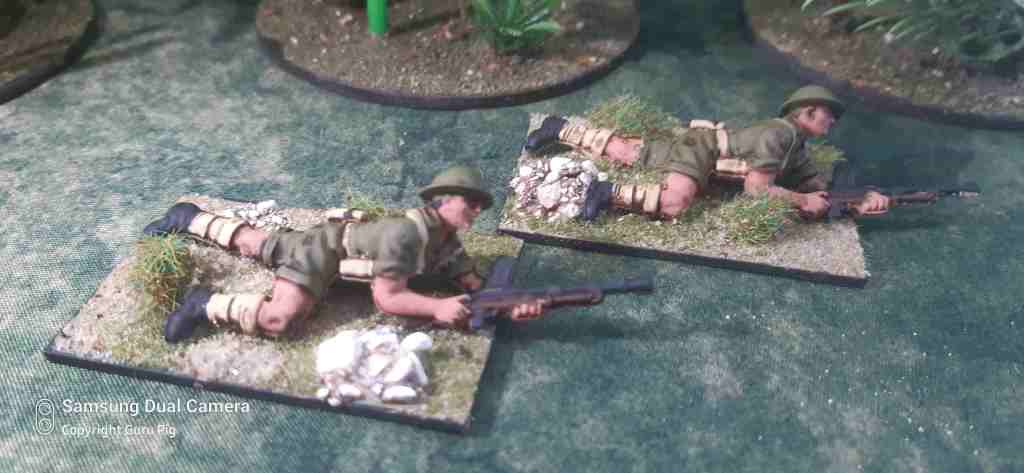
On to the riflemen next.