“How have your gaming interests changed?” – A Guru Pig rave!

When I first started wargaming back in the early 1970’s I concentrated mainly on 25mm ancients using the few Minifigs and Hinchcliffe figures that you could obtain in Australia at the time. I also dabbled a bit in 20mm ACW using the four Airfix box sets available, and the French Foreign Legion set for Zuoaves.

I was living in New South Wales and there were only two places that sold 25mm metal figures, one in Sydney and the other in Newcastle. I chose a Sassanid Persian army using mainly Minfigs, and a New Kingdom Egyptian Hinchcliffe army both of which I still have. I started off with WRG 1st edition rules and stayed with them through to 7th and DBM

I moved to Newcastle to attend University and there were two thriving clubs, one at the University (now split into three separate clubs with varying interests )and the Newcastle Wargaming Club (now called Newcastle Legions). It was at both these clubs that I was introduced to Napoleonic gaming and I started to build a 25mm Minifgs Austrian army using WRG Horse and Musket rules.

We decided to move our young family back to Melbourne where 25mm figures were not that popular and Napoleonic gaming suffered from the lack of an agreed set of rules. The result was that my 25mm figures were packed away and I started playing 15mm ancients.

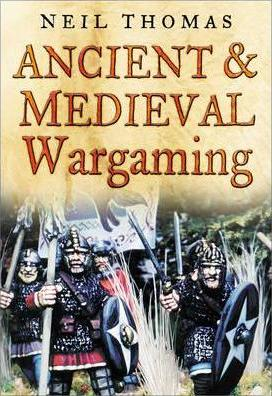
This progressed through the WRG 5th, 6th, 7th editions of their rules and then on to the various editions of DBM and died a natural death with DBMM. We tried Neil Thomas’ Ancient & Medieval wargaming and I still enjoy this but we haven’t played it in years.

It was at this time I started to play Warhammer Ancient Battles and 40k and was involved with running a major tournament for over fifteen years. Until GW opened up stores in Australia it was still hard to get stuff but you could order directly from them in the UK and get them at a much cheaper price! I still have an Orc and Goblin, High Elf, and Dwarf fantasy armies and a Space Wolf, Imperial Guard and Eldar 40k armies.

Next year is the Arcanacon conventions 40k’s 25th Anniversary and I have been invited by Dan Attrill to play so I probably will, just for “old times” sake.

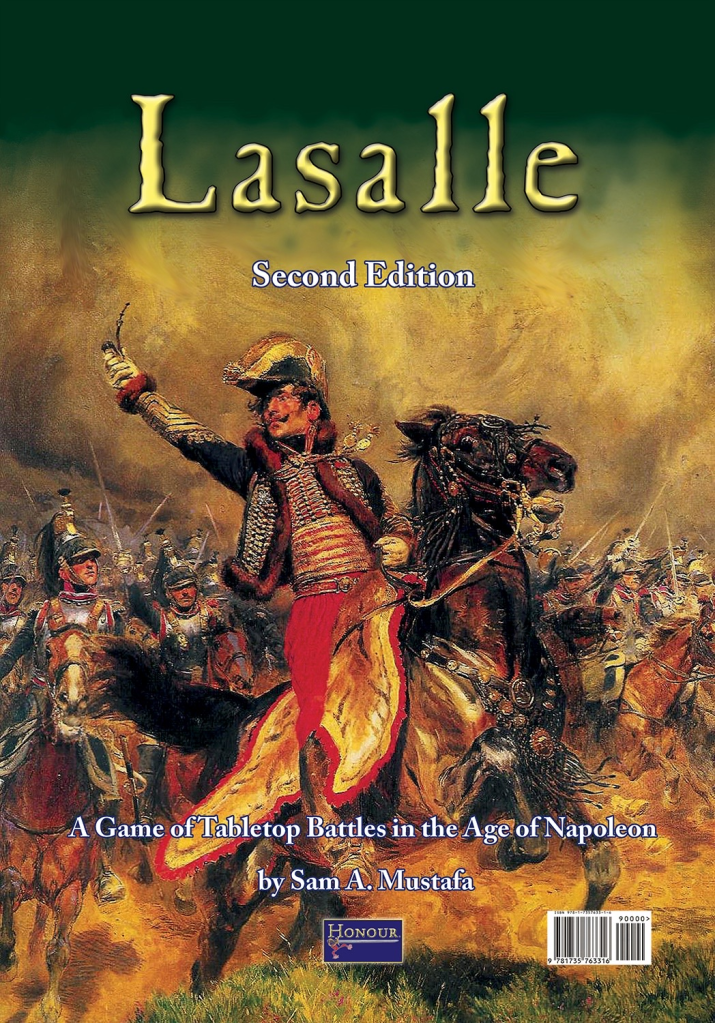
When we became burnt out from running the tournament, my interest in GW style games also waned, and I started looking for other options. Along came Lasalle 1 and I was again hooked on 25/28mm Napoleonic gaming but had really only one person who was interested, so although still keen I never did get that many games in.

Ancient gaming was starting to splinter into Field of Glory, and a variety of other sets but never really hit the heady days of 7th edition WRG and the first versions of DBM. I tried these but was never happy with the rules. Our small group started playing Command and Colors with figures but the hex movement still appeared to me as an over glorified board game.

A move to Cowes on Phillip Island in 2014 coincided with a huge influx of rules, games systems, and periods that, at least to me, had never been seen before.

Ever since reading Donald Featherstone’s “Skirmish Wargaming” I had always wanted to try games where the impact that an individual could make was significant. Along came Saga and we loved this for a while but the power creep gradually became a real issue and playing in tournaments didn’t help and slowly this also died a natural death.

I know all of this is the world according to “Guru Dave” and you may love some of the games that I hate and vice versa. That is all good. We have a rule in our group that if you are hosting that week you choose the game and we will come along and play. The coming together with friends, rolling die, eating and drinking (probably in reverse order of importance), is the main thing.

All of this has been a long ramble to lead into what I like playing now. These are just what I like, and I would be glad to hear about what you are interested in, as we are all different. We might even share something that others might look and want to try themselves.

What games do I play and what rules do I use now?

I only have three criteria, it must be simple and easy to lean and use, it must not require me to buy lots of new figures, and it must be fun!

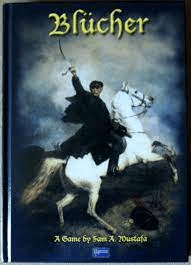
For the Napoleonic period I like playing “Blucher” in 6mm (I do not have figures in this scale but enjoy playing it with mates), and “Lasalle 2” in 28mm.

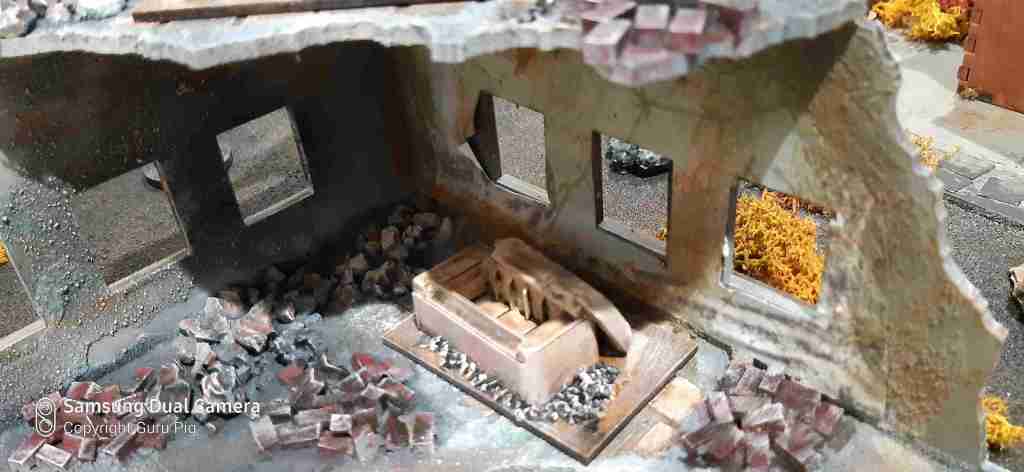
I also have a large range of 28mm figures Napoleonic figures based for skirmish games. I have been looking at the Too Fat Lardies set of Rules “Sharpe Practice” but have not yet played them. They look OK but more detailed than I was really after, so will probably keep an eye out for something else.

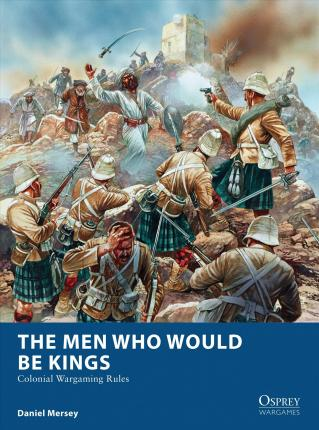
One of my favourite Horse and Musket periods is the French Indian wars and I prefer Dan Mersey’s “Rebels and Patriots” and “The Men Who Would Be Kings”. These are both medium sized unit based games but work well within period. They have American Civil War and Plains Indians War sections but we use our house rules designed by John G for playing large scale battles with 20mm plastics. Prior to these I used the old Airfix set of rules. I hope to finish my 28mm Plains Indian Wars figures and will either use one of these sets or the ones that my mate “Bucko” is working on.

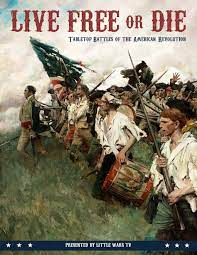
As you would have noticed we have been playing “Live Free or Die” in 15mm for the American War of Independence, but again it is not a period I have figures for. They work very well for AWI but they are designed for larger battles so would not suit the smaller scale of FIW (accept the Plains of Abraham).

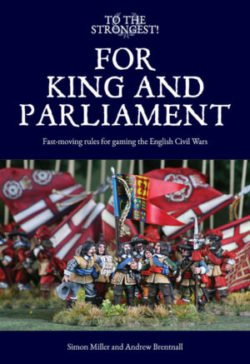
I have not generally been a fan of Simon Millers games but “For King and Parliament” works very well for 15mm English Civil War games, and I have enjoyed the games we have played. Hopefully my 15mm Scots Royalists Montrose army will get a run soon.

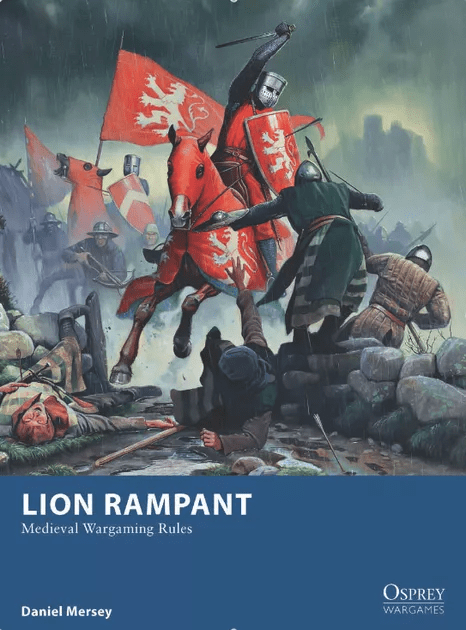
I have a number of 15mm Medieval armies but the only rules I like for this period are Dan Mersey’s “Lion Rampart”, and “Dragon Rampart” if you want to add heroes or fantasy elements. I am a fan of his simple mechanics which really capture the flavour for the periods he is writing on.

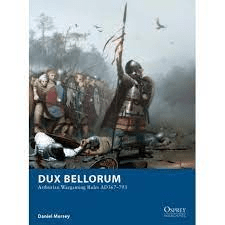
I used to be predominately a 15mm Ancient player with the various iterations of the WRG series of rules. Now I prefer Dan Mersey’s (yes I am card carrying fan) “Dux Bellorum”, for 15mm games, which is designed for Warrior and Shield Wall style armies. We have played it in a variety of periods and have enjoyed it. I am not a fan of some of the other “modifications” to the WRG systems that are now quite popular in UK and Australian competitions, and have steered clear of them.

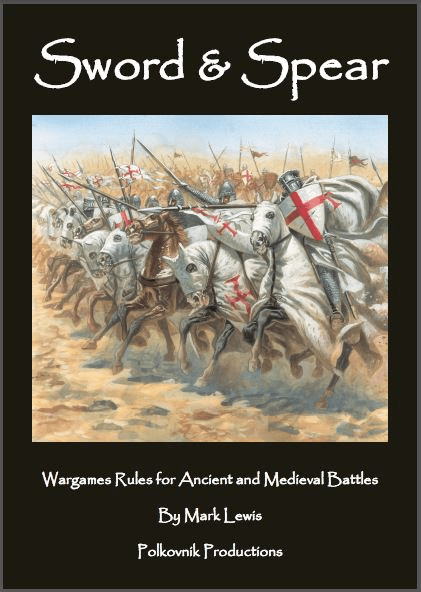
The other Ancient set of rules that I enjoy playing in 28mm is “Sword and Spear”. I love the mechanics and it gives a very good representation of the linear battle lines that was ancient warfare.

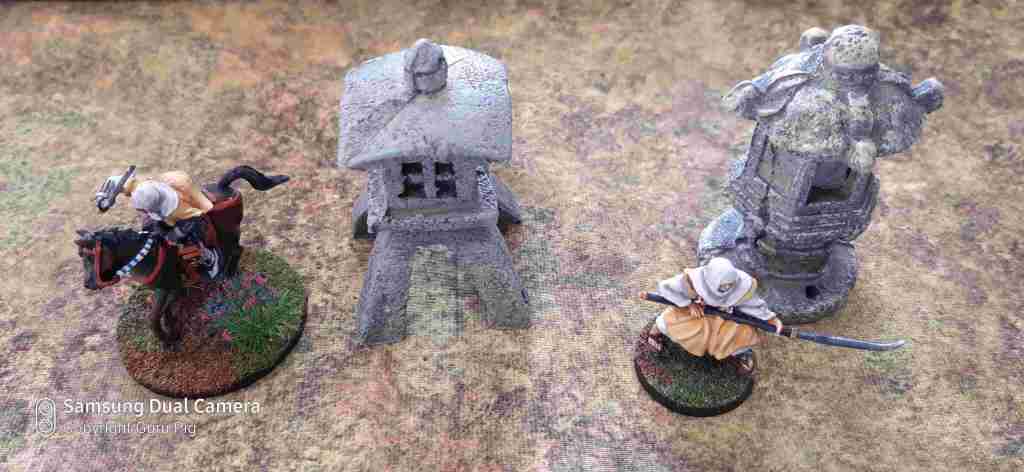
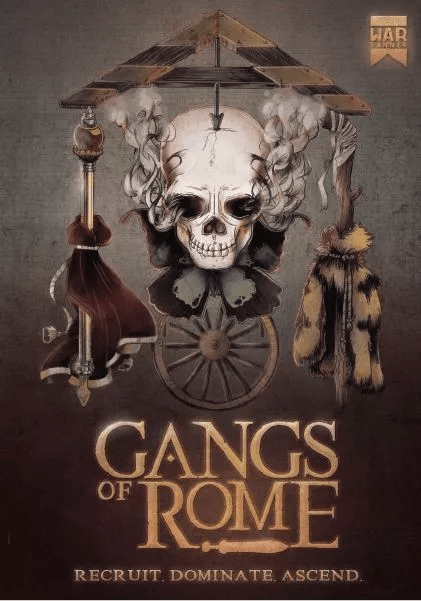
For ancient skirmish style games I really like the “Gangs of Rome” set of rules by Footsore miniatures and Dan Mersey’s “Strongsword”, which also has a fantasy element to it. The other fantasy rules I have enjoyed is Hordes of the Things and DBF.

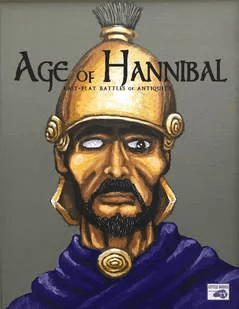
I am looking forward to trying the “Age of Hannibal” set of rules which some of my mates have played and rave about. I have read them and they have some very different mechanisms that I like.

I like the free flowing nature of World War 1 in Palestine where dashing and dare do cavalry and armoured cars still had a place. I have a large number of 20mm plastic and metal figures for the period and have adapted John G’s ACW rules for the period. It is also great for small unit actions using “Men Who Would Be Kings” or theFUBARone page set of rules.

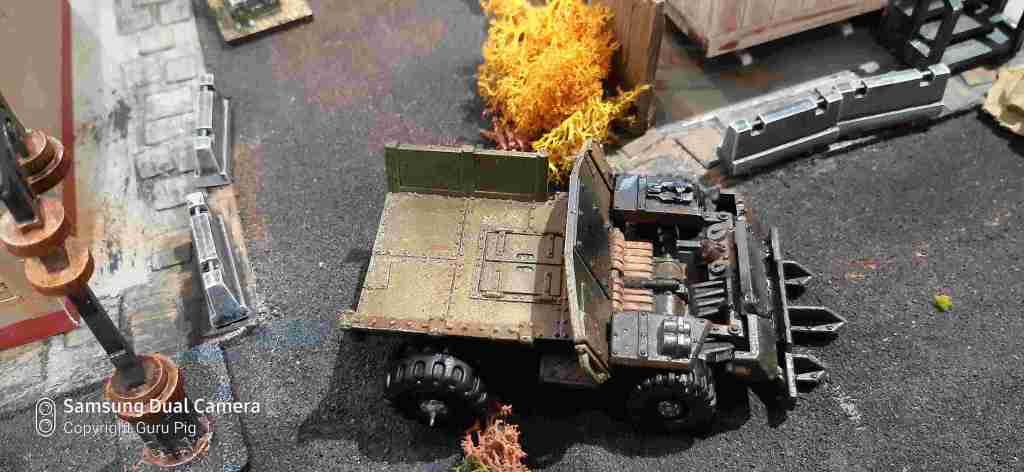
For World War 2 gaming I use three sets of rules. By far the most fun and enjoyable is the Too Fat Lardies “What a Tanker”. It captures the nature of tank V tank fighting quite well and is an all time favourite of our group. I do not play large scale games that often but if I did the Jim Bambra’s Combat HQ are one of the best around. For small scale unit actions I used to play “Chain of Command” by Too Fat Lardies, but now prefer “FUBAR” because they are simple, easy to learn, and have far better mechanics with their suppression approach. I also use their modern variation for games set in the 21st century. “Bolt Action” is easy to pick up for players of 40k but suffers from the same proliferation of army books (Codex) that 40k does.

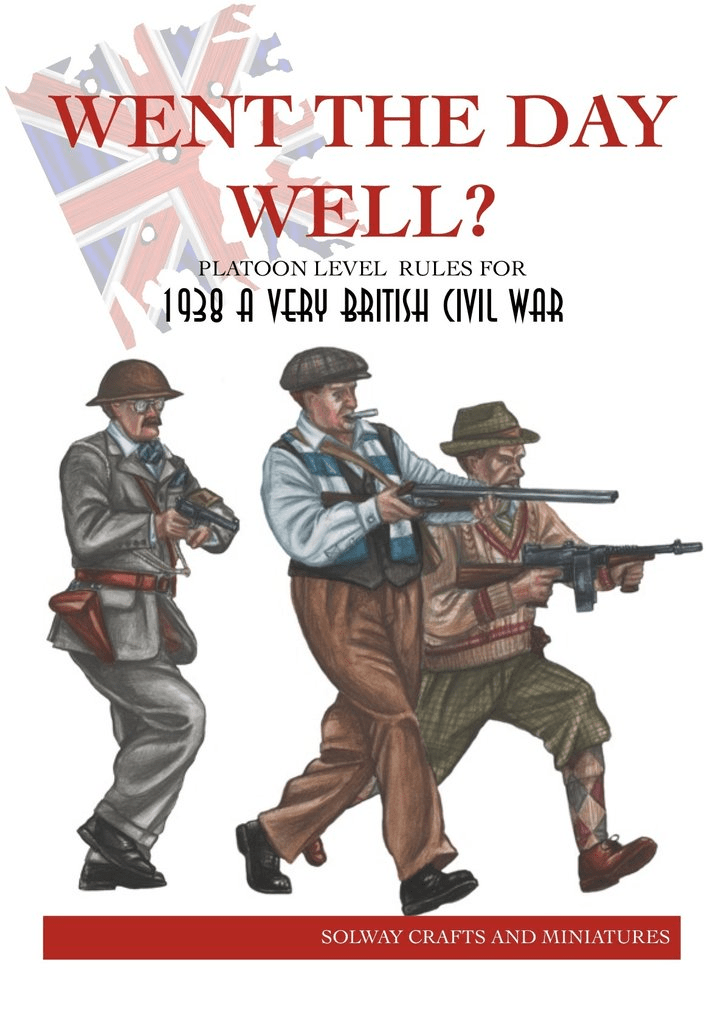
The other quasi WW2 rules that I really enjoy are “Went the Day Well” by SAall Forth for the Very British Civil War. These work really well for platoon sized games.

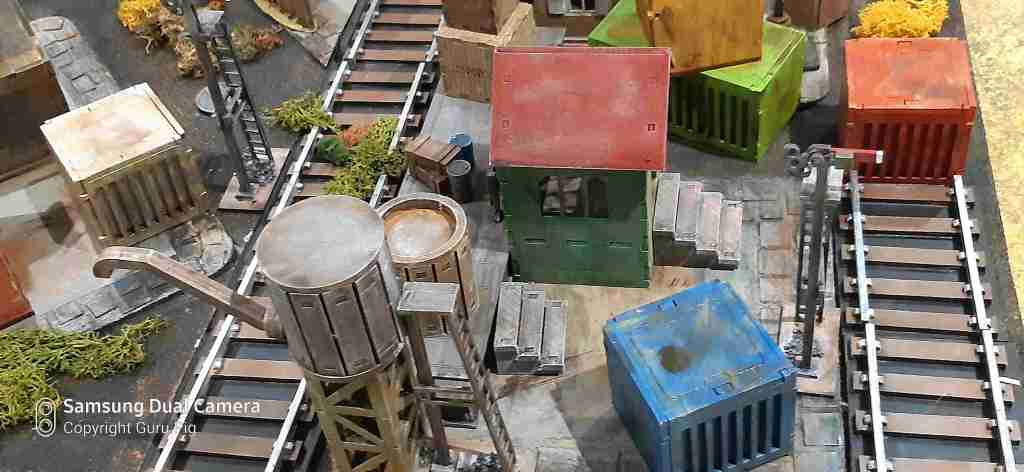
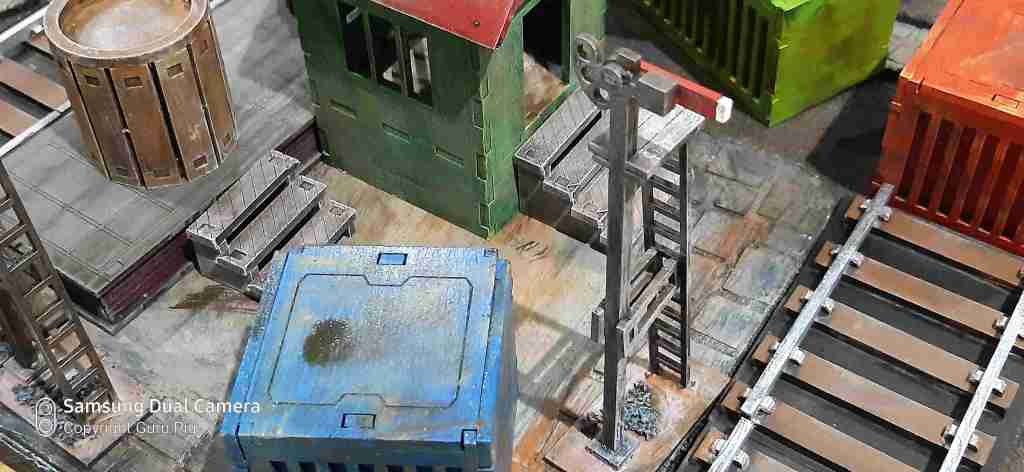
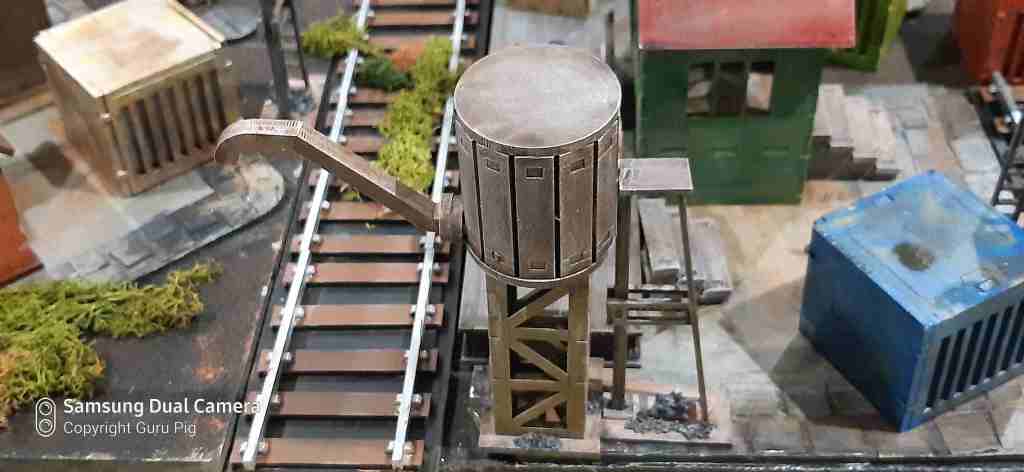
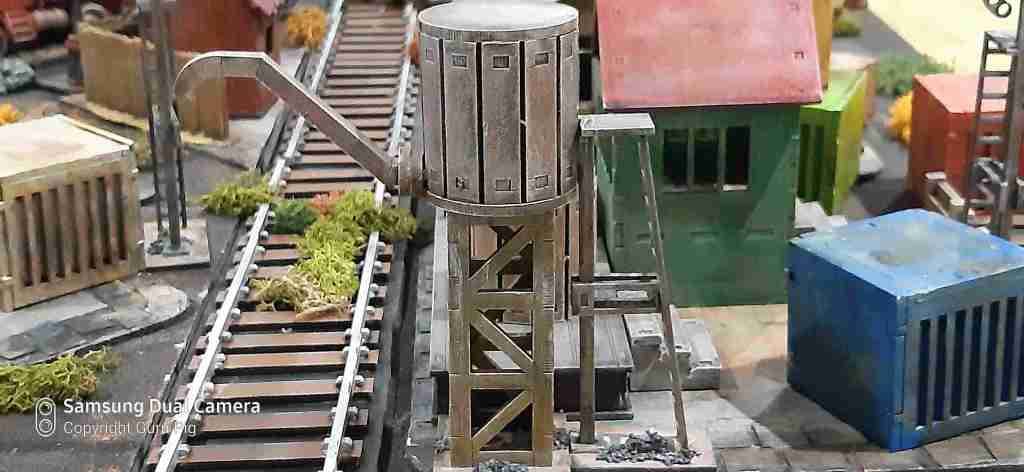
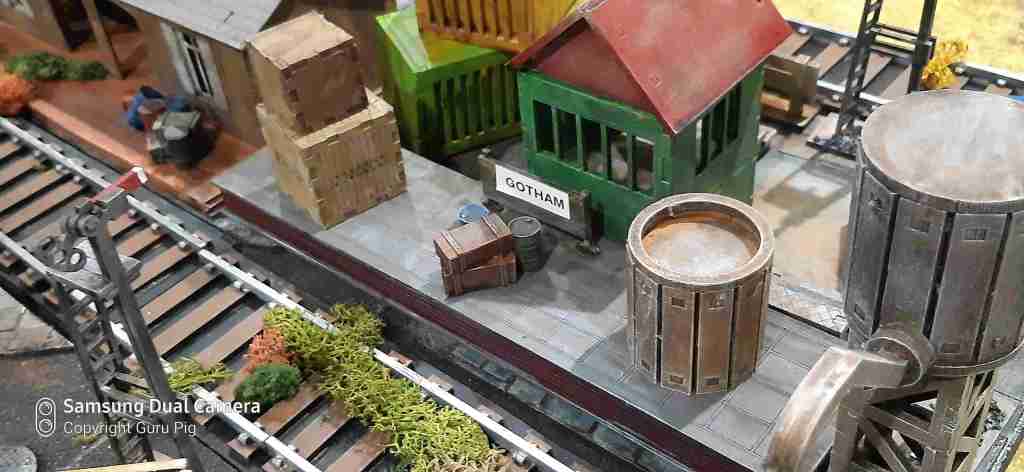
At the moment (and this changes at a whim) I am playing a lot of Lasalle 2, Live Free or Die and the Dan Mersey’s sets of rules. I prefer the narrative that skirmish games produces and the fact that the detailed terrain you need brings out the modeller in me, or the frustrated model railway fan, I am not sure which!

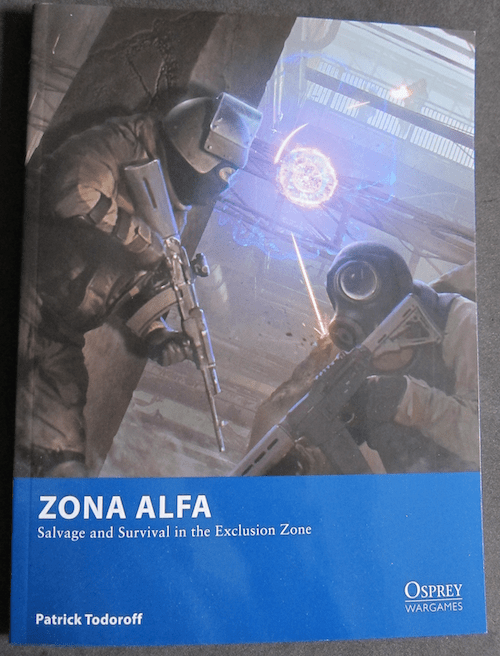
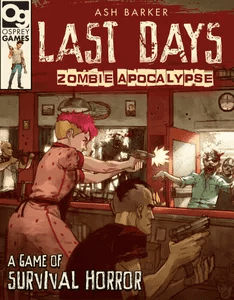
For these skirmish games I am using Zona Alpha, FUBAR, and Last Days.

I would love to hear what you are playing and what sets of rules you enjoy.

Damaged vehicles completed

I wanted a total of six destroyed vehicles in addition to the helicopter. This meant five more needed to be “destroyed”. I decide to take Azazel’s advice and really did destroy them – with a hammer! I used vehicles that I had a copy of so if I ever needed a before and after vehicle I could swap them over.

This was a pity as I could only find one Pagani Huayra, and I would have had such vicarious pleasure in smashing = a $3.8 million dollar car to pieces even if it was only a toy replica. Jealous? Nooooooo not much!

The same steps with the exception of the additional hammer work was used as in the previous post.

The finished vehicles.

2019 Ram 1600

1972 Pontiac Firebird Trans AM

Jeep Gladiator

2016 Porsche 911 GTS RS

Audi R8 V10

2019 Ram 1600

On the table adding cover and interest to the freeway fly over.

A very therapeutic project!

PS My name is not Maxwell!

Detailing the ruined city

The first thing I needed to make sure of was that the various “furniture scatter” would fit into the ruined building when I had detailed them with rubble.

The resin furniture was expensive enough that I wanted to make sure it was multi-purpose so I didn’t want to glue it in place in the ruins. I determined that the largest base that I would need to accommodate them was 60mmX40mm.

Using the 60mmX40mm base as a template I then marked out on the ruined floor where they would fit. I now know that when I am detailing the rubble to make sure that these areas are reasonable flat. In other words just detailed with course sand or what I have outlined below.

The first layer of rubble is the “bag of bricks scatter” available from Knights of Dice.

In order to add interest to the outside walls I glued some of the same bricks in a random pattern.

The same effect can be achieved by gluing on card board squares as I have done on one of the inside walls. I have also tiled the floor where the furniture scatter will go. I could equally have scored the mdf to look like floor boards or downloaded a rug or carpet picture, cut it to suit the 60mmX40mm gap and stuck it on. I will use both these methods in other buildings.

Kitty litter was added to look like rock rubble.

A quick double check with the templates to make sure the floor was covered and there was enough room for the template to fit.

Next I painted the floor and part of the walls with wood glue and sprinkled sand while still wet. Exactly the same technique as when figure basing. Basically the floor is now “decorated”.

At this stage I glued the furniture onto the base in preparation for painting them.

Next the whole lot is spray canned black.

Once the black has dried lightly spray with grey matt primer.

The tiles, rocks and bricks are painted and the tiles washed with a light brown.

I then applied a light white dry brush over the whole building. If you are careful you can get the same effect by using a matt white spray can from about 3 feet away.

The spray applies a light mist spray over the building. Warning – practice first on something that doesn’t matter. The technique is a lot quicker but I still like using a “tank” brush.

I download a picture of some wallpaper, printed it and then cut roughly to size and glued it on the wall. I then applied fine sand around the edges. Don’t worry if it is not applied smoothly as it is a ruined building a few tears improve it.

The furniture was roughly painted. Don’t fuss it is going to be dirtied up anyway.

The sand around the “wallpaper” was then painted with grey and mud puddle brown. I tore some of the wall paper for effect.

The building is now finished. Here it is in place on the games table. Note that even without the furniture added the building looks complete. The furniture was then washed with light brown wash and dry brushed white.

The finished couch and refrigerator in place in the ruin..

Remember when you are adding rubble that it for gaming on and figures need to be able to stand. Here Zach is taking a shot at an approaching zombie.

This time with the couch in place.

The before and after. In my view buying basic mdf buildings is the way to go because they need so much work especially the interior so why waste money on something more elaborate.

The exterior before and after.

I thoroughly recommend the Knights of Dice “Tabila Rasa” range. They do sell additional add-ons like door and window frames, but I don’t think they are worth the expense. Remember they are just a prop for the figures!

Ruined City

About 2008 I put together a “City Fight” table for 40k games. The 6’X4″ table consisted of 24 one foot terrain squares that were totally interchangeable.

The buildings were made with foam board, cardboard and balsa wood, plus lots of small stones!

Even the arched windows and the buttresses in the cathedral were made with foam board.

I have long since sold it so over the last few weeks I have been gradually putting together a ruined city for Post Apocalyptic games. Everything old is new again! The first thing I decided was no more endless hours with foam board!

I like the range of mdf ruined buildings that Knights of Dice have because they have a great assortment of periods, but also in range of detail. You can purchase very detailed kits or these very basic ruined buildings from their budget “Tabla Rasa” range. I have chosen these because they are cheap, and easy to put together. While they have a very simple design there is just enough detail with window and wall ledges to give a good feel. I find that with almost any of the ranges of mdf. buildings that I have used so far, that no matter how detailed, I still need to do a fair bit of modelling and conversion so that they look the way I want.

This range provides a lot of scope but at the same time a clear blank canvas that I like. I chose the following eight building which provide a couple more than I need to be able to swap and change for variety.

On my city road board I have four small cornered sections so I purchased four of these and I was glad that they fit perfectly without any modification. I have purchased only one of each of the others.

Here are the assembled models laid out on the table:

At the moment they are just the basic shells of the building. I will be adding floor and wall details, posters, rubble and scatter terrain including furniture to bring the shells a “alive”.

I have used a mat on the kitchen table for the photographs as the games table is setup for the second episode of “These documents are a killer”!

I plan to do another two posts on this project. First I will go through with you how I have added the detail to one of the ruined buildings from start to finish. The third post will showcase the completed ruined city on my normal city board.

I hope you enjoy the journey!

More vehicles

As regular reader would know I have been searching around bargain stores for some cheap plastic cars to turn into damaged and burnt out vehicles for the gaming table.

Per chance I decided to go into one of the large department stores (KMart) and picked up these die cast metal vehicles for AU$5 each. They are of good quality but cheap enough to convert into what I need.

They are all 1:43 scale which is close enough for 28mm gaming. I bought one of each vehicle they had in stock and multiples of the 2019 Ram 1500, police vehicles, and fire rescue units.

The additional Police and Fire Rescue vehicles are useful for a large range of scenarios, and could easily be converted if I didn’t need them.

Besides, the helicopters and the rescue boats are additional scenic items that I can use.

First I unscrewed the bottom of the car, then took the wheels from the axle and dismantled the cars “pull back mechanism” to obtain the cogs as I thought they would make interesting scatter around the wreck. The windscreen broke when I was taking it out, but no matter I will again use it as two bits of scatter rather than one! The dashboard will be used underneath the destroyed vehicle in what was the drivers compartment just to give some interest.

The first thing I did was to spray paint the base matt black as it might be difficult to get to some of it once the vehicle is glued on to it. Next I glued the door open and glued the dash and the vehicle hull to an mdf. base.

Then I added some detritus around the vehicle for interest. Above is a seat, wheel, and some of the toys friction drive.

Another seat and a wheel with the tyre half off.

Once the glue had dried I spray painted the vehicle with matt black being careful to make sure the original paint showed through in places.

I then added debris to the base in the form of black scatter and mdf “bricks”.

The vehicle and the base were then dry brushed with burnt umber, puddle mud, and white.

Not a good advertisement for a 2019 RAM 1500 is it!

The model placed at various locations of the freeway sector of Gotham city!

Next I tackled the helicopter:

A perfect landing on top of the police building.

A not so perfect one!

The police van that will meet the same fate as the helicopter!

I went through exactly the same process with the helicopter.

I will need at least another five vehicle wrecks but they do not take long to do now that I have worked out the process, and I think I will do a little diorama of the the Fire Rescue boat rescuing a sinking boat to add interest to the port!

A trip to the Pet Shop

We took a trip to the pet shop today to pick up some things for our four owners Lulu, Missy, Garfield and Nermal!

I always take a stroll by the aquarium section because I often find tank ornaments that will go well on the table.

This is not new as a lot of us buy our palm trees and scenery from the aquarium section of pet shops. I was able to pick up a few small but quite large in 28mm scale Japanese lanterns for my “Test of Honour” games.

What was new, however, at least for me, was to pick up this 2kg back of “reptile sand” from the reptile section (surprise surprise) for AU$9.95. It will make perfect brown, slightly granular scatter for my projects and at a fraction of the cost than from a hobby shop. I suggest you take a look next time you are in one.

Happy foraging in the reptile ssssssssection!

PS Our furry feline fiends ended up with nothing!

Gorkamorka vehicles re-visited.

A long time ago (3rd edition 40k) I used the 40k Vehicle Design Rules (VDR), featured in a Chapter Approved article by Jervis Johnson in White Dwarf 251, to put together a Catachan Imperial Guard army for a competition. My rationale was that on Catachan large heavy vehicles like the Chimera troop carry would be too cumbersome in the jungle and it was logical that they would use lighter vehicles.

Games Workshop had ended selling and supporting the Gorkamorka game and I was able to pick up several box sets, and some “Mutie Steeds” at bargain prices so these were used to create the flavour that I was after.

Catachan Rough Riders on “Catachan Steeds”

Catachan “Attack Bike” with flamer.

I have a number of vehicles left over, two trucks without canopies and two with. I think these have a suitably Post Apocalyptic feel to them that I should be able to use in my games. Here is how they turned out:

These will make excellent vehicles for bandits and other “Mad Max” types you might encounter in the “Exclusion Zone”.

Bad Vibes at Guru Pigs Temple

Or more correctly no vibes at all. Just letting you know that we are without internet until at least Monday (ain’t technology grand) so posts might be limited. I will set up a mobile telephone hotspot tethering every now and then just to check in. You may or may not hear from me until next week. There are a few posts already scheduled so keep your comments coming I just may be a little slow in replying.

Keep safe and I will catch up soon.

Tugging along

No, I am not talking about “Tug” the 1989 British children’s TV series that focused on the adventures of two anthropomorphized tugboat fleets, the Star Fleet and the Z-Stacks, who compete against each other in the fictional Bigg City Port.

Although I could see a game in that! Hmmm “Warrior” V “Zug” in a head on pushing contest! Titans in action! Anyway I digress.

Tugboat

The model is a HLBS creation, although I can no longer see it on their website. This is a generic tug model based on several designs of small harbor tugs from the 20’s and beyond. Tugs similar to this were used at Gallipoli for towing rafts with supplies and equipment ashore.

This kit is very a simple one consisting of a hull, cabin, deck housing, funnel, mast, and optional searchlight. I have deleted the mast and installed the searchlight in its stead, purely for ease of storage.

In order to complete the Port/Harbour all I just need to paint the small cargo ship below. This will make both a great scenic piece but also something to fight over maybe even a helicopter boarding!

The ship has both accessible crew quarters and bridge to fight over and is from TTCombat.

Finishing the Gotham Station accessories

These are the last of the station bits and pieces for my modern/post apocalyptic station scenery. They are mdf. pieces from Sarissa Precision, with the water tower from TT Combat.

Three signals, 2 sets of platform stairs, a signal box, station sign, and a water tower.

Signal

Platform Stairs

Signal

Water Tower

Signal

Signal box

Platform Stairs

Signal

Station Sign and Signal box

Water Tower

Water Tower

Signal box

All I now have to assemble and paint are the engine and rolling stock.