In the jungle the mighty jungle…………

This report has been around unfinished for over a month so I am sorry for the delays in getting it to “print”.

“The adventure of my life started when I purchased an African pottery artifact of unknown origin for my collection.

When placing the piece on a shelf in my study I accidentally dropped it shattering to pieces. What I found amongst the shattered shards was a strange parchment written in a language I could not understand. Suddenly the words on the paper changed so that I could understand it. Amazed I was later to find that the parchment would change to whatever language the reader could understand.

Picture1

The parchment talked of jewels located near a large Mopane tree, but warns the reader that any adventure would be dangerous in extreme.

I mistakenly shared my desire to mount an expedition with a colleague Manfred Mettlewane who decided to conduct his own search in opposition to mine.

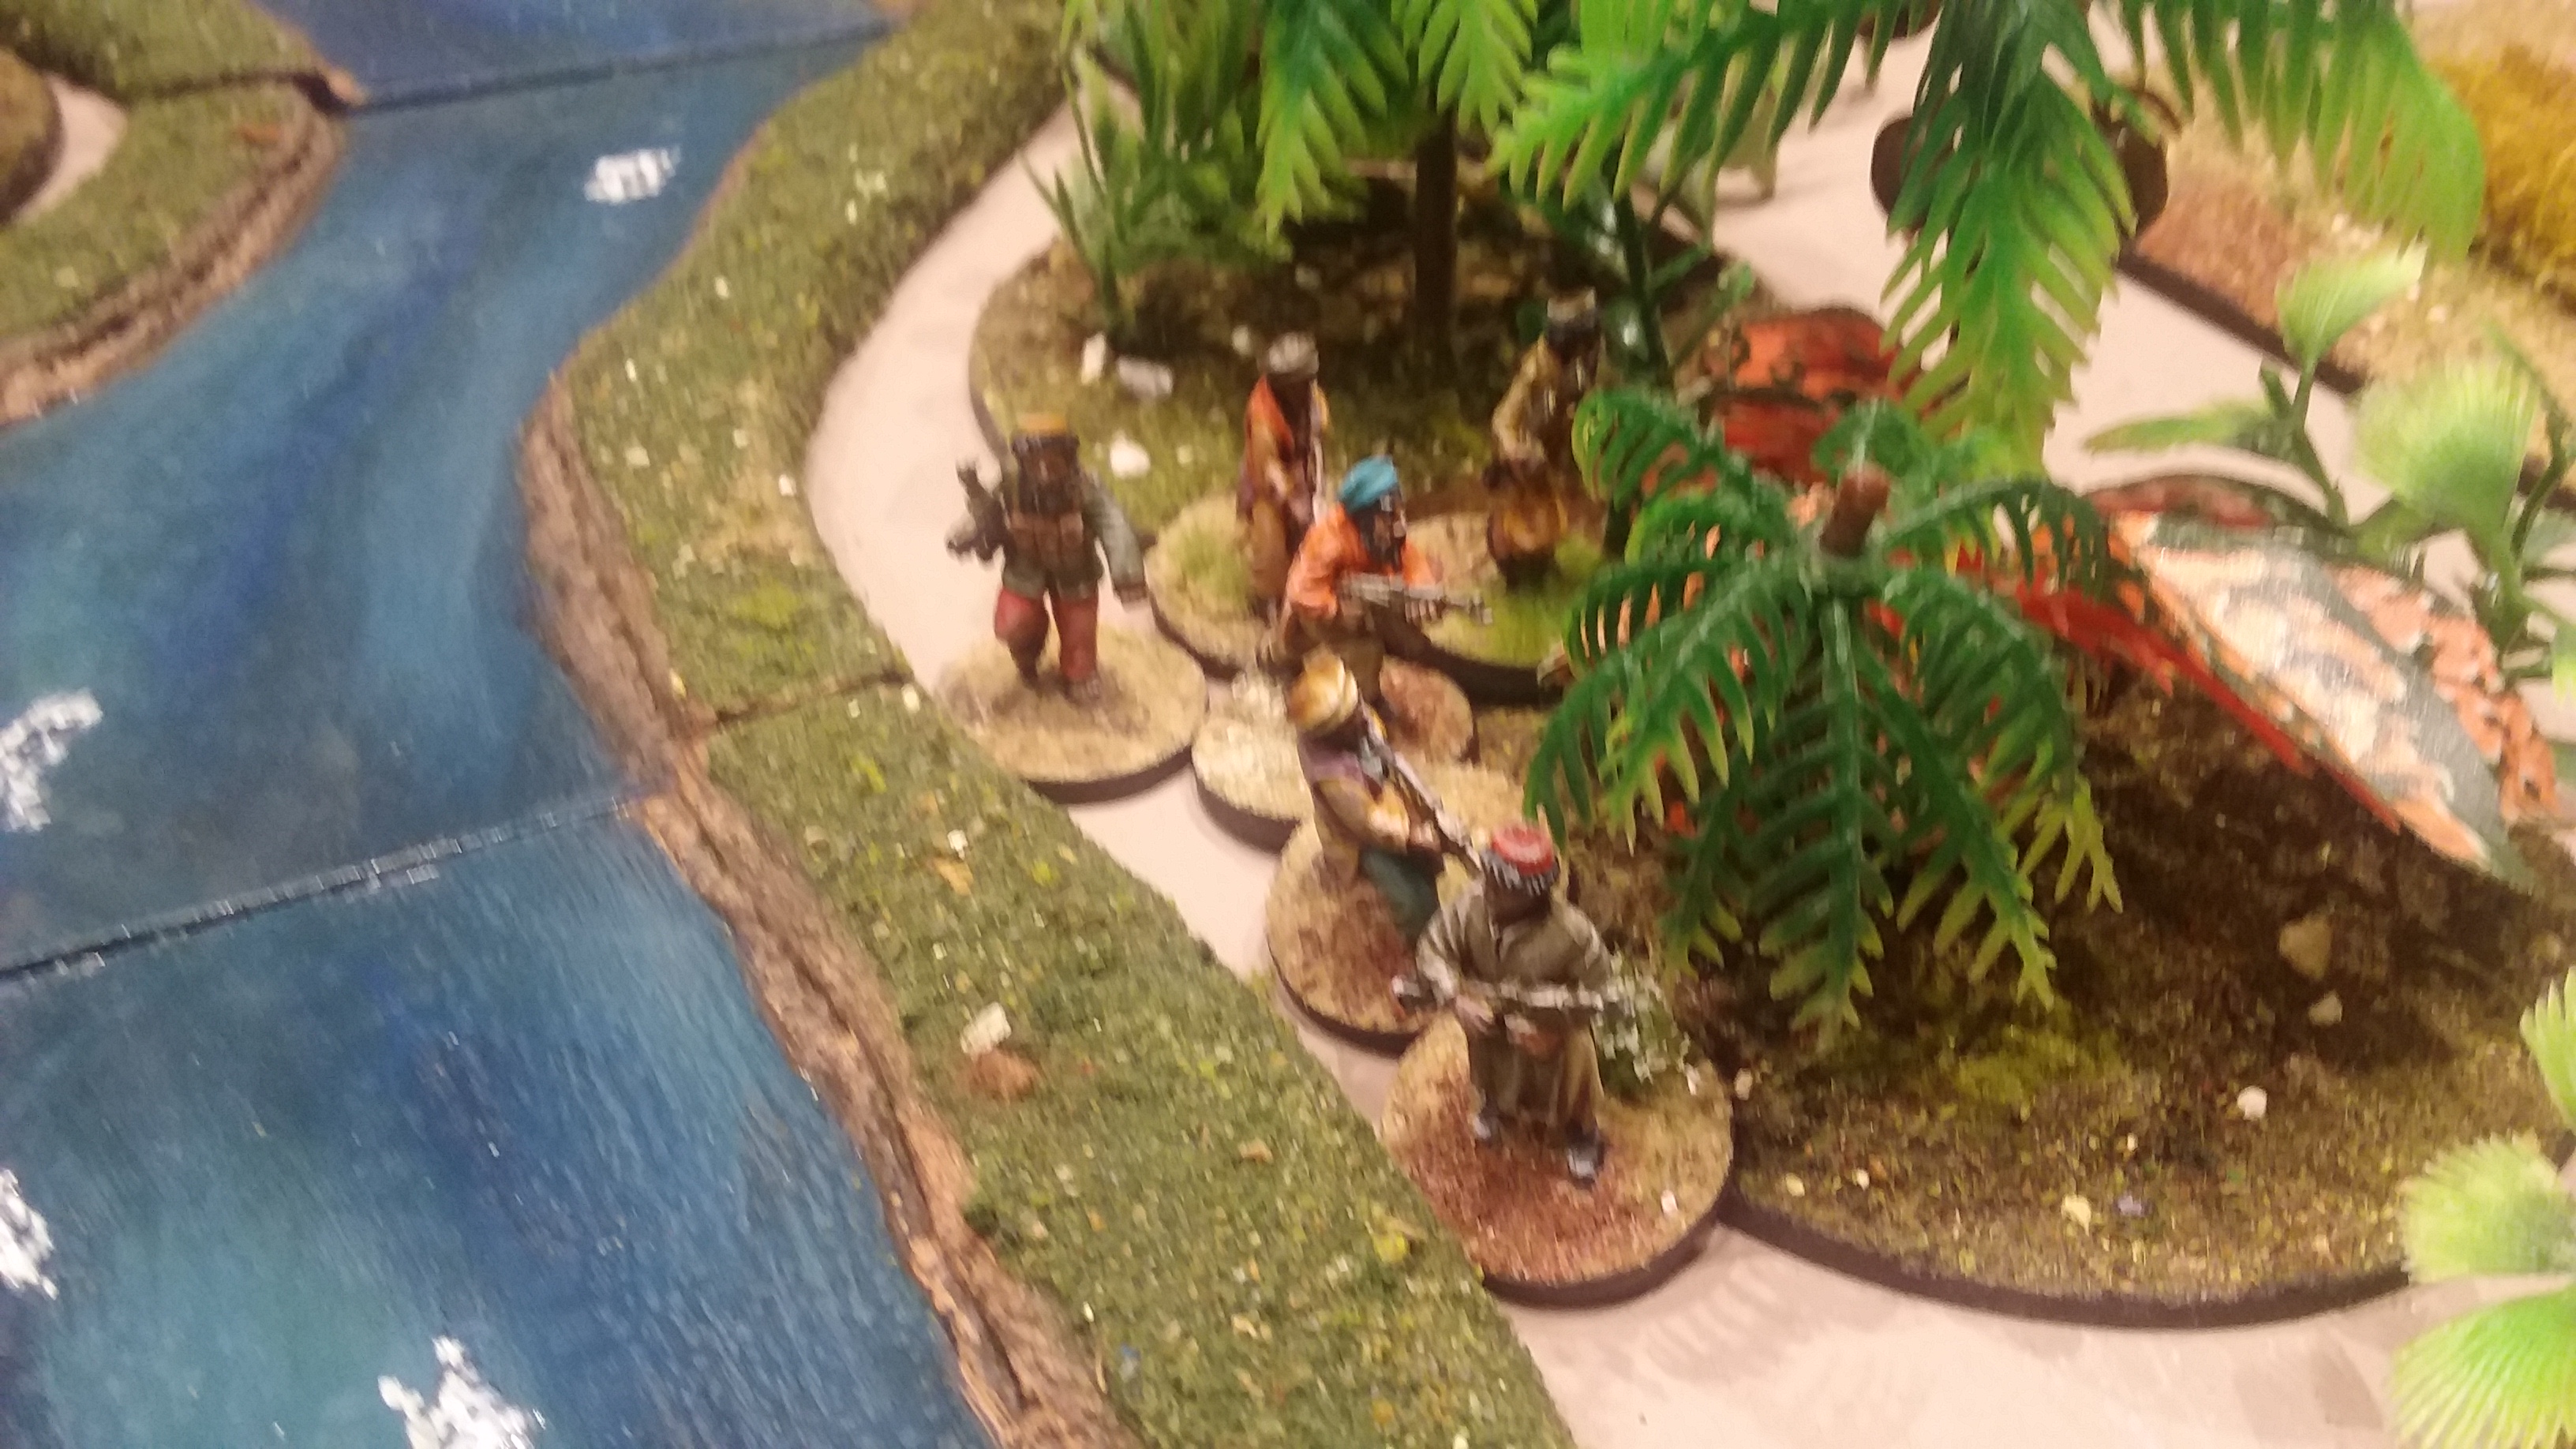
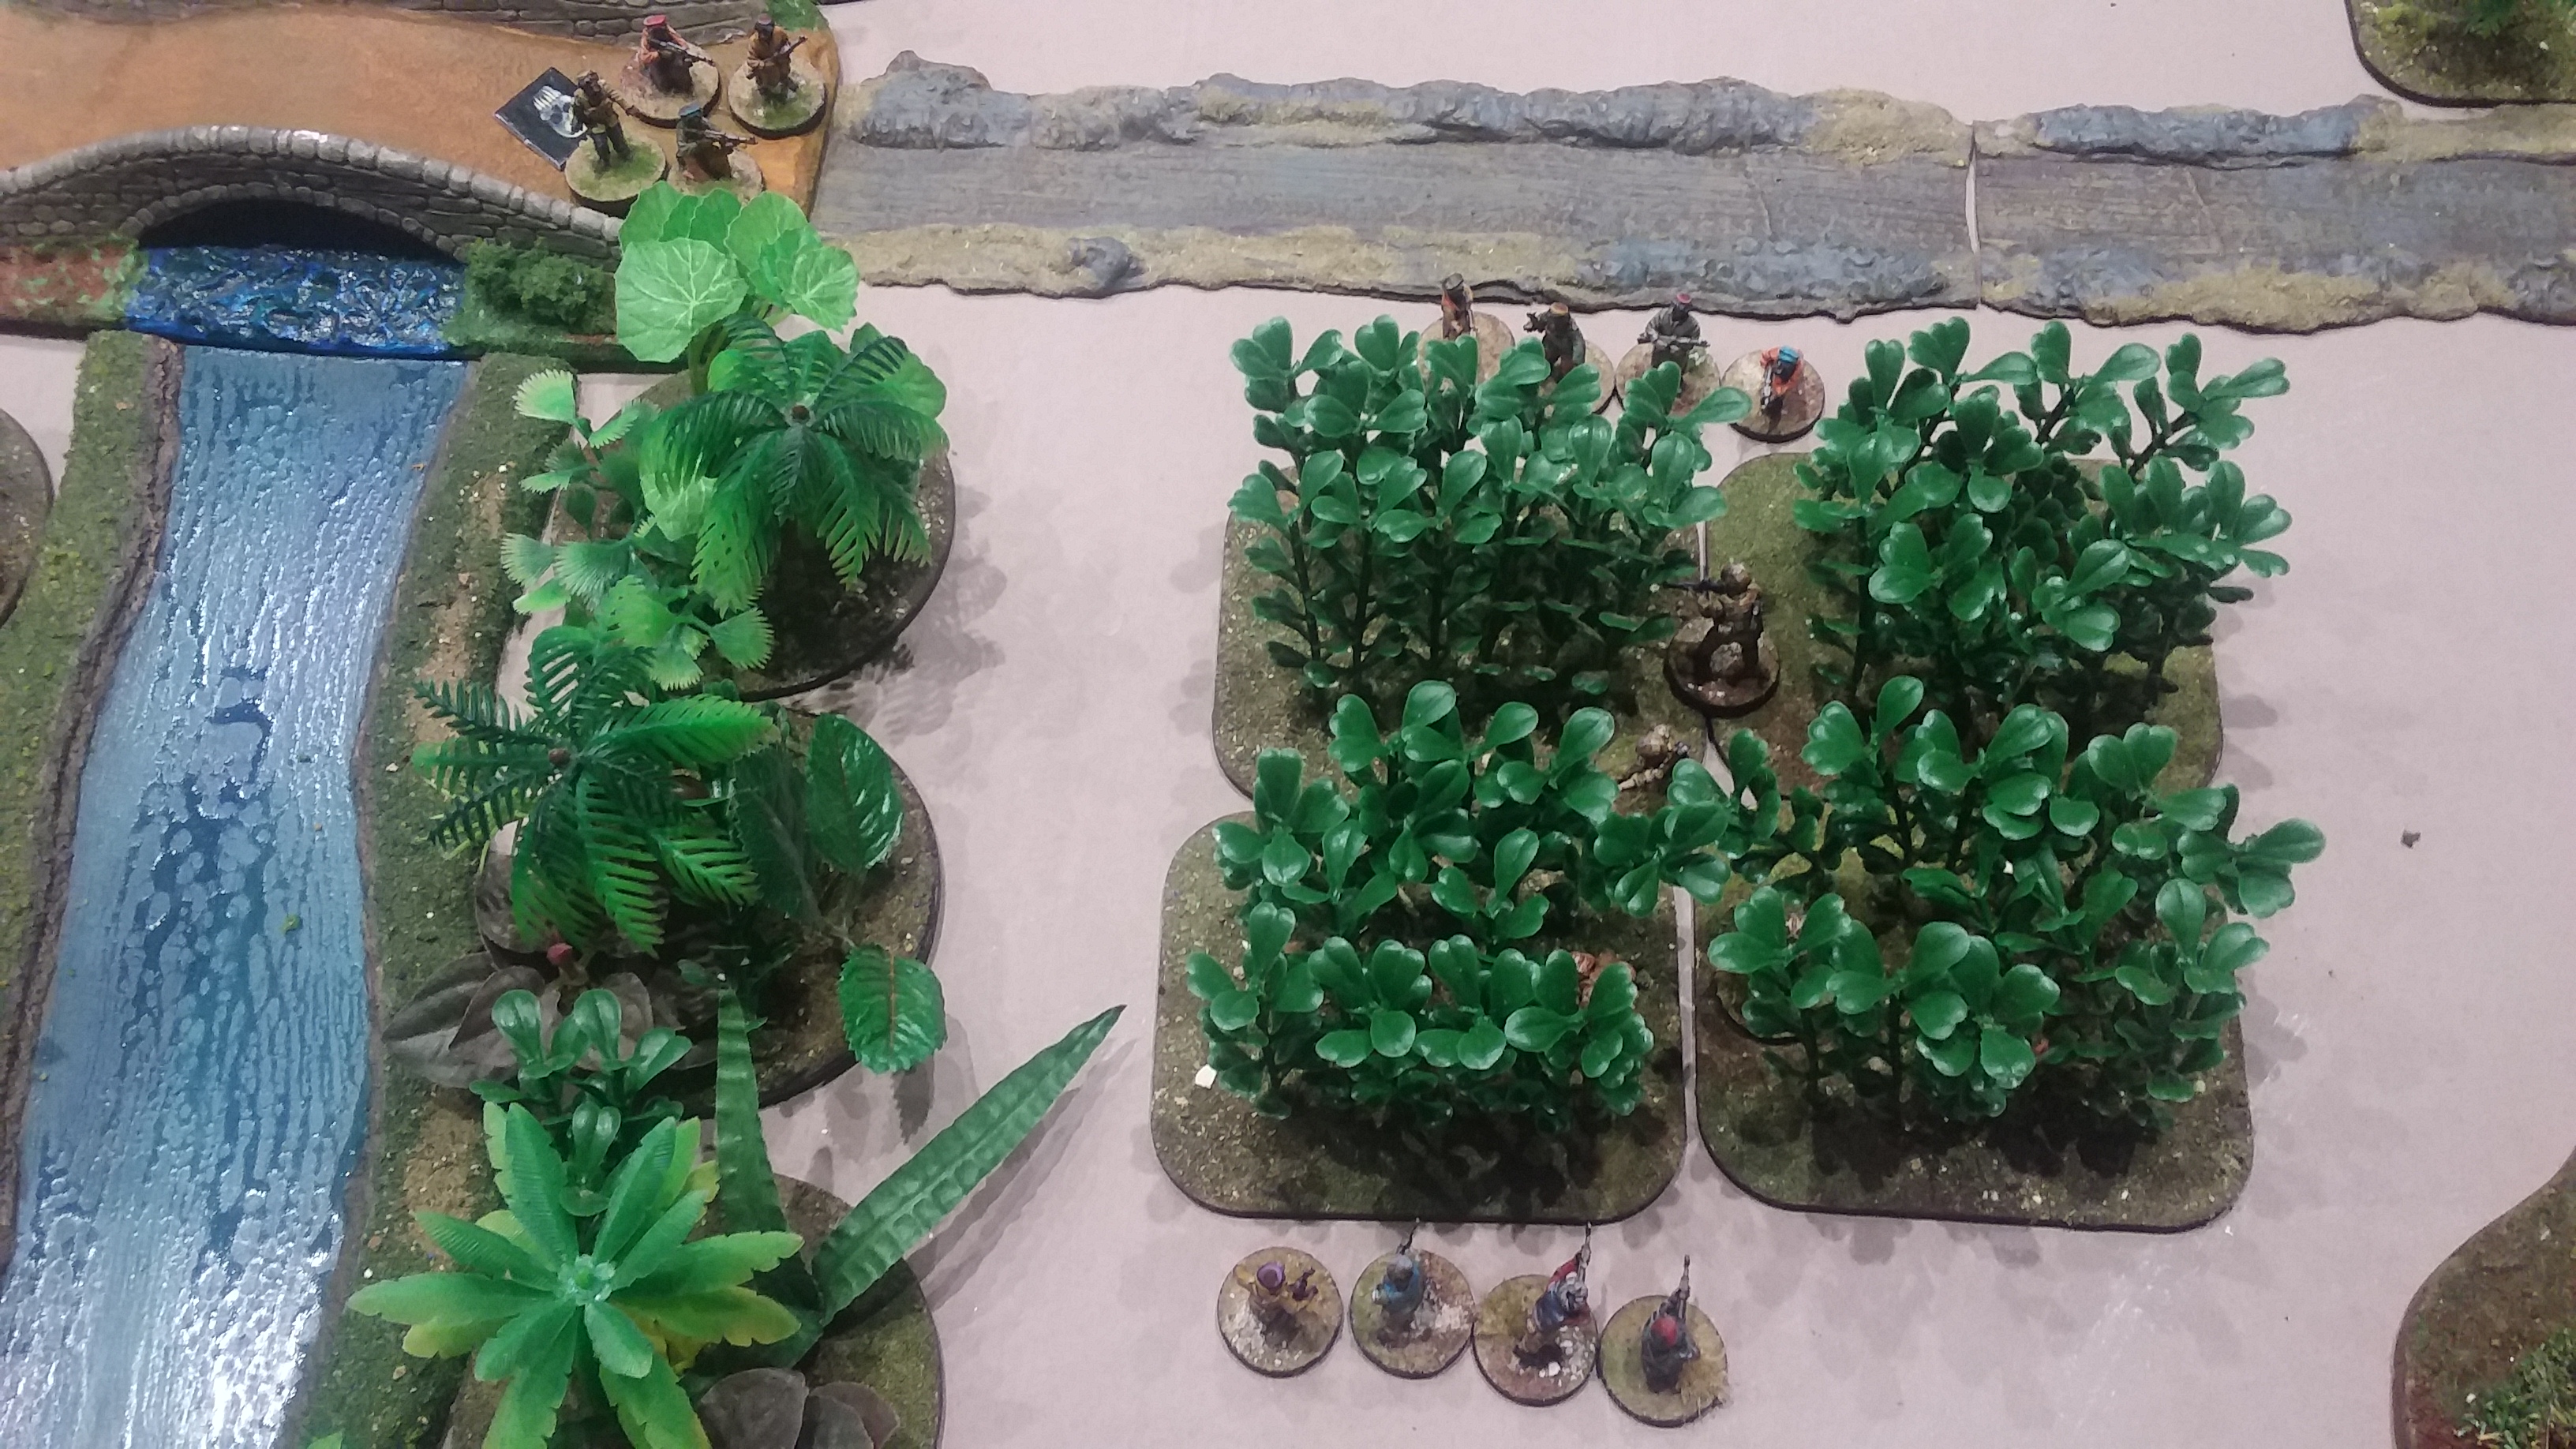
Crossing paths many times Manfred and I  finally found ourselves again together on the same riverbank opposite the town of Nokandoo.

Local natives had spoken of a large Mopane tree in the middle of jungle, but also warned of the “Black God” also lurking in the dense jungle. Dismissive of their superstitions we were both determined to reach the treasure first and claim it for ourselves.”

Lord Archibald Thurston 1872.

And so the game begins!!!

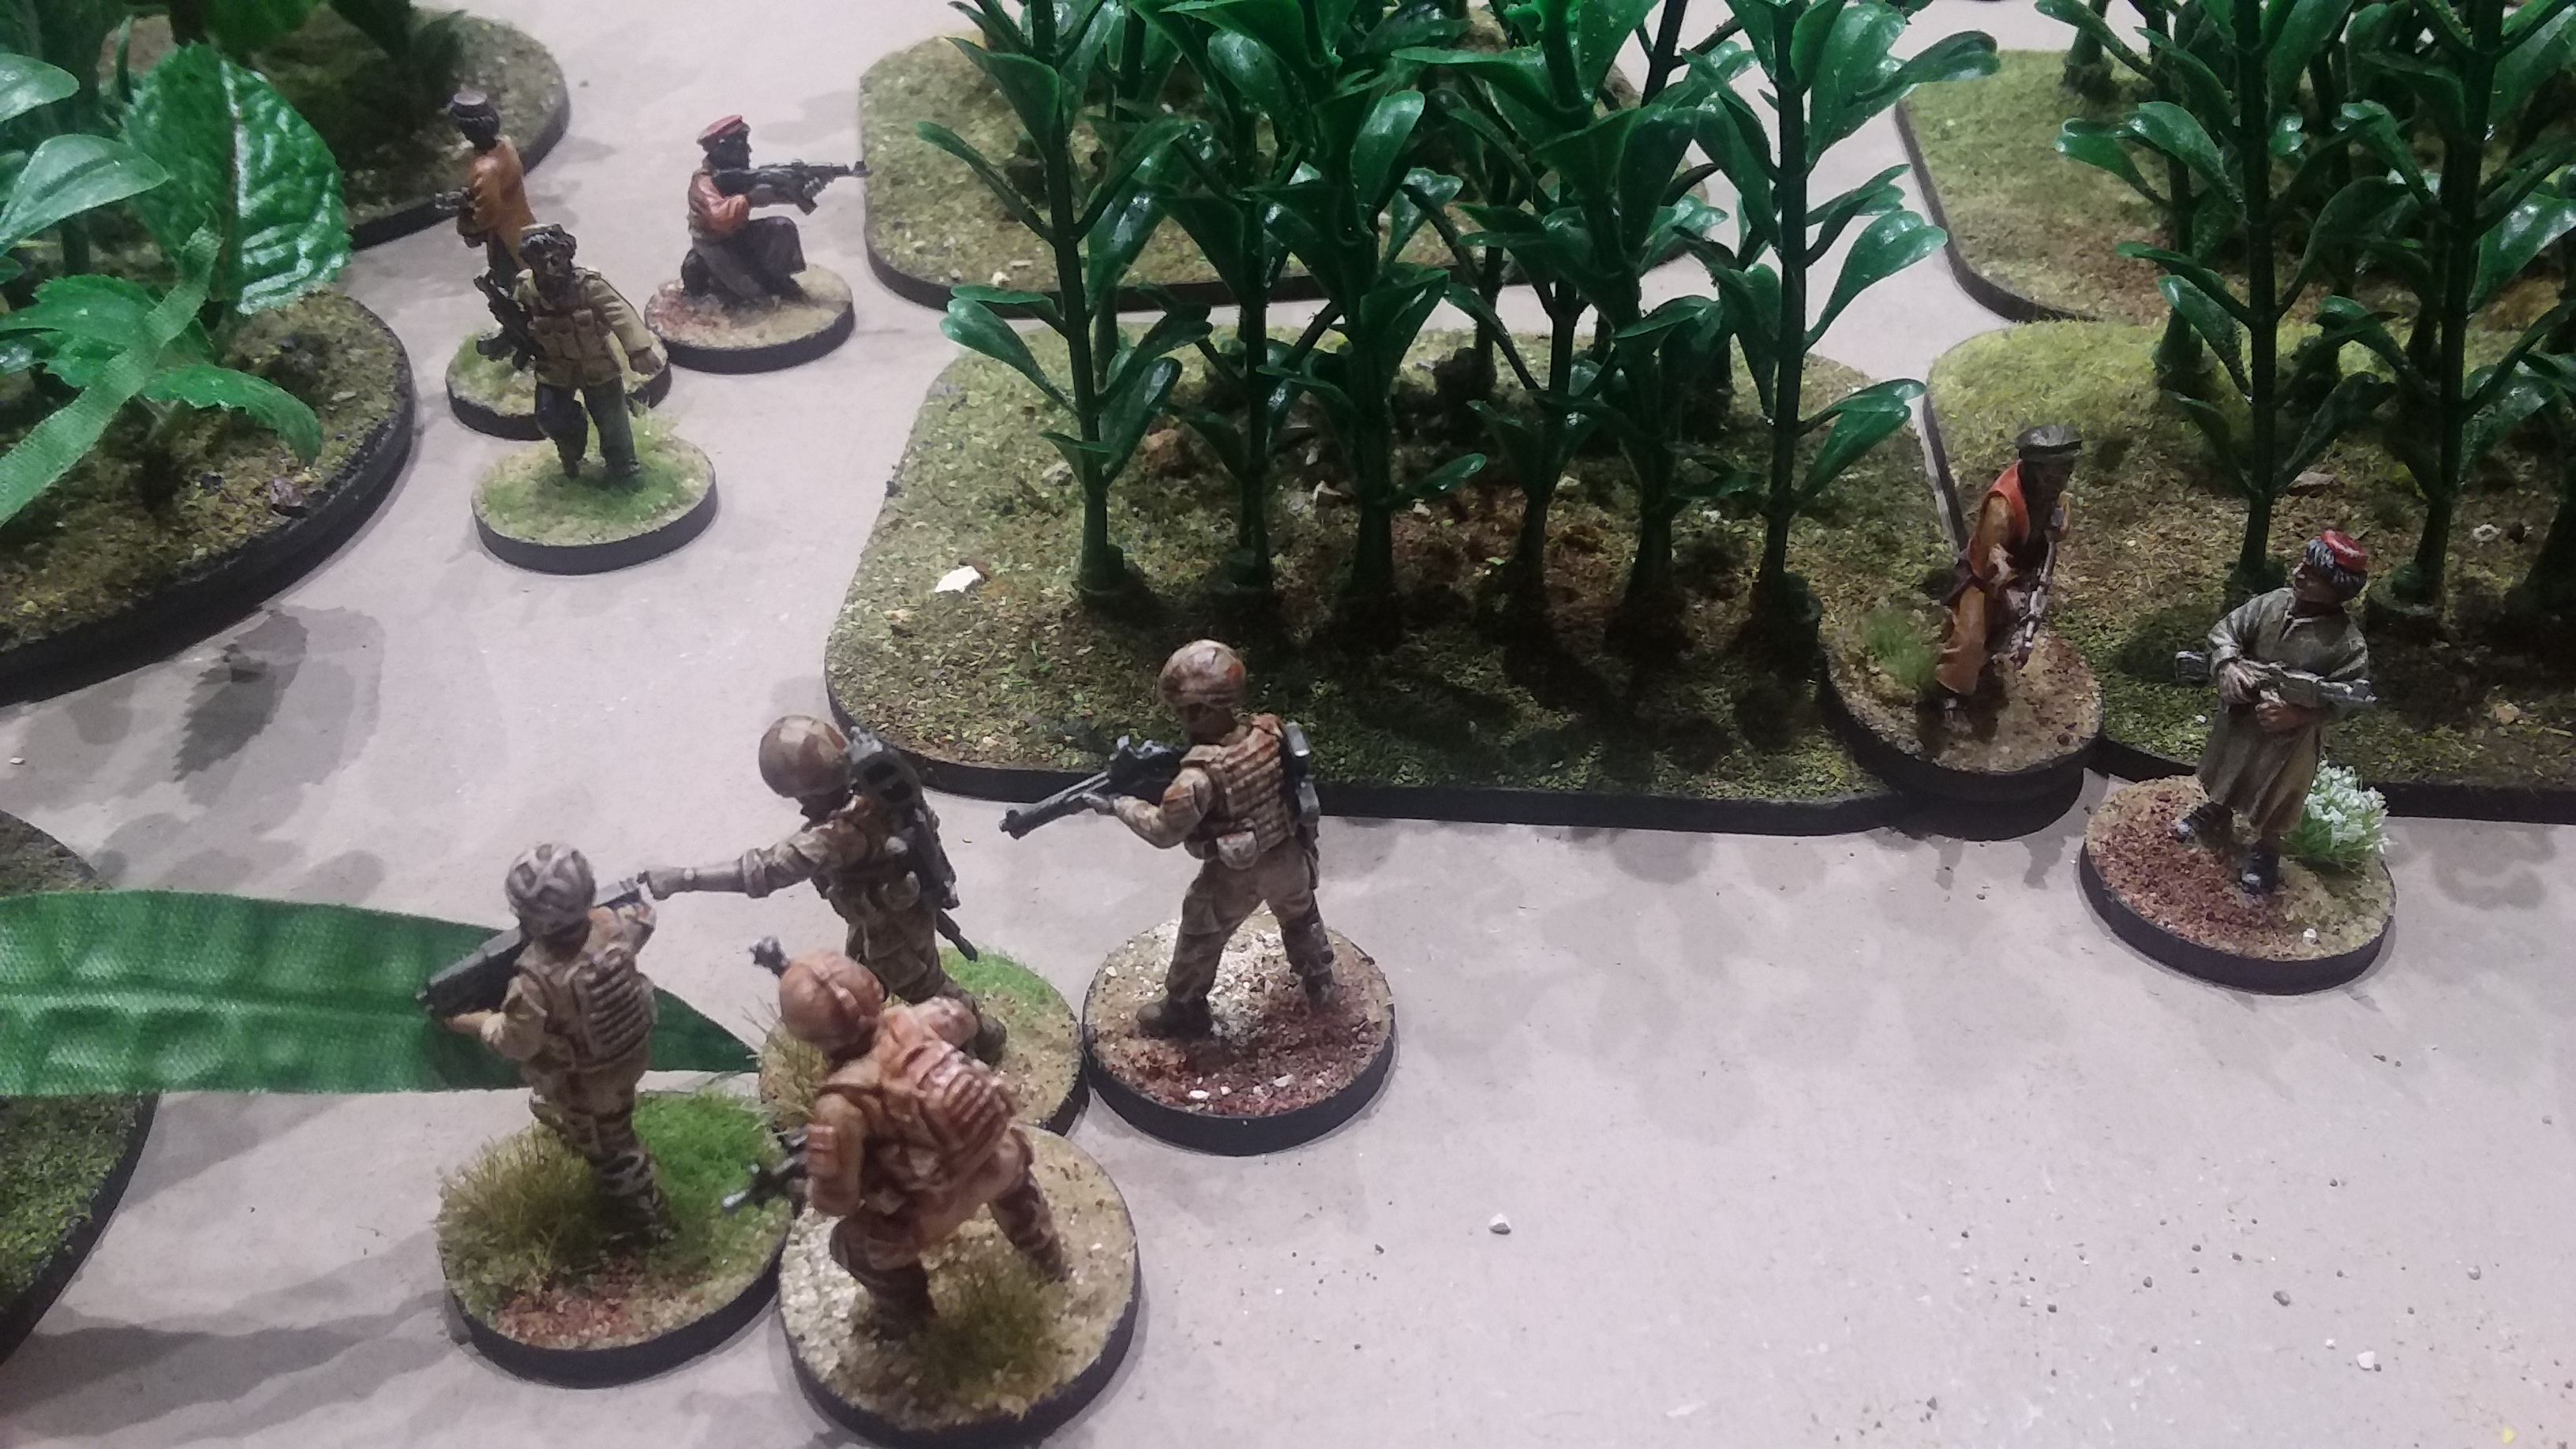
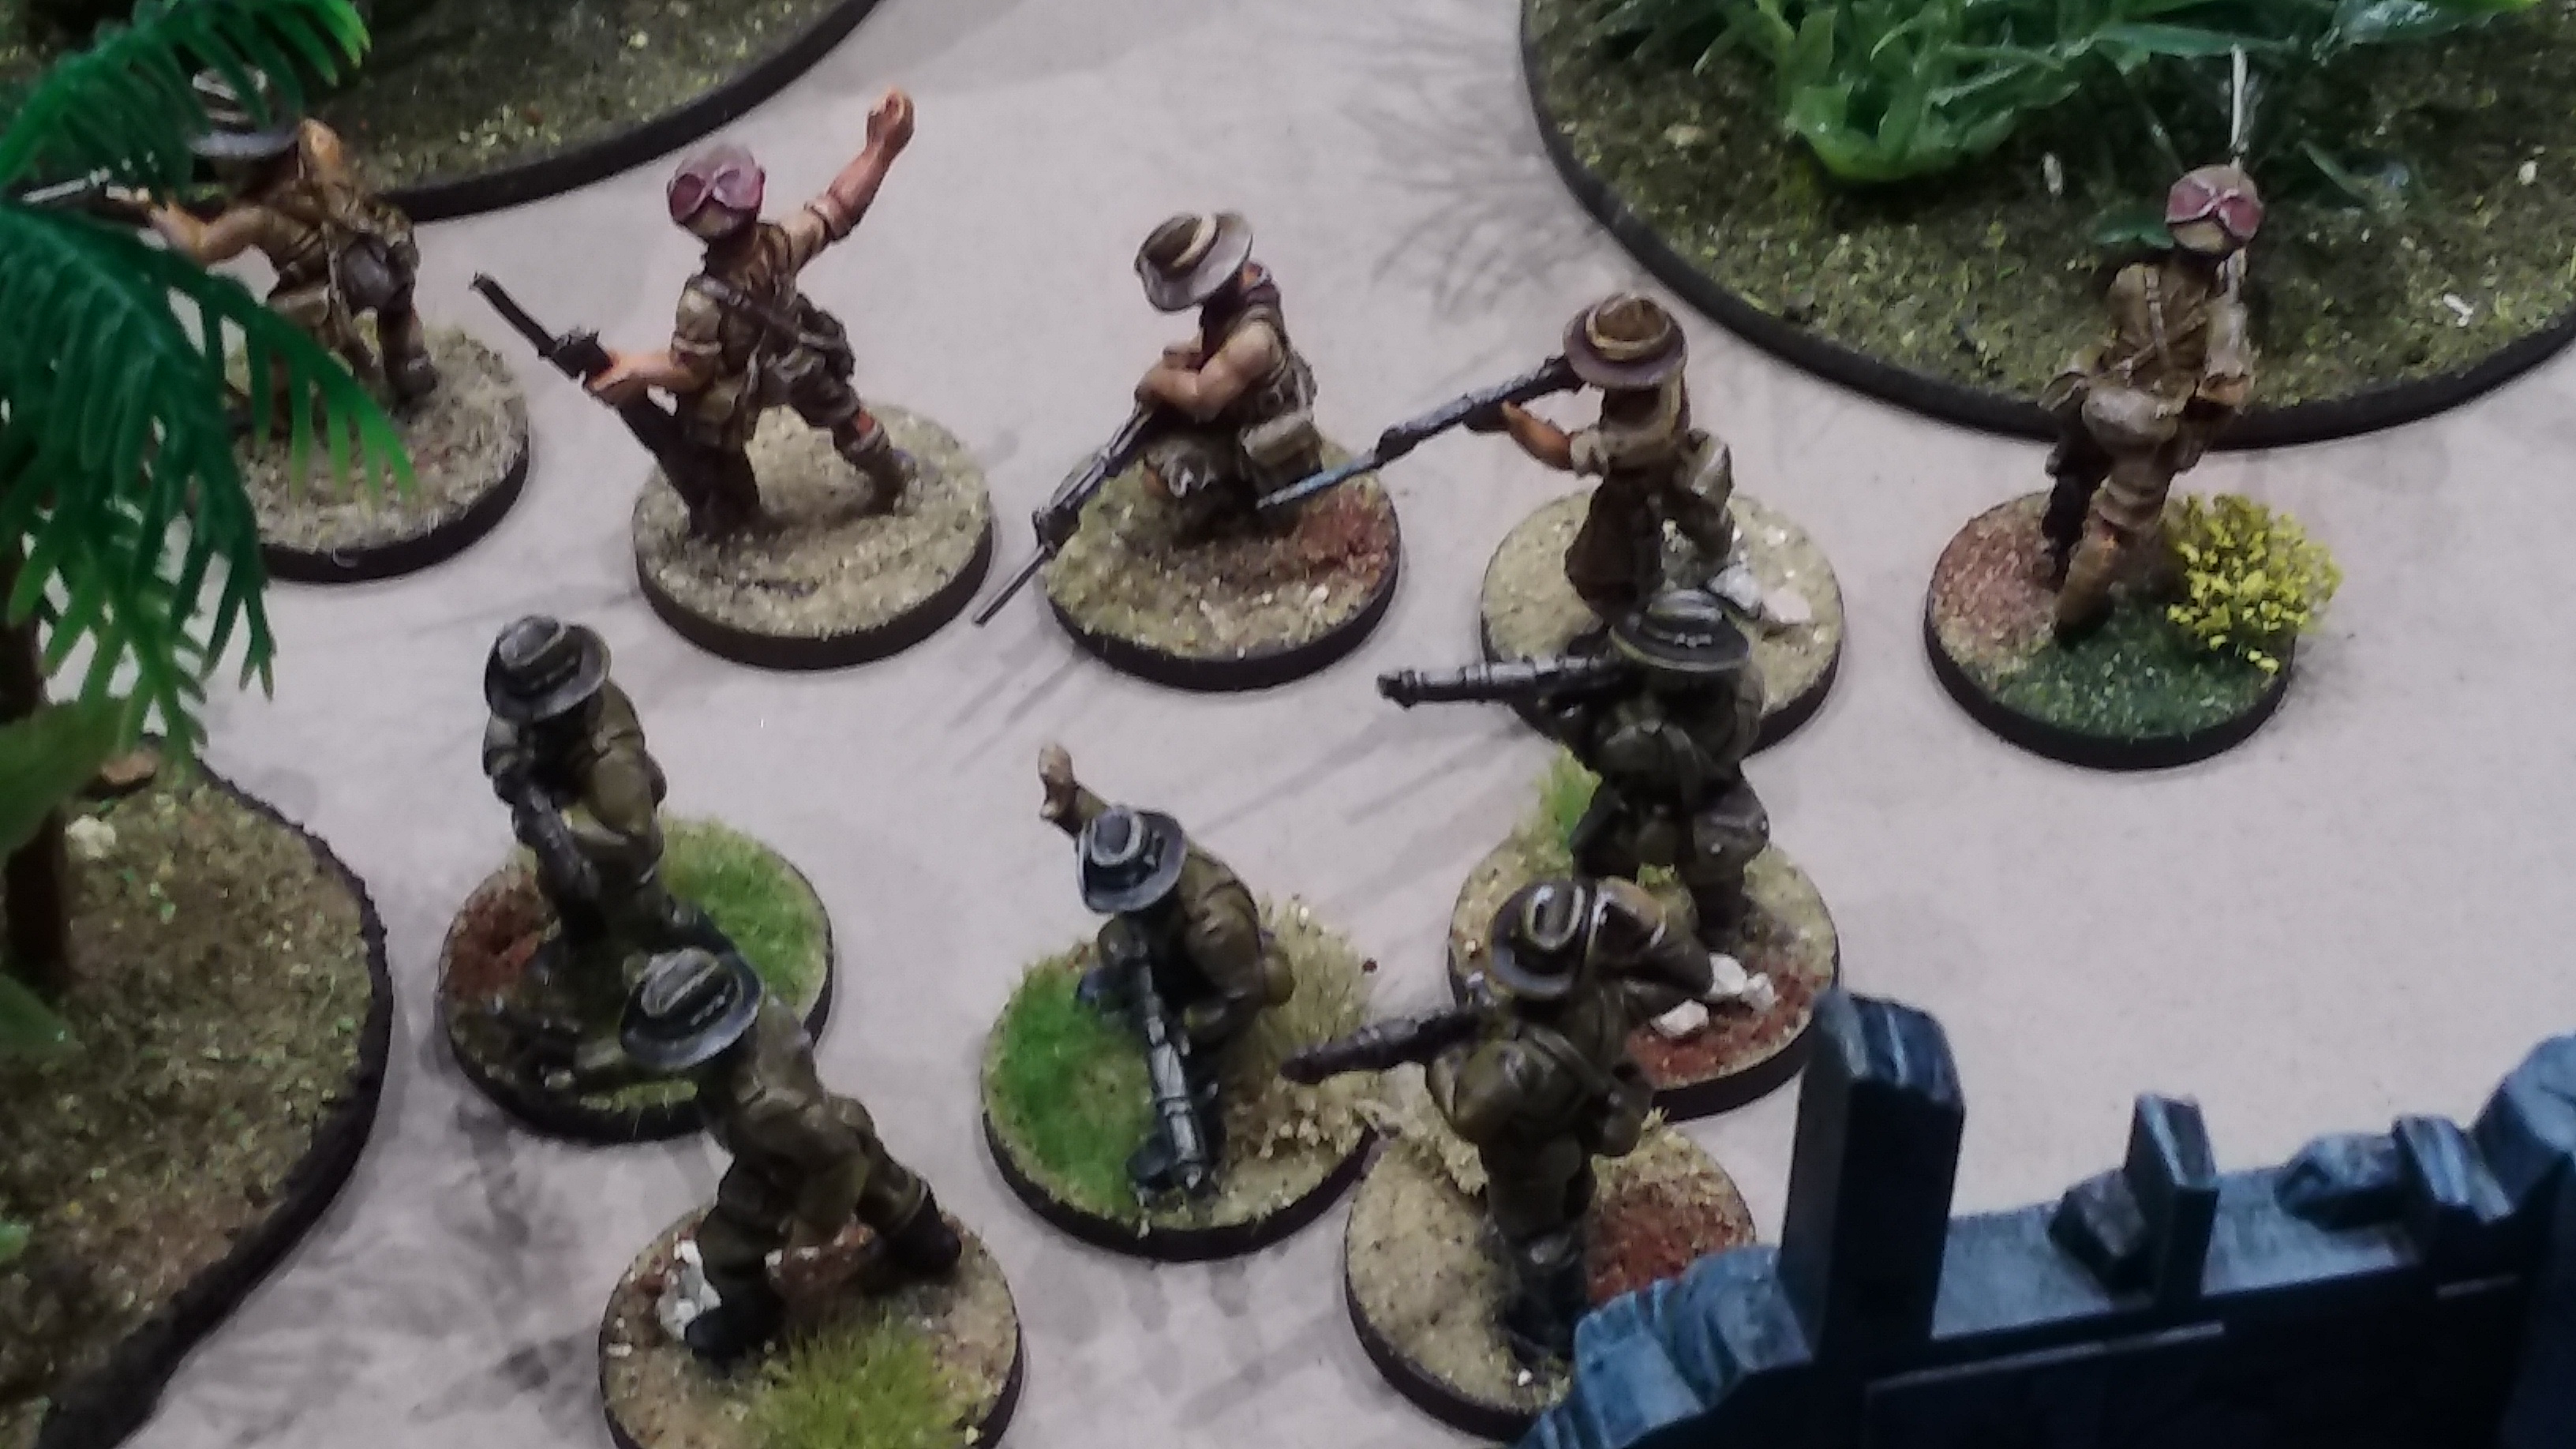
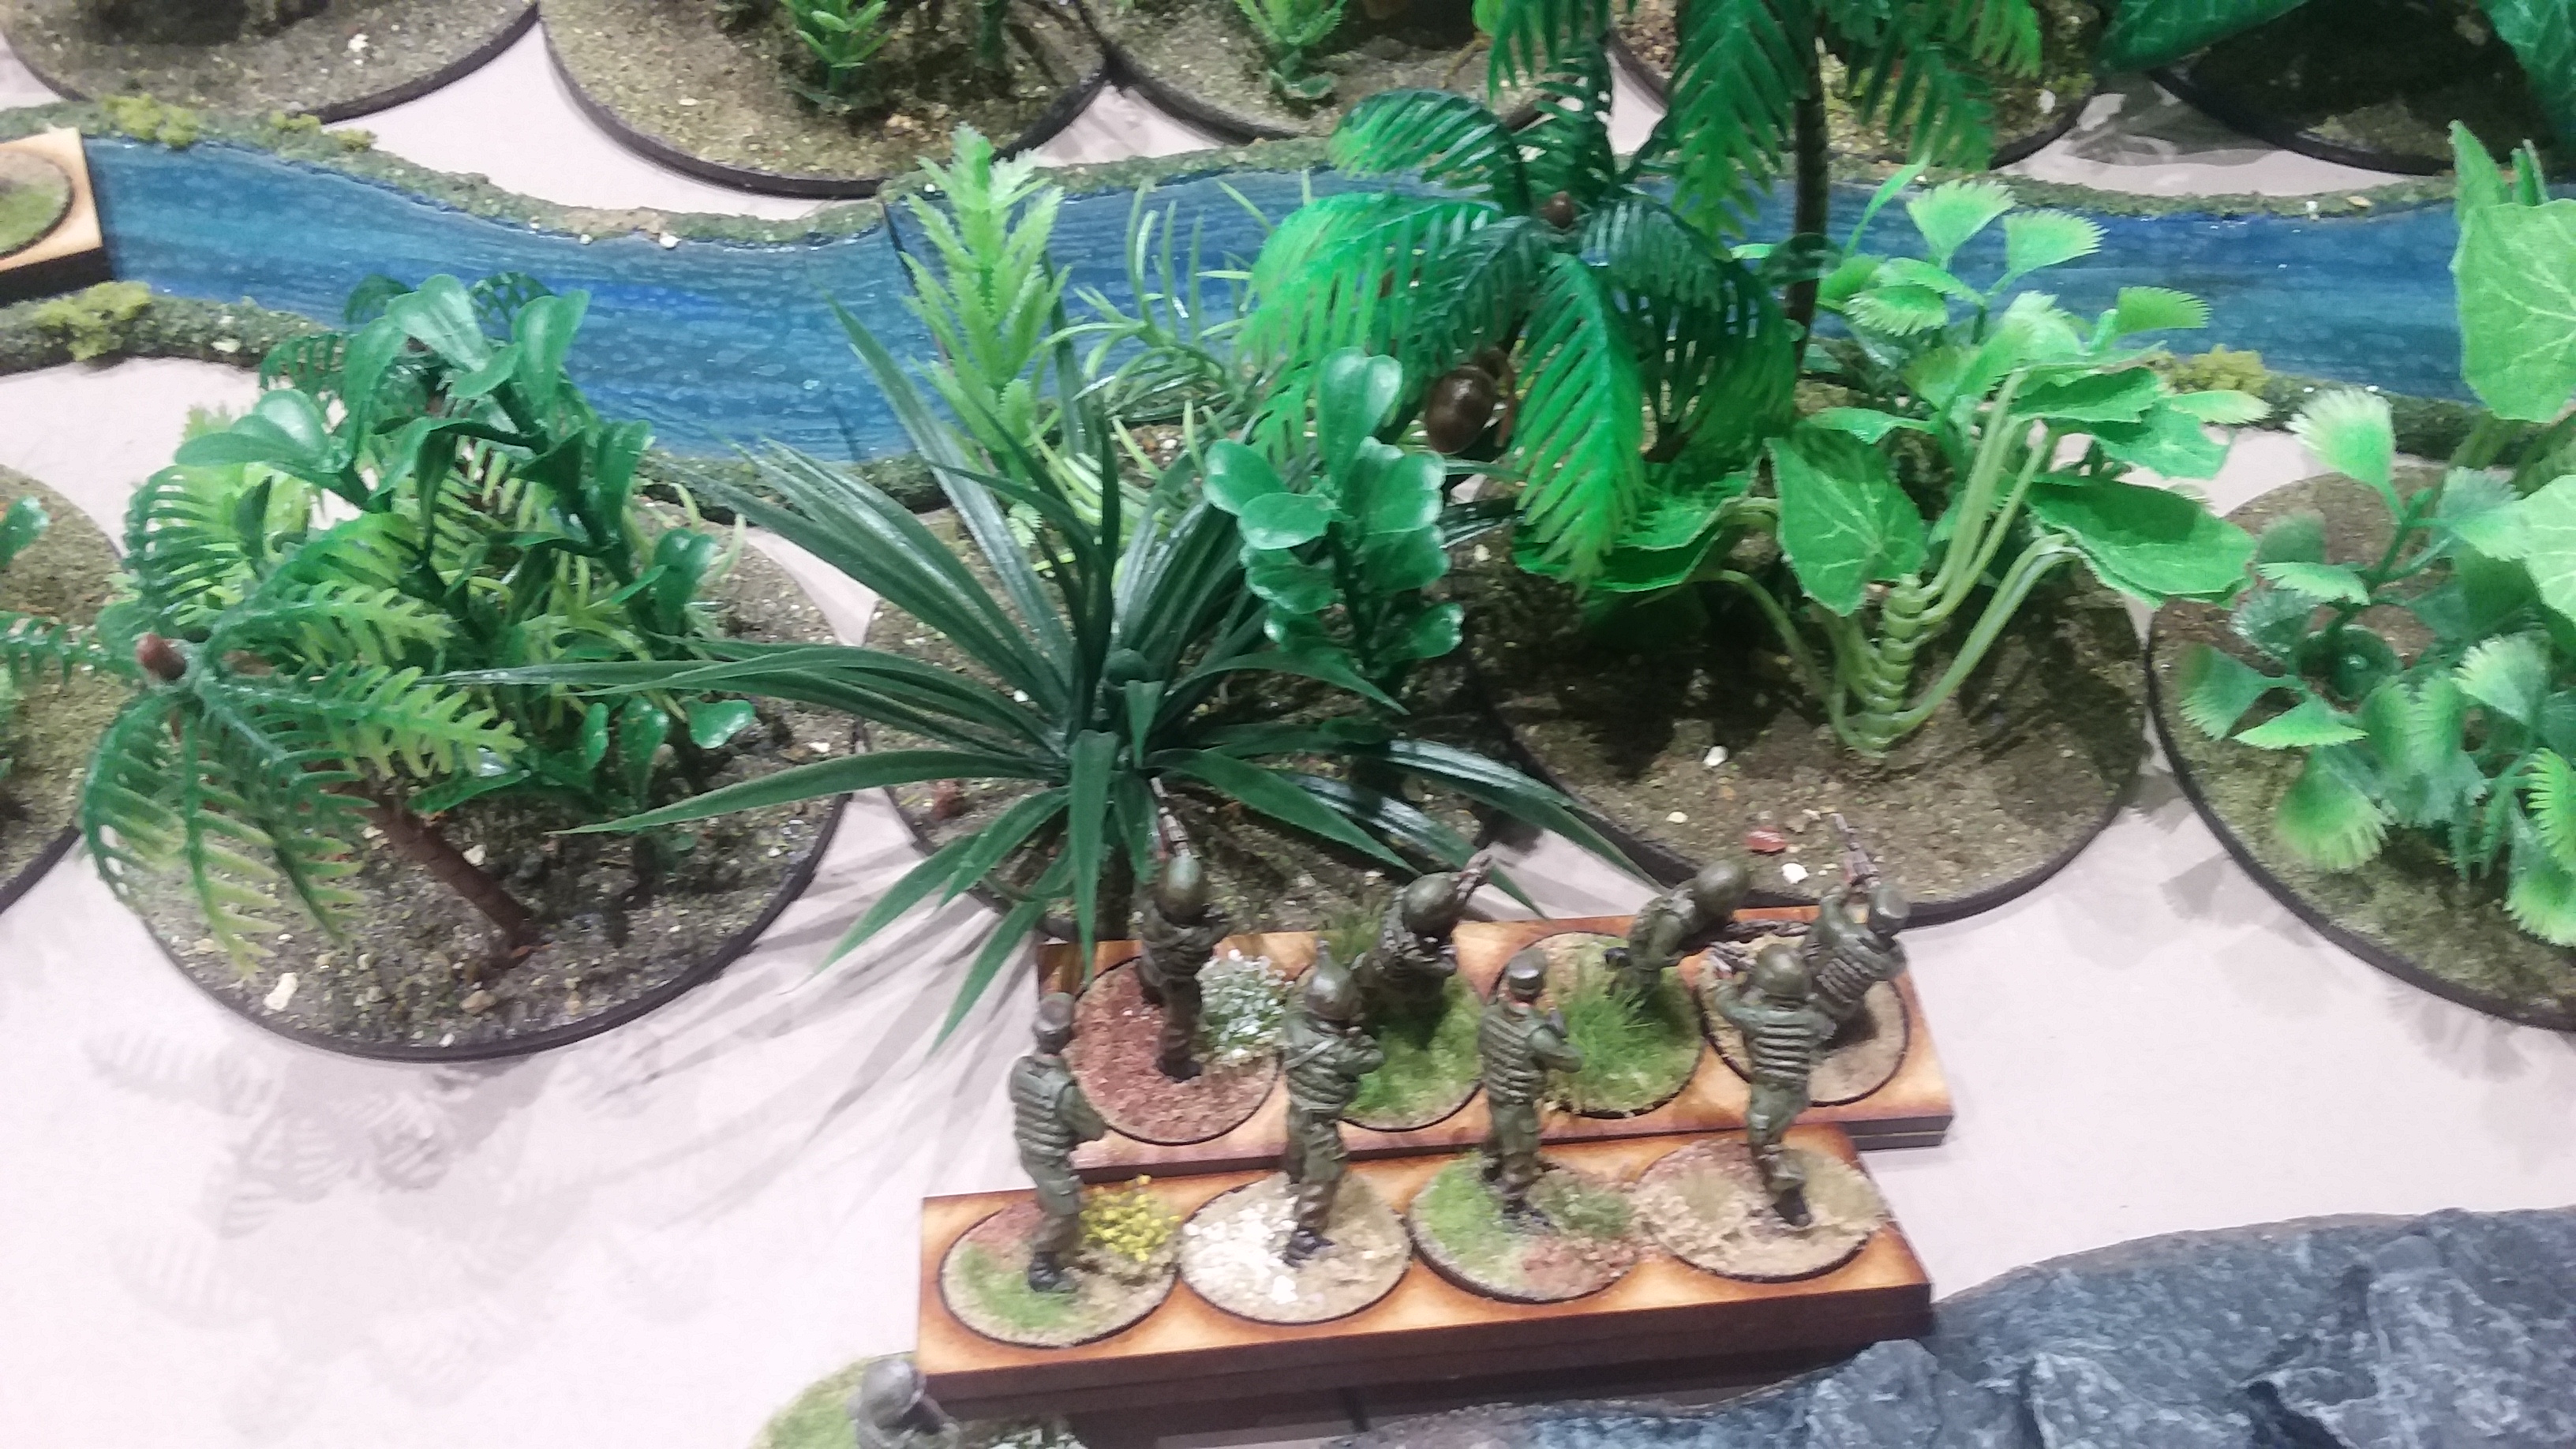
Both expeditions were of similar size consisting of a few characters (heroes), former military personnel and some trained Askaris. The British forces were lead by Andrew W and the Germans by David K.

The black God and other jungle nasties were controlled by myself. These consisted of the Black God, various jungle animals, “The Ghost who Walks”, and if enough jungle animals were killed, the “King of the Apes” and his retinue. At the start of each player turn they would roll two dice and on a roll of a 7, 11 or a double a “nastie” determined by myself would arrive. On a roll of “box cars” the “Ghost who Walks” would arrive and once six animals were killed Tarzan, Jane, and Cheetah would turn up to protect the jungle.

Un-be-knowns to the players wild animals would only attack if a unit “ran” (moved at the run)  away from them or moved towards them.

Picture1

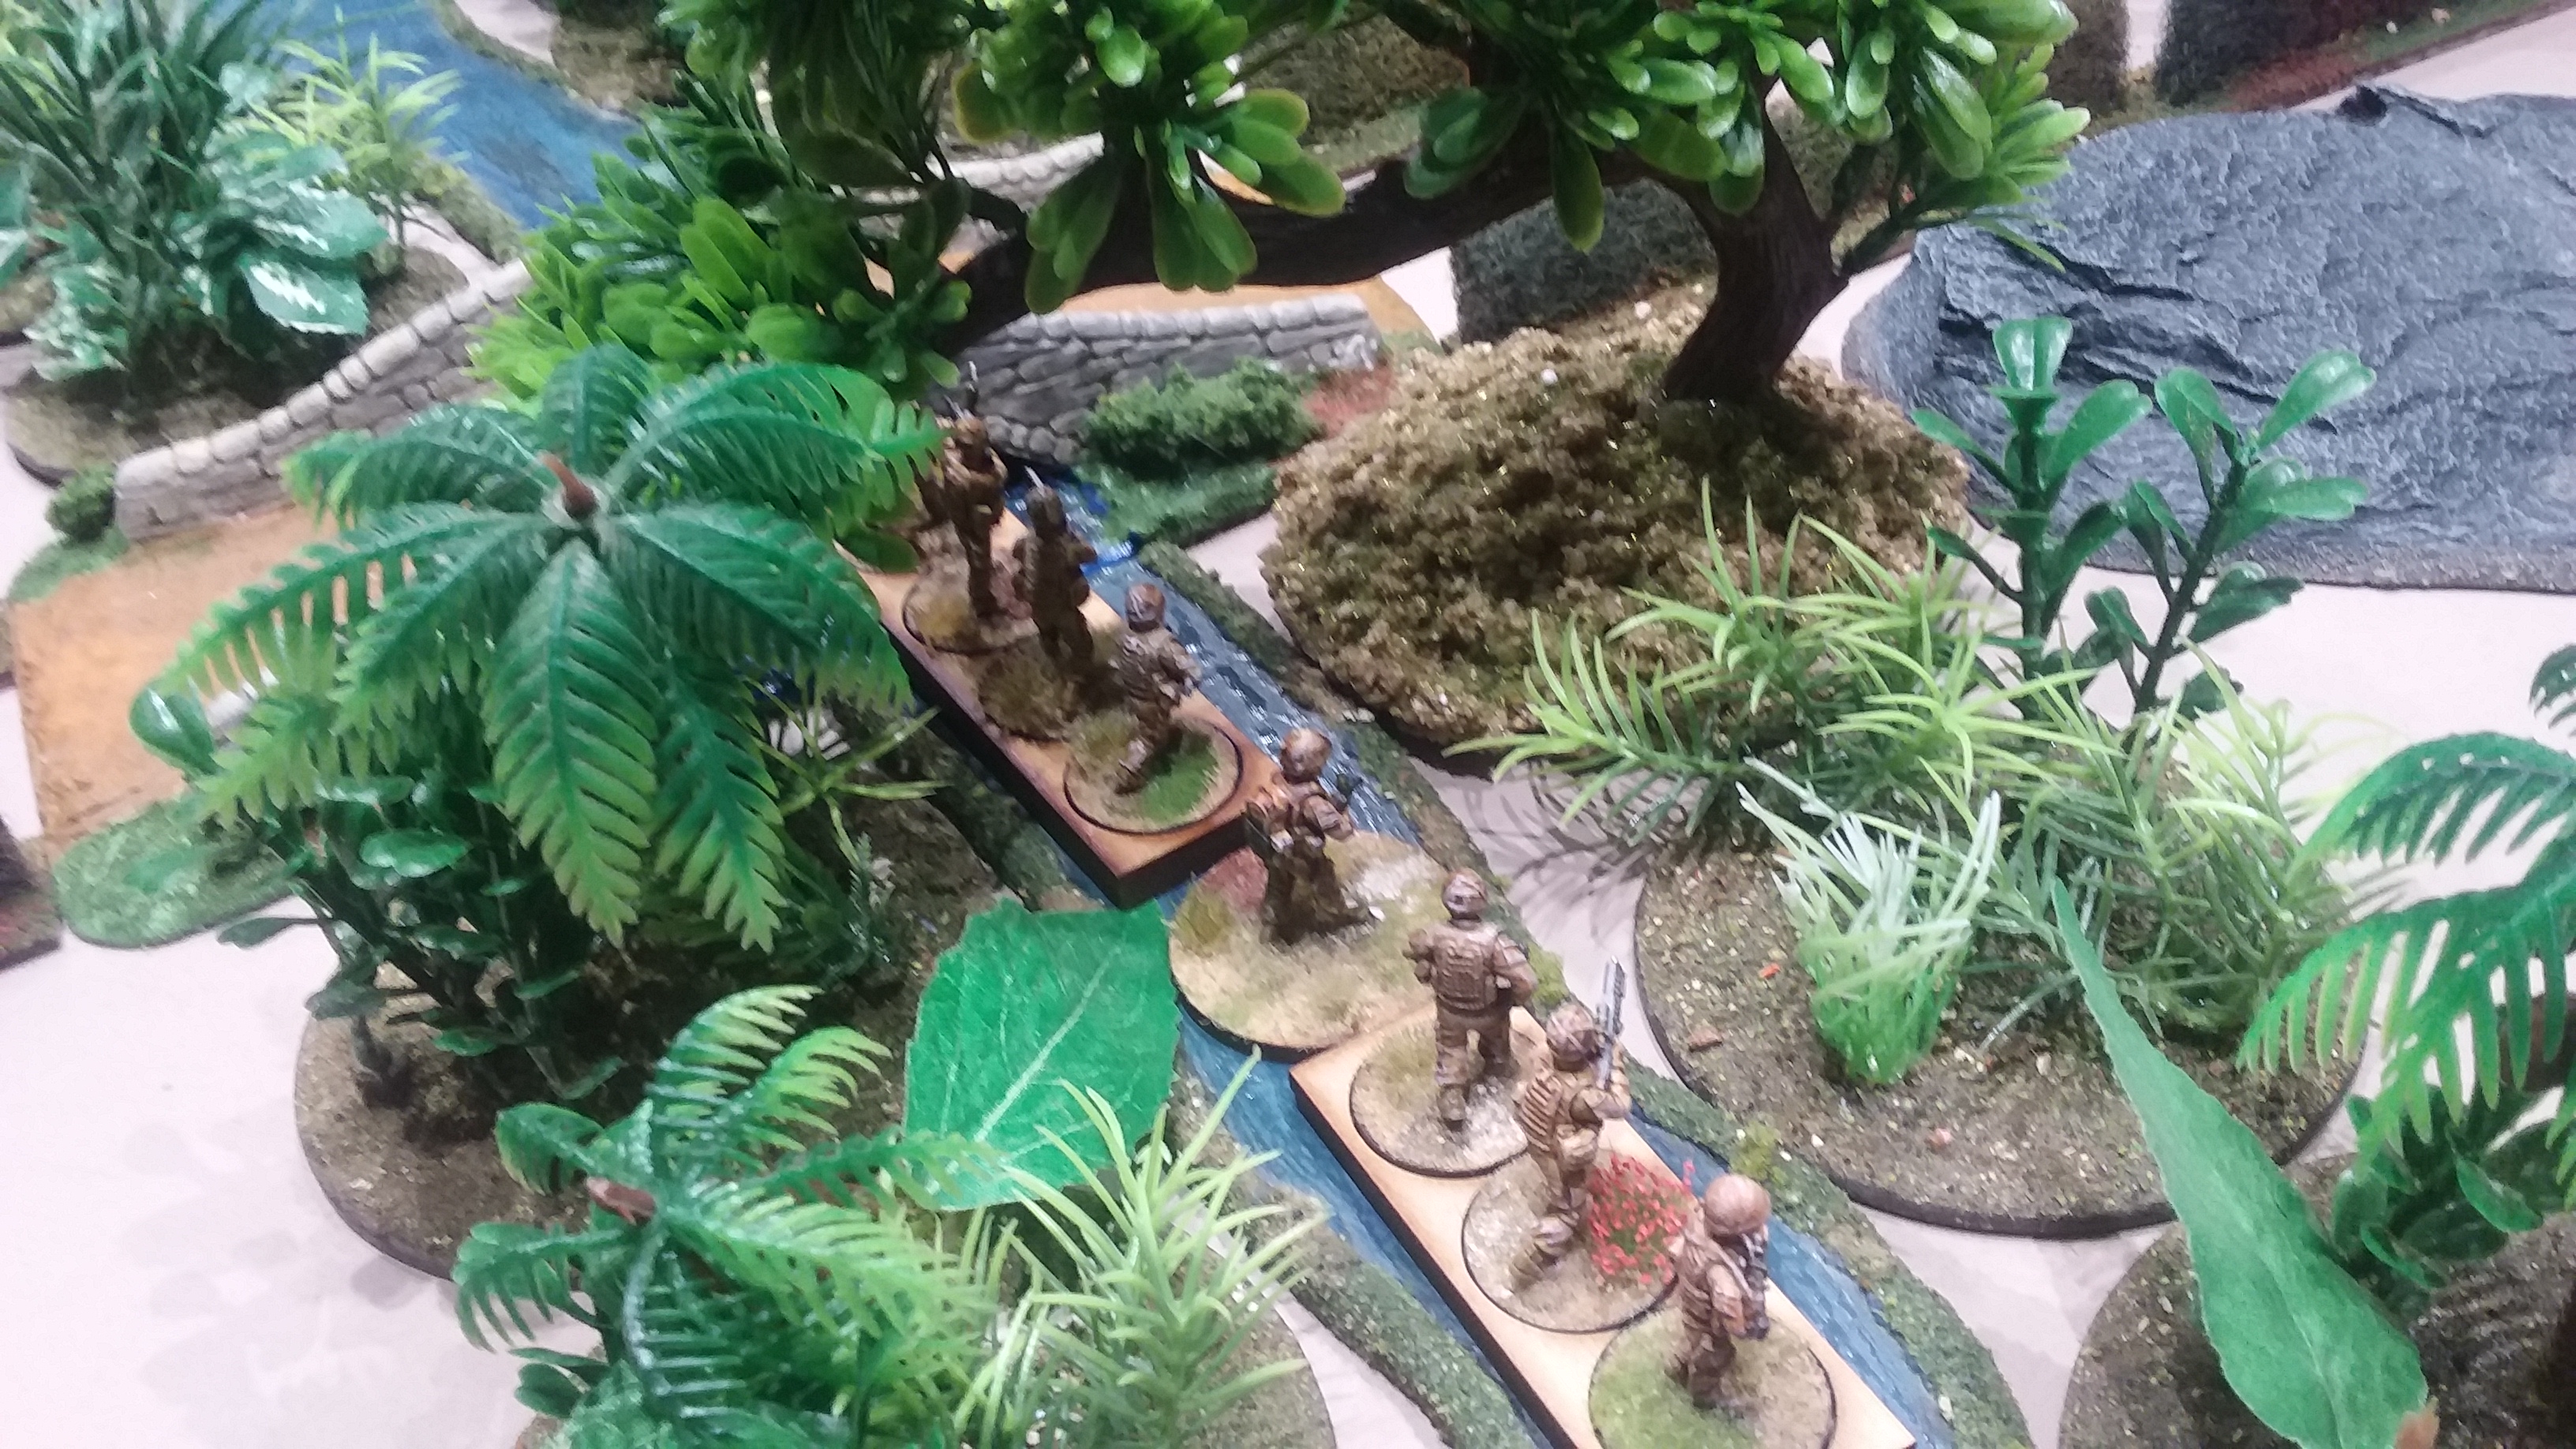
Movement was made unpredictable by the dense jungle and the many and varied paths.

Each time a unit moved to a fork in a path they needed to roll a dice to determine which direction they travelled in. If accompanied by a hero they did not need to dice as we all know that heroes  always know in which direction to travel.

Initially both sides acted quite independently trying to find the Mopane tree and the treasure. Several units were travelling around in circles due to the random movement rules.

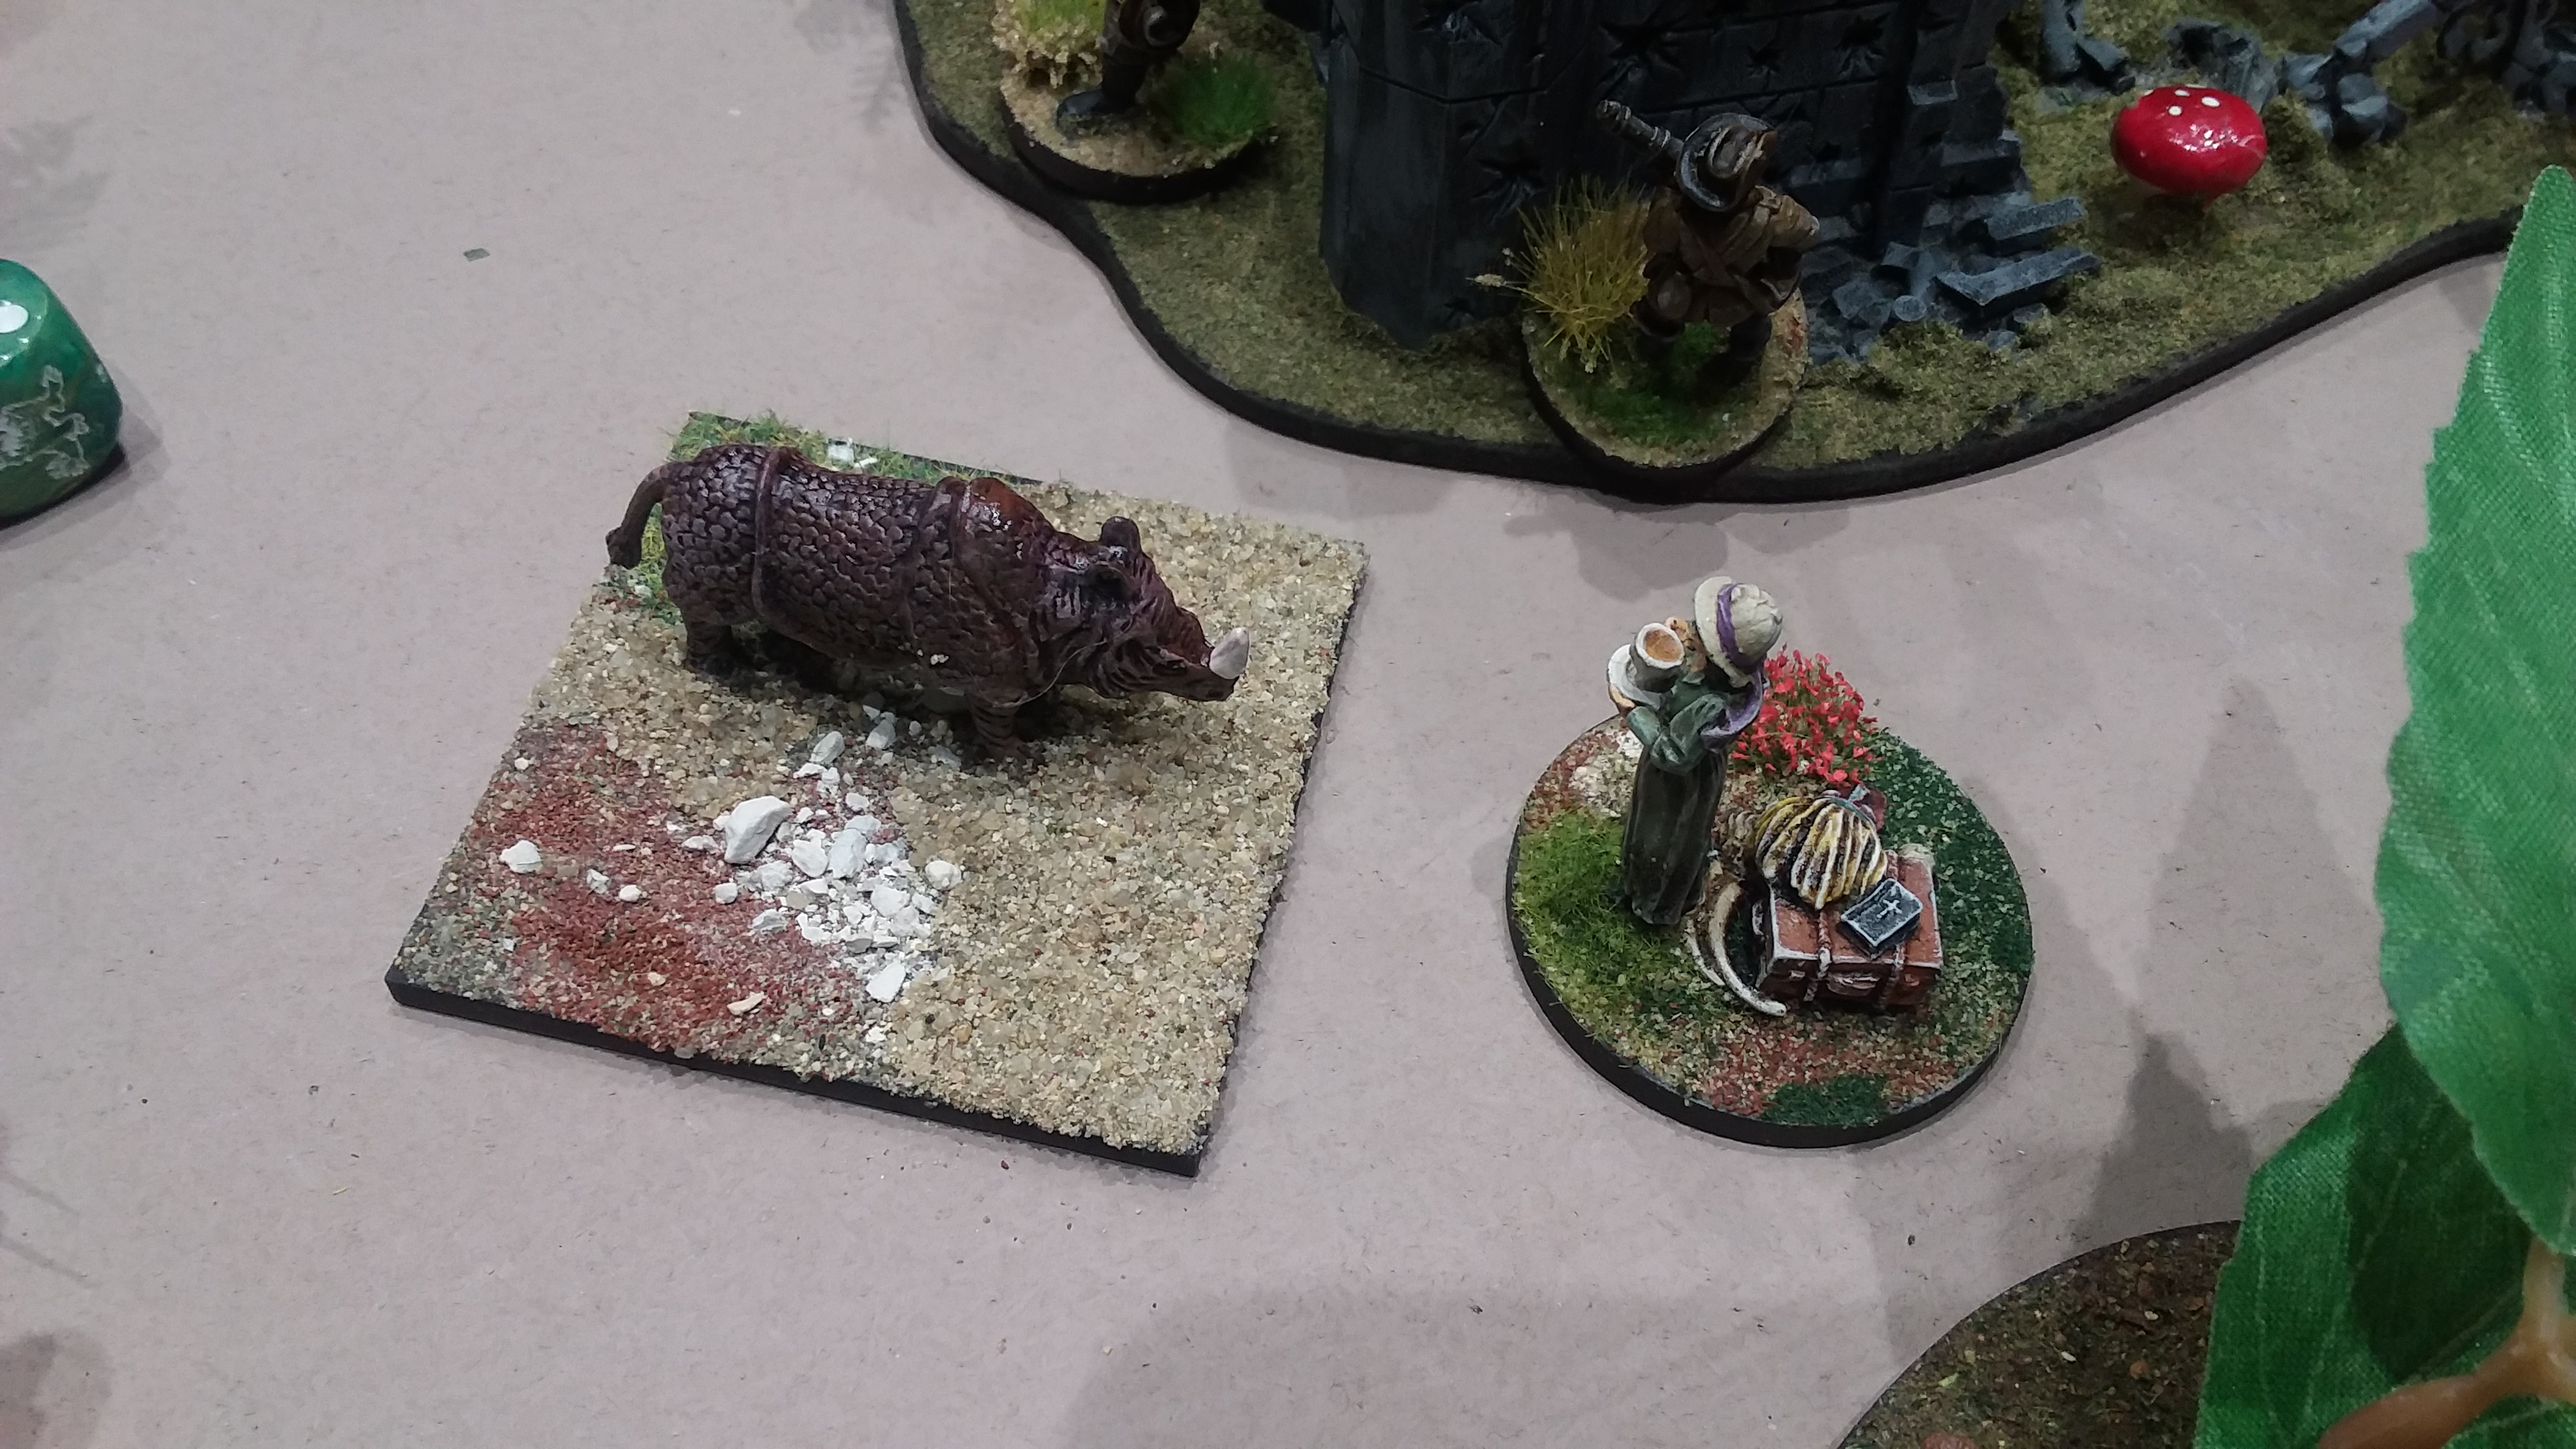
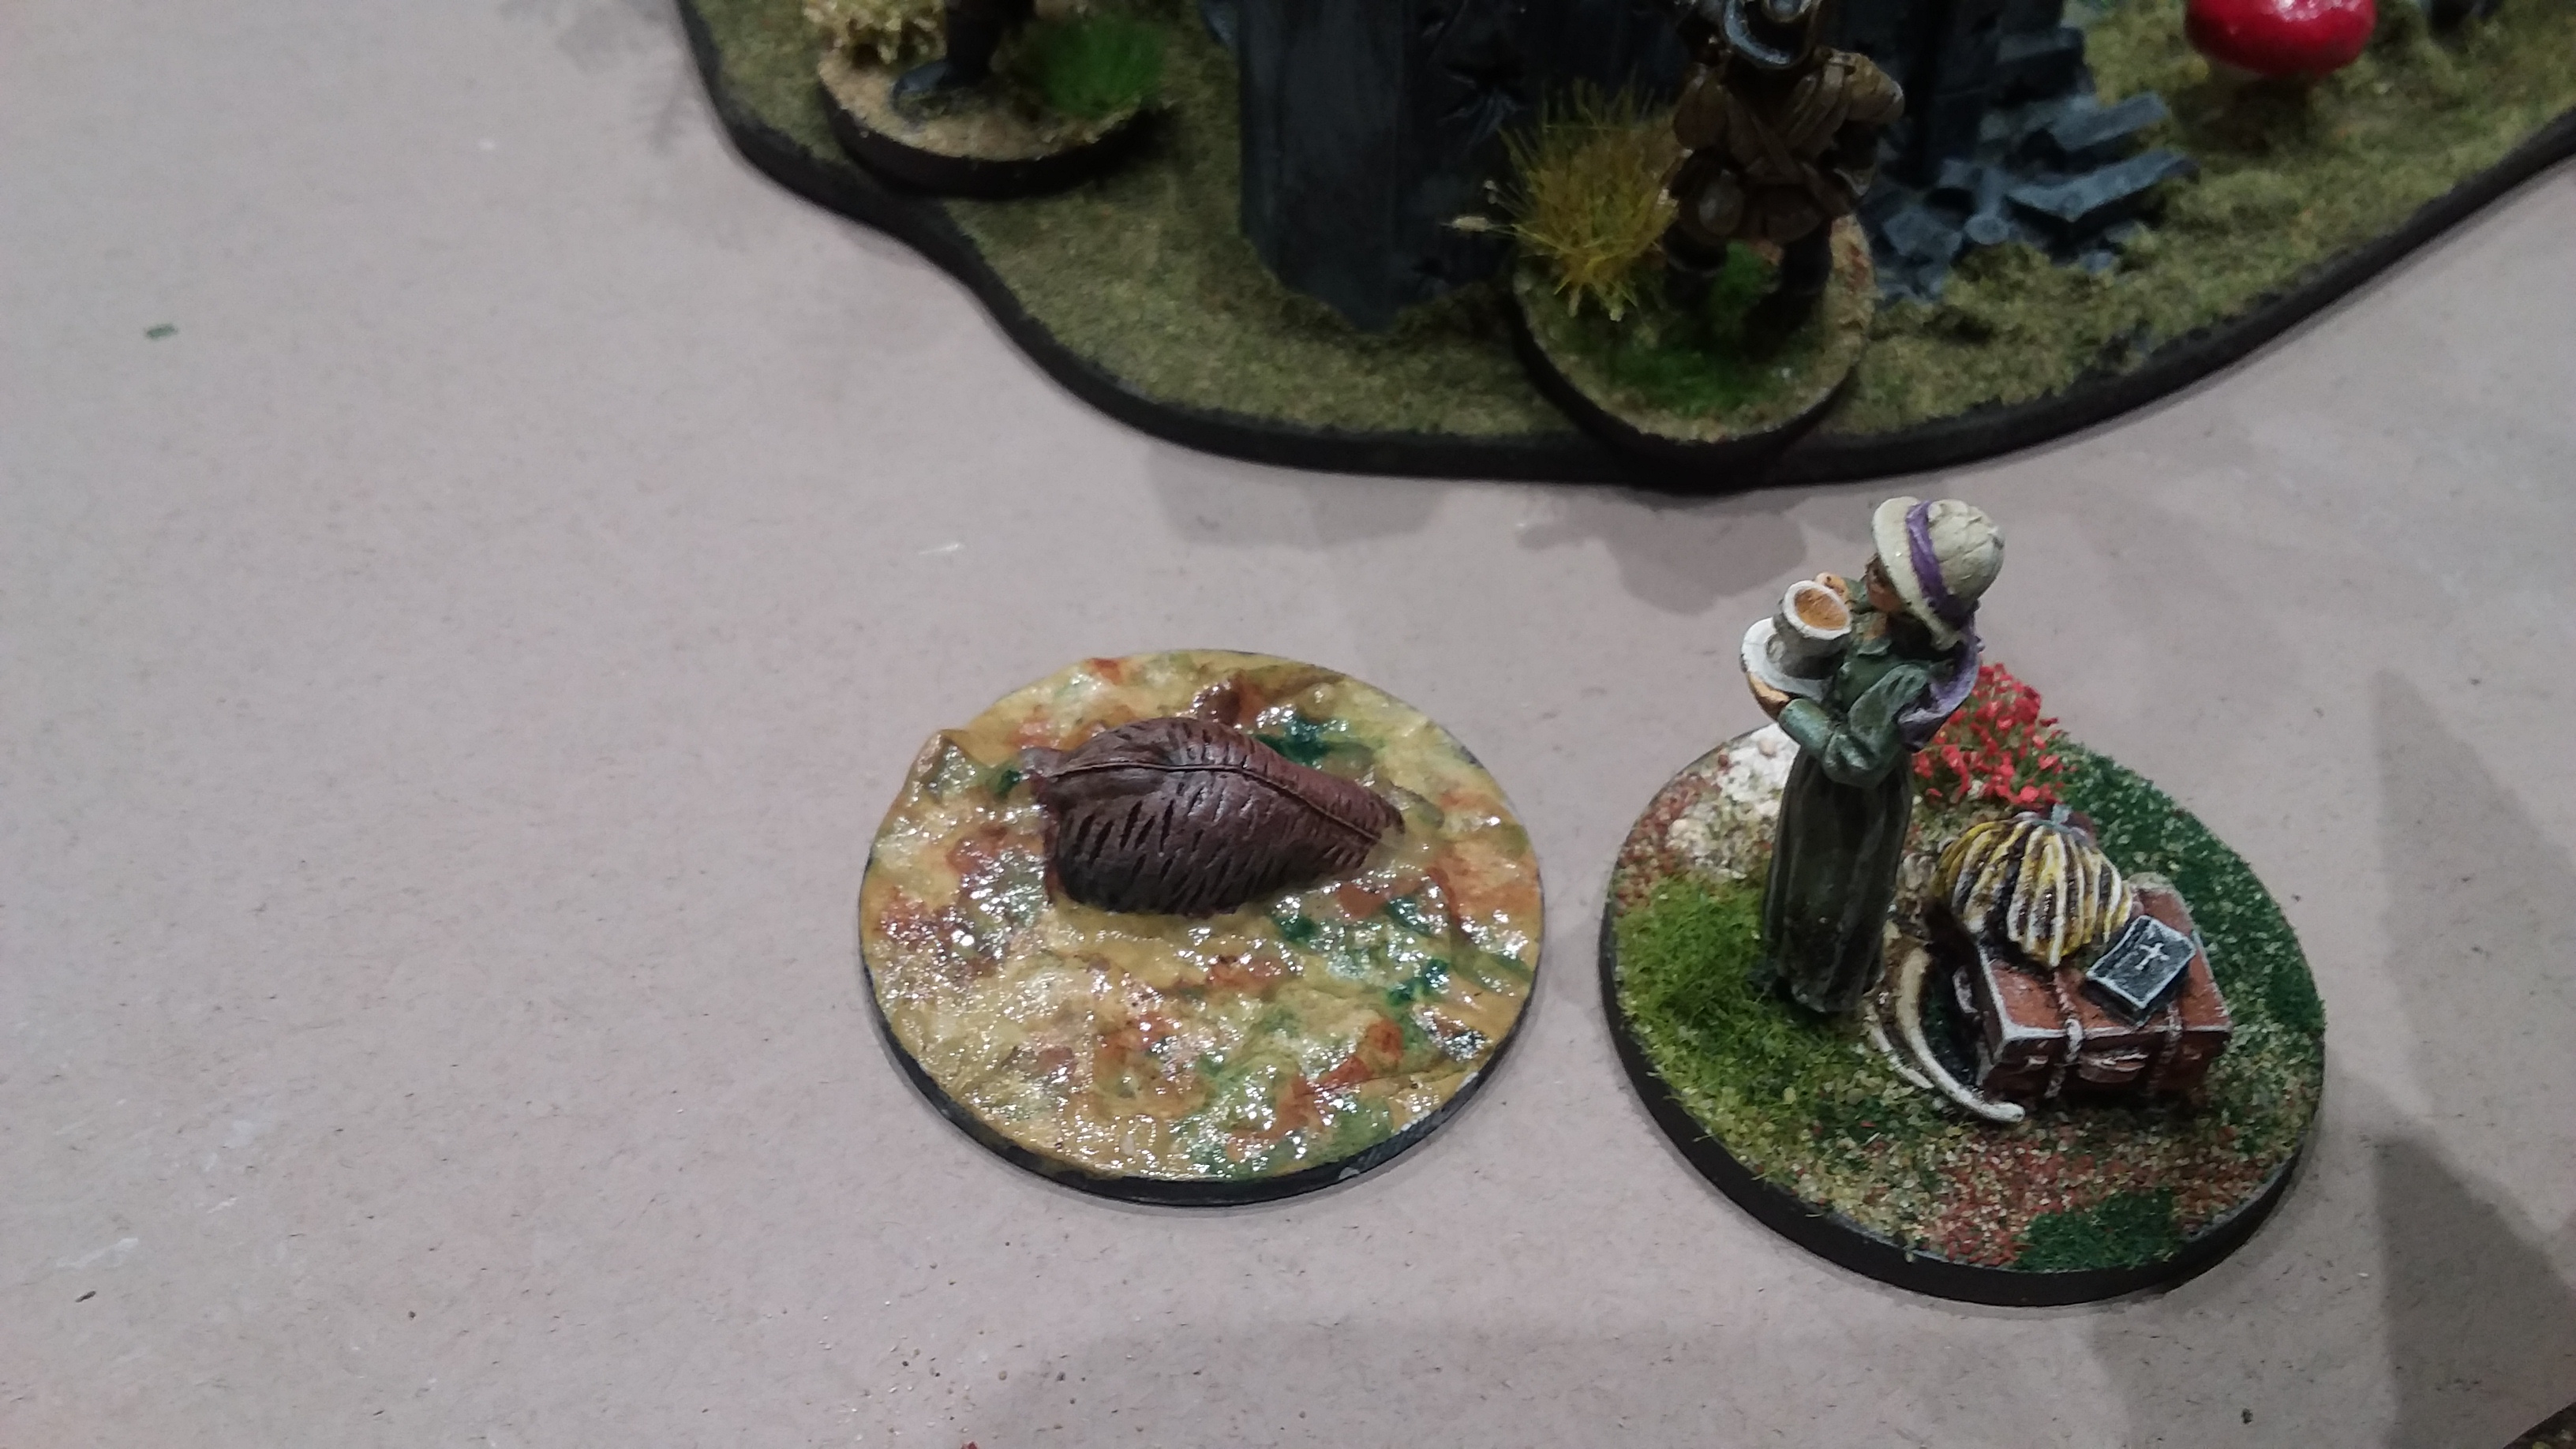
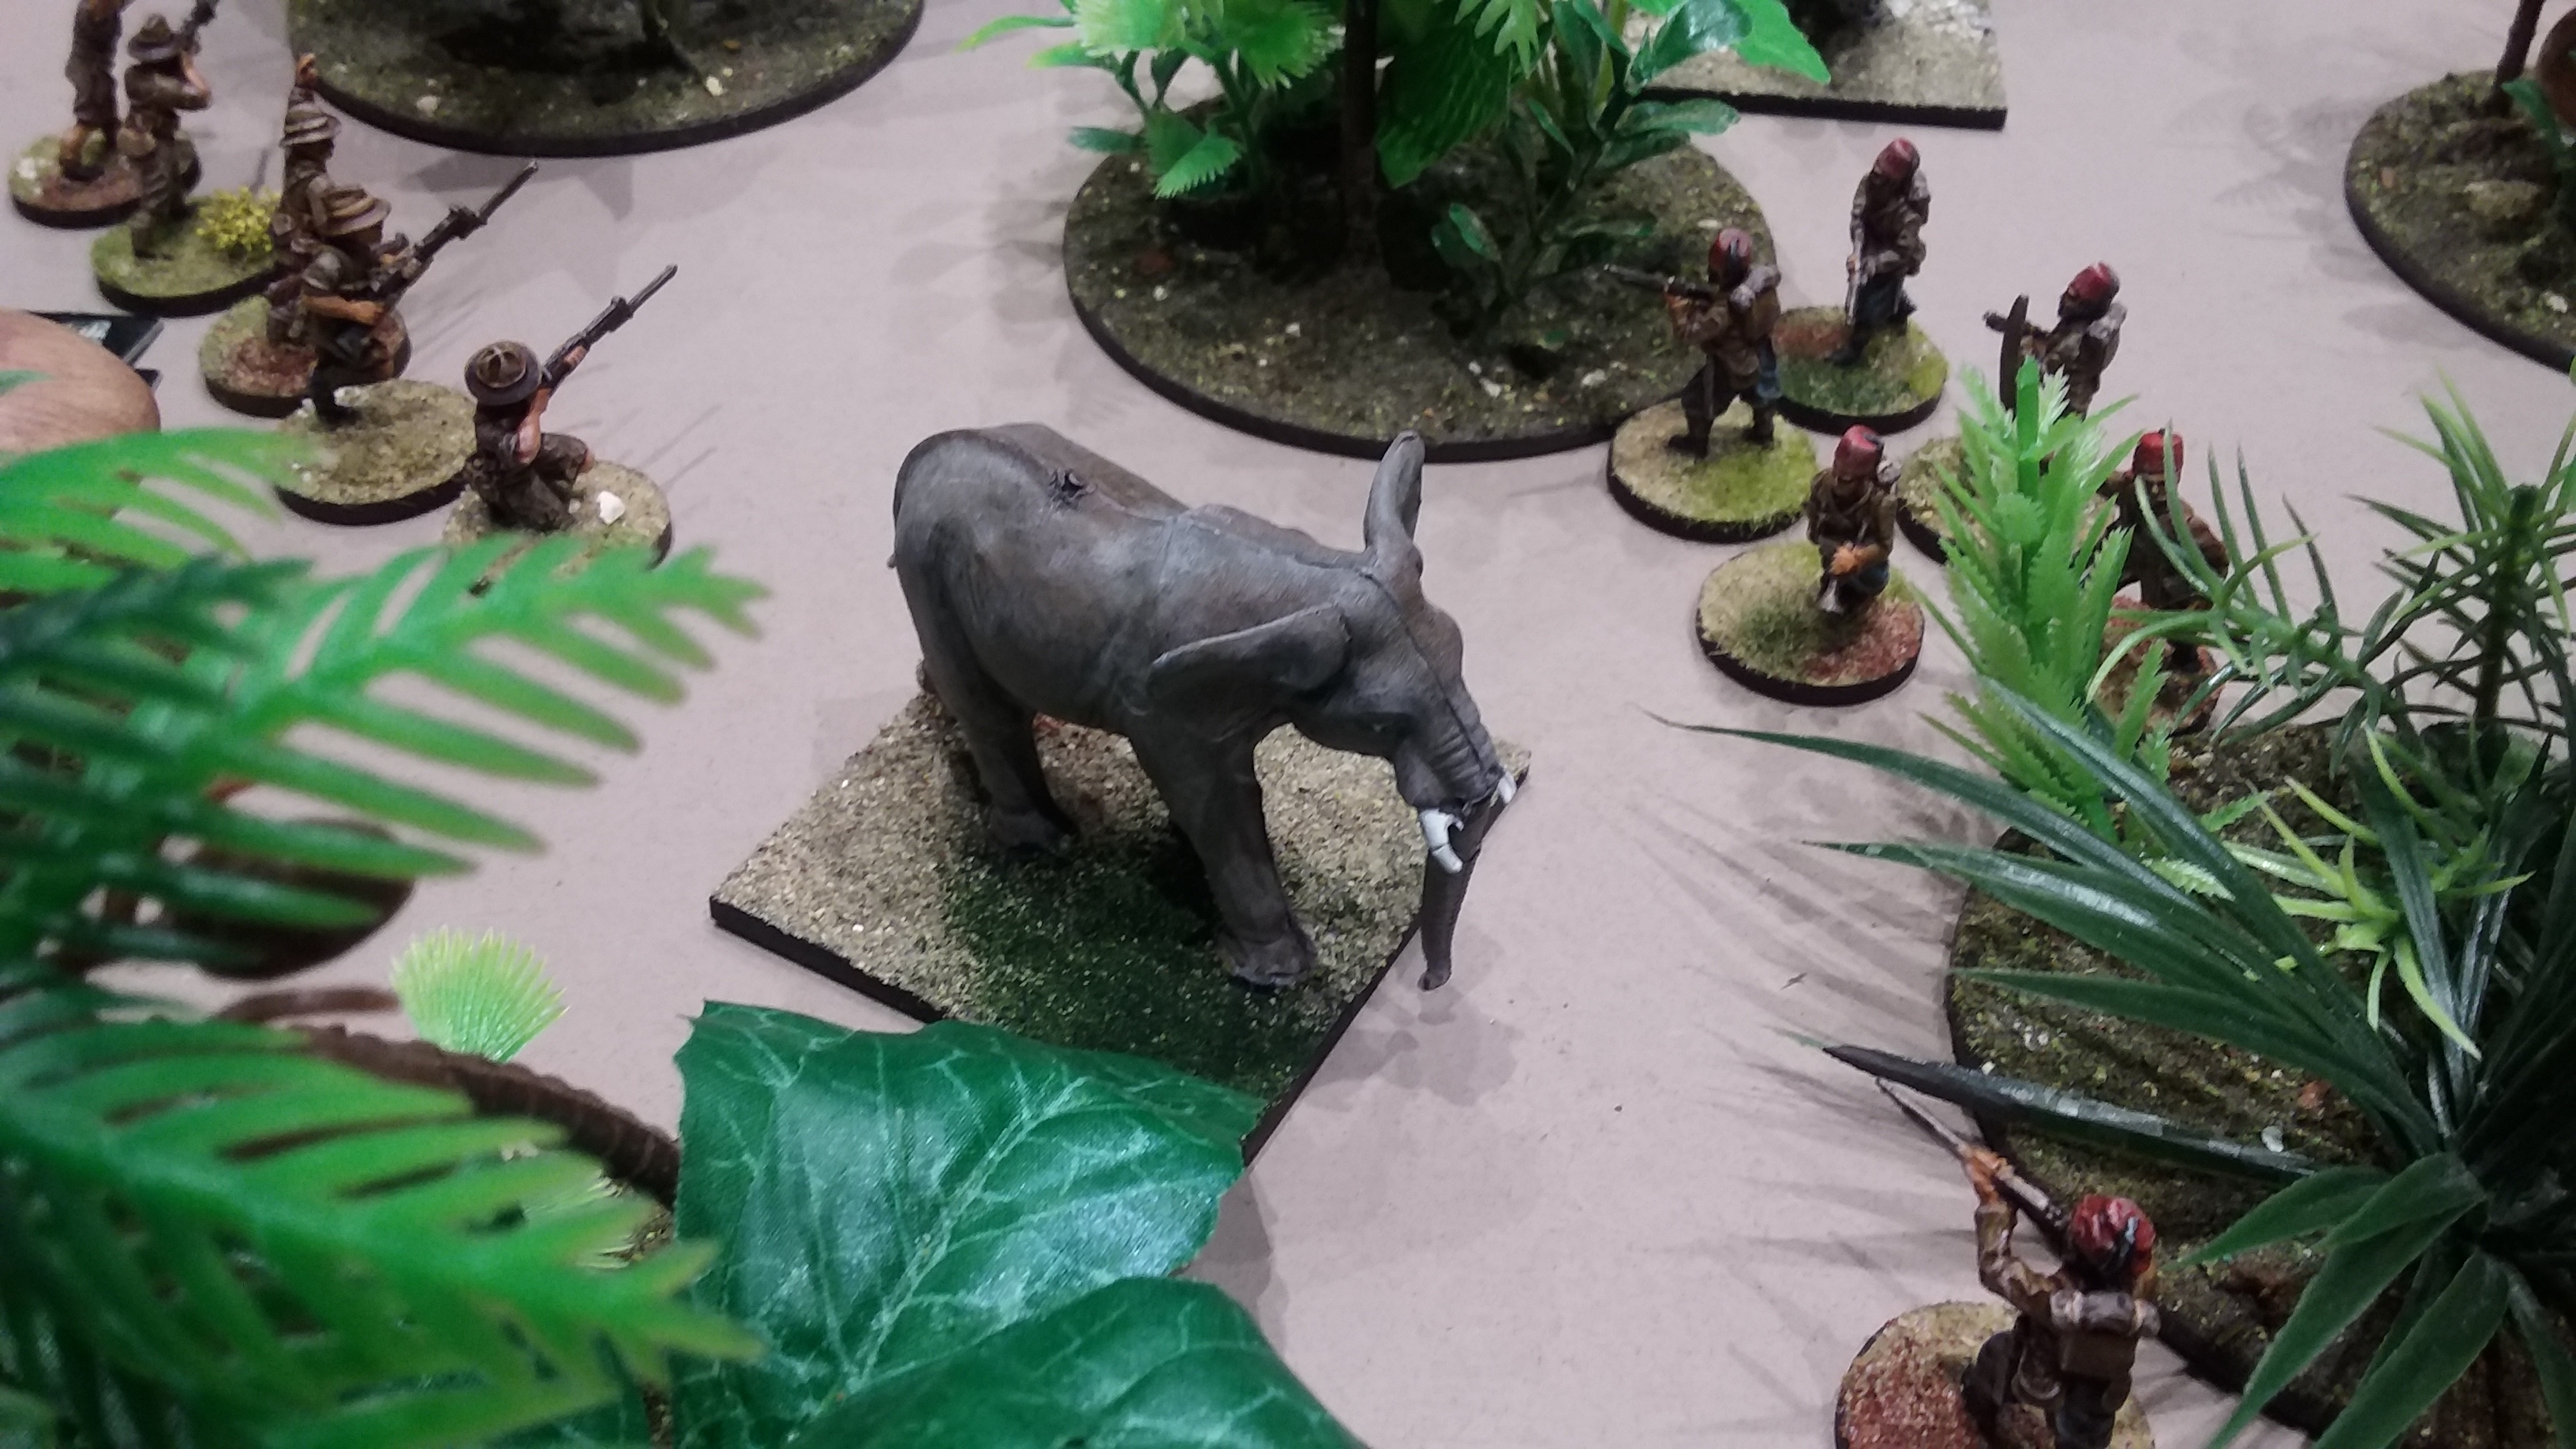
Not long into the adventure Lily Mettlewane found her Askaris running quickly back towards her, closely followed by a charging Rhinoceros. She aimed, she fired, she finished her cup of tea, and she watched the Rhino collapsed at her feet!

A pity that Manfred was not as skilled as he found himself lost in some ruins.

20170524_190437

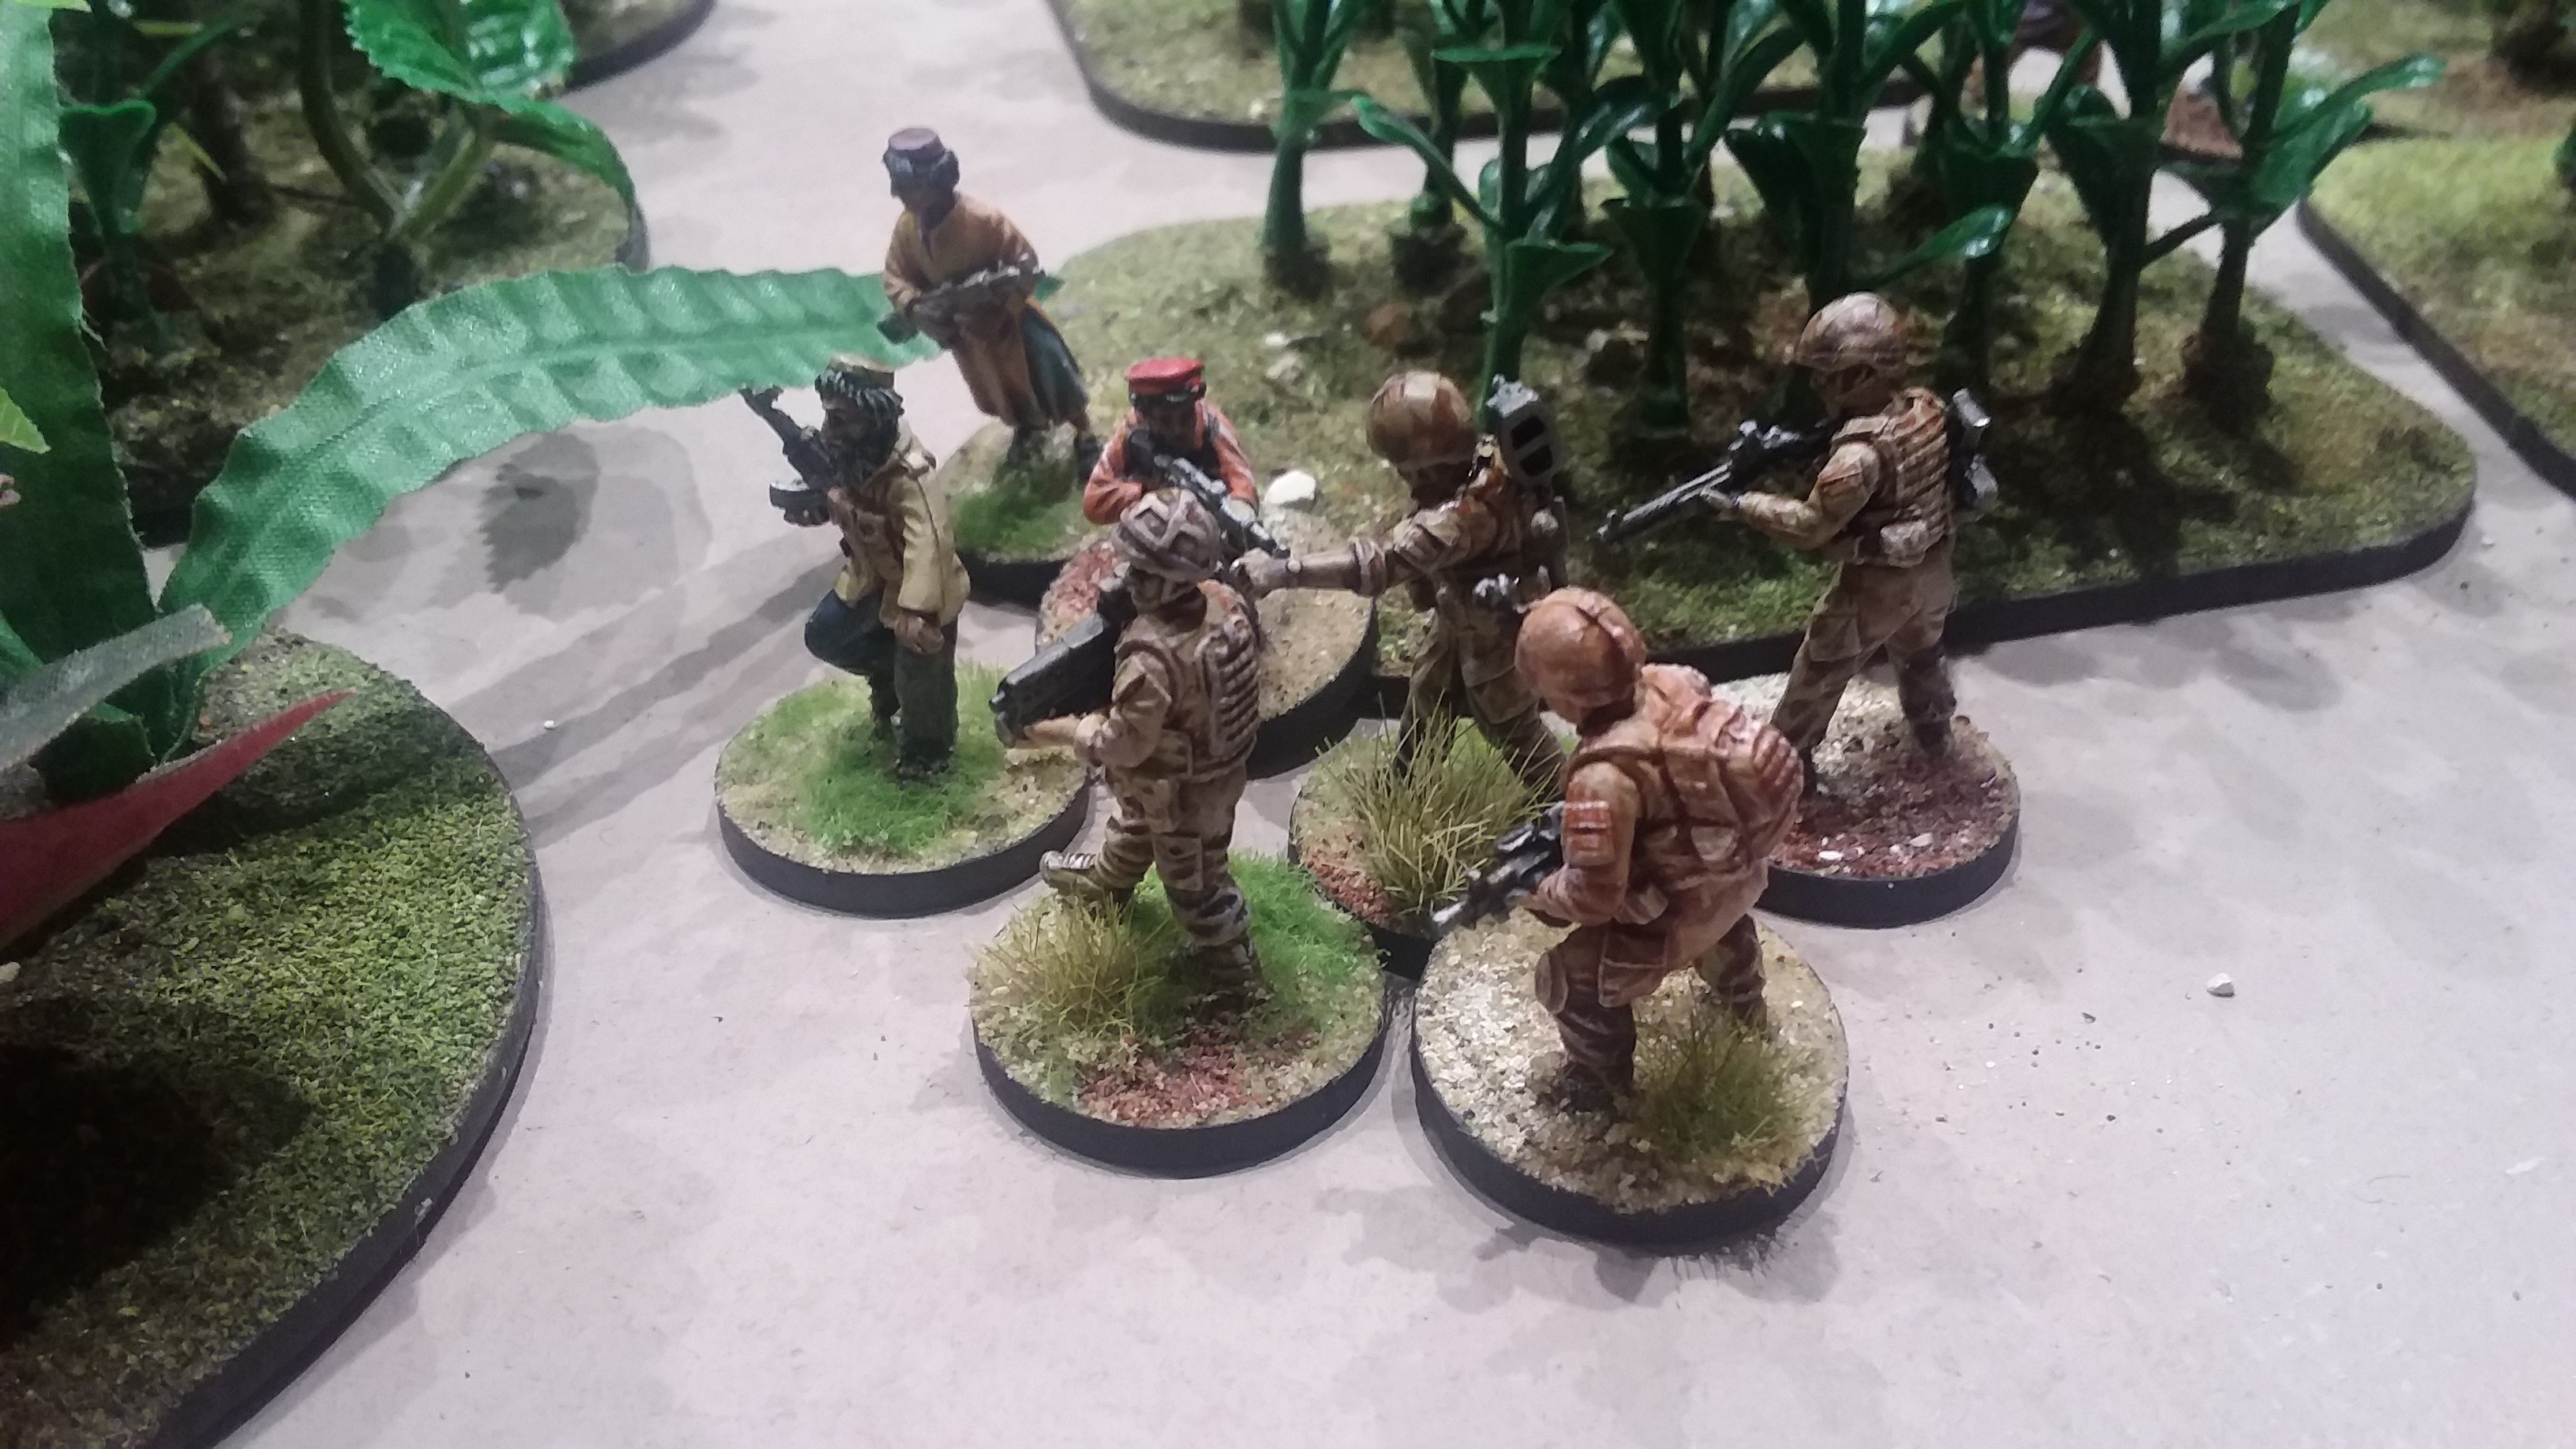
Lost beyond belief some British Askaris accidently found themselves in the German camp. Finally the fragile truce was broken as the “stoned” Schultz, the German guard, was quickly overran and continued to deny knowing anything!!

20170524_202056

At last both sides were working their way through the jungle to their objective but still fearing what might await them they continued to refuse to fire on each other.

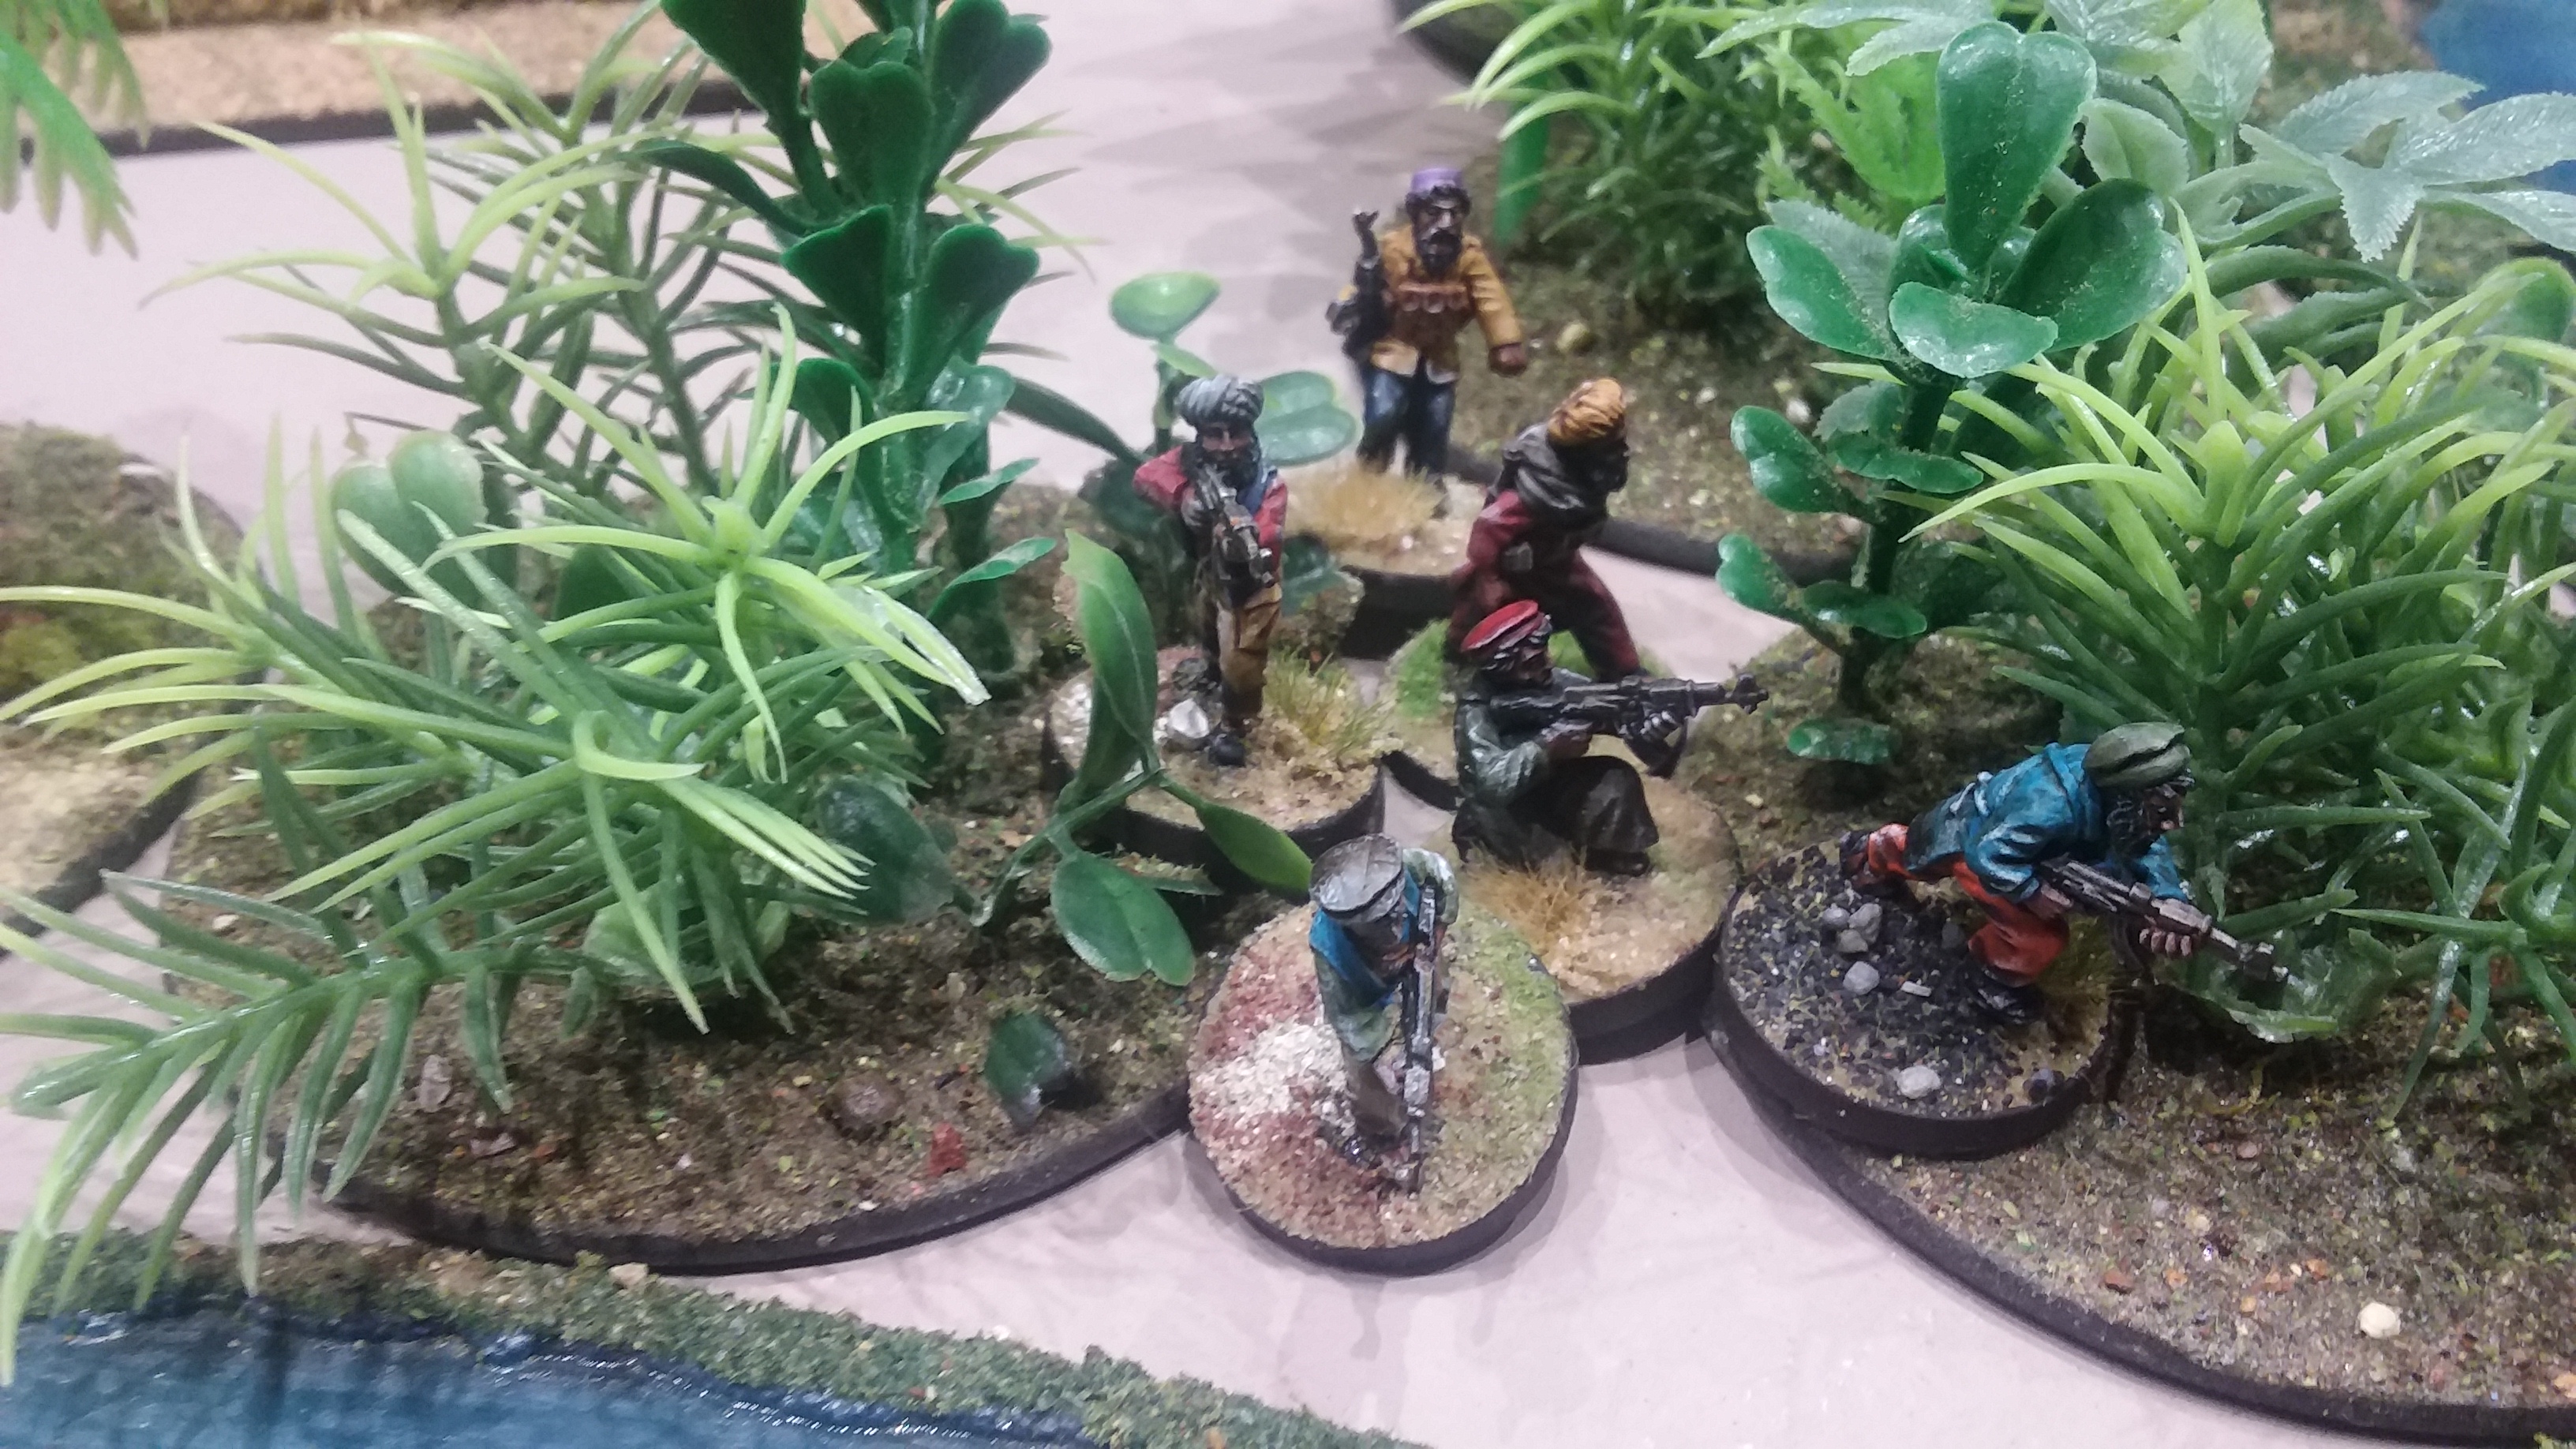
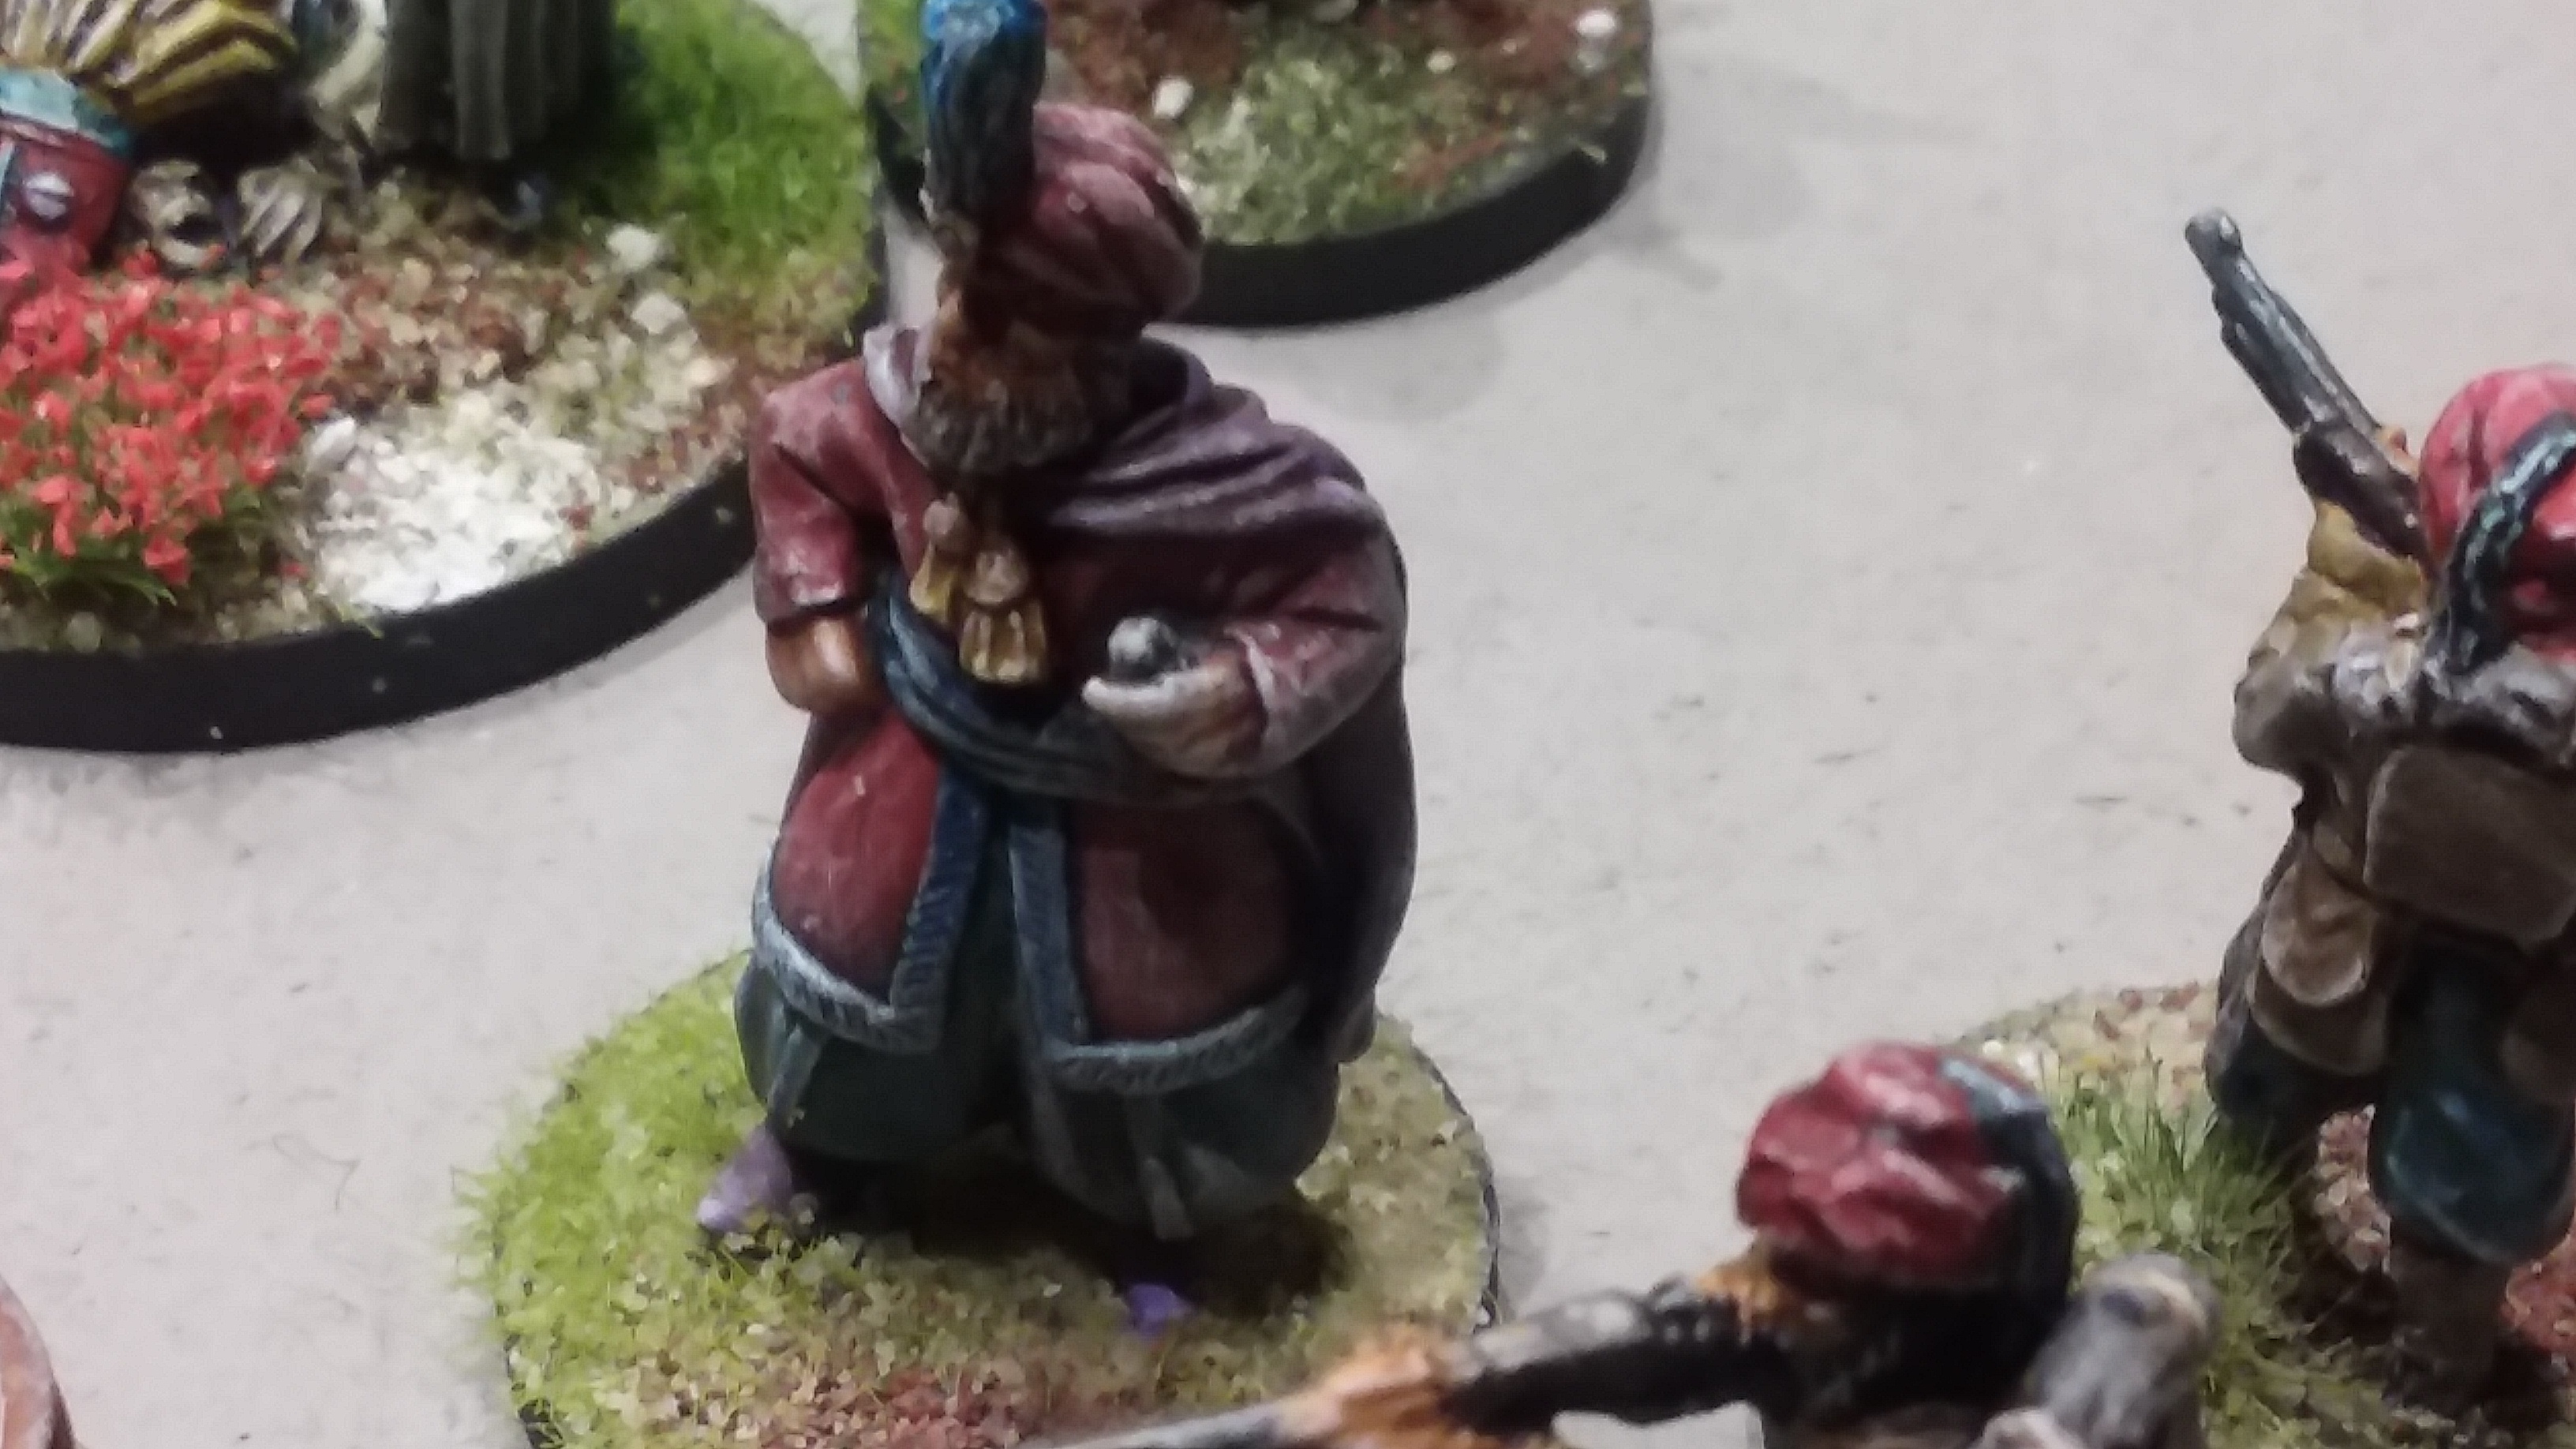
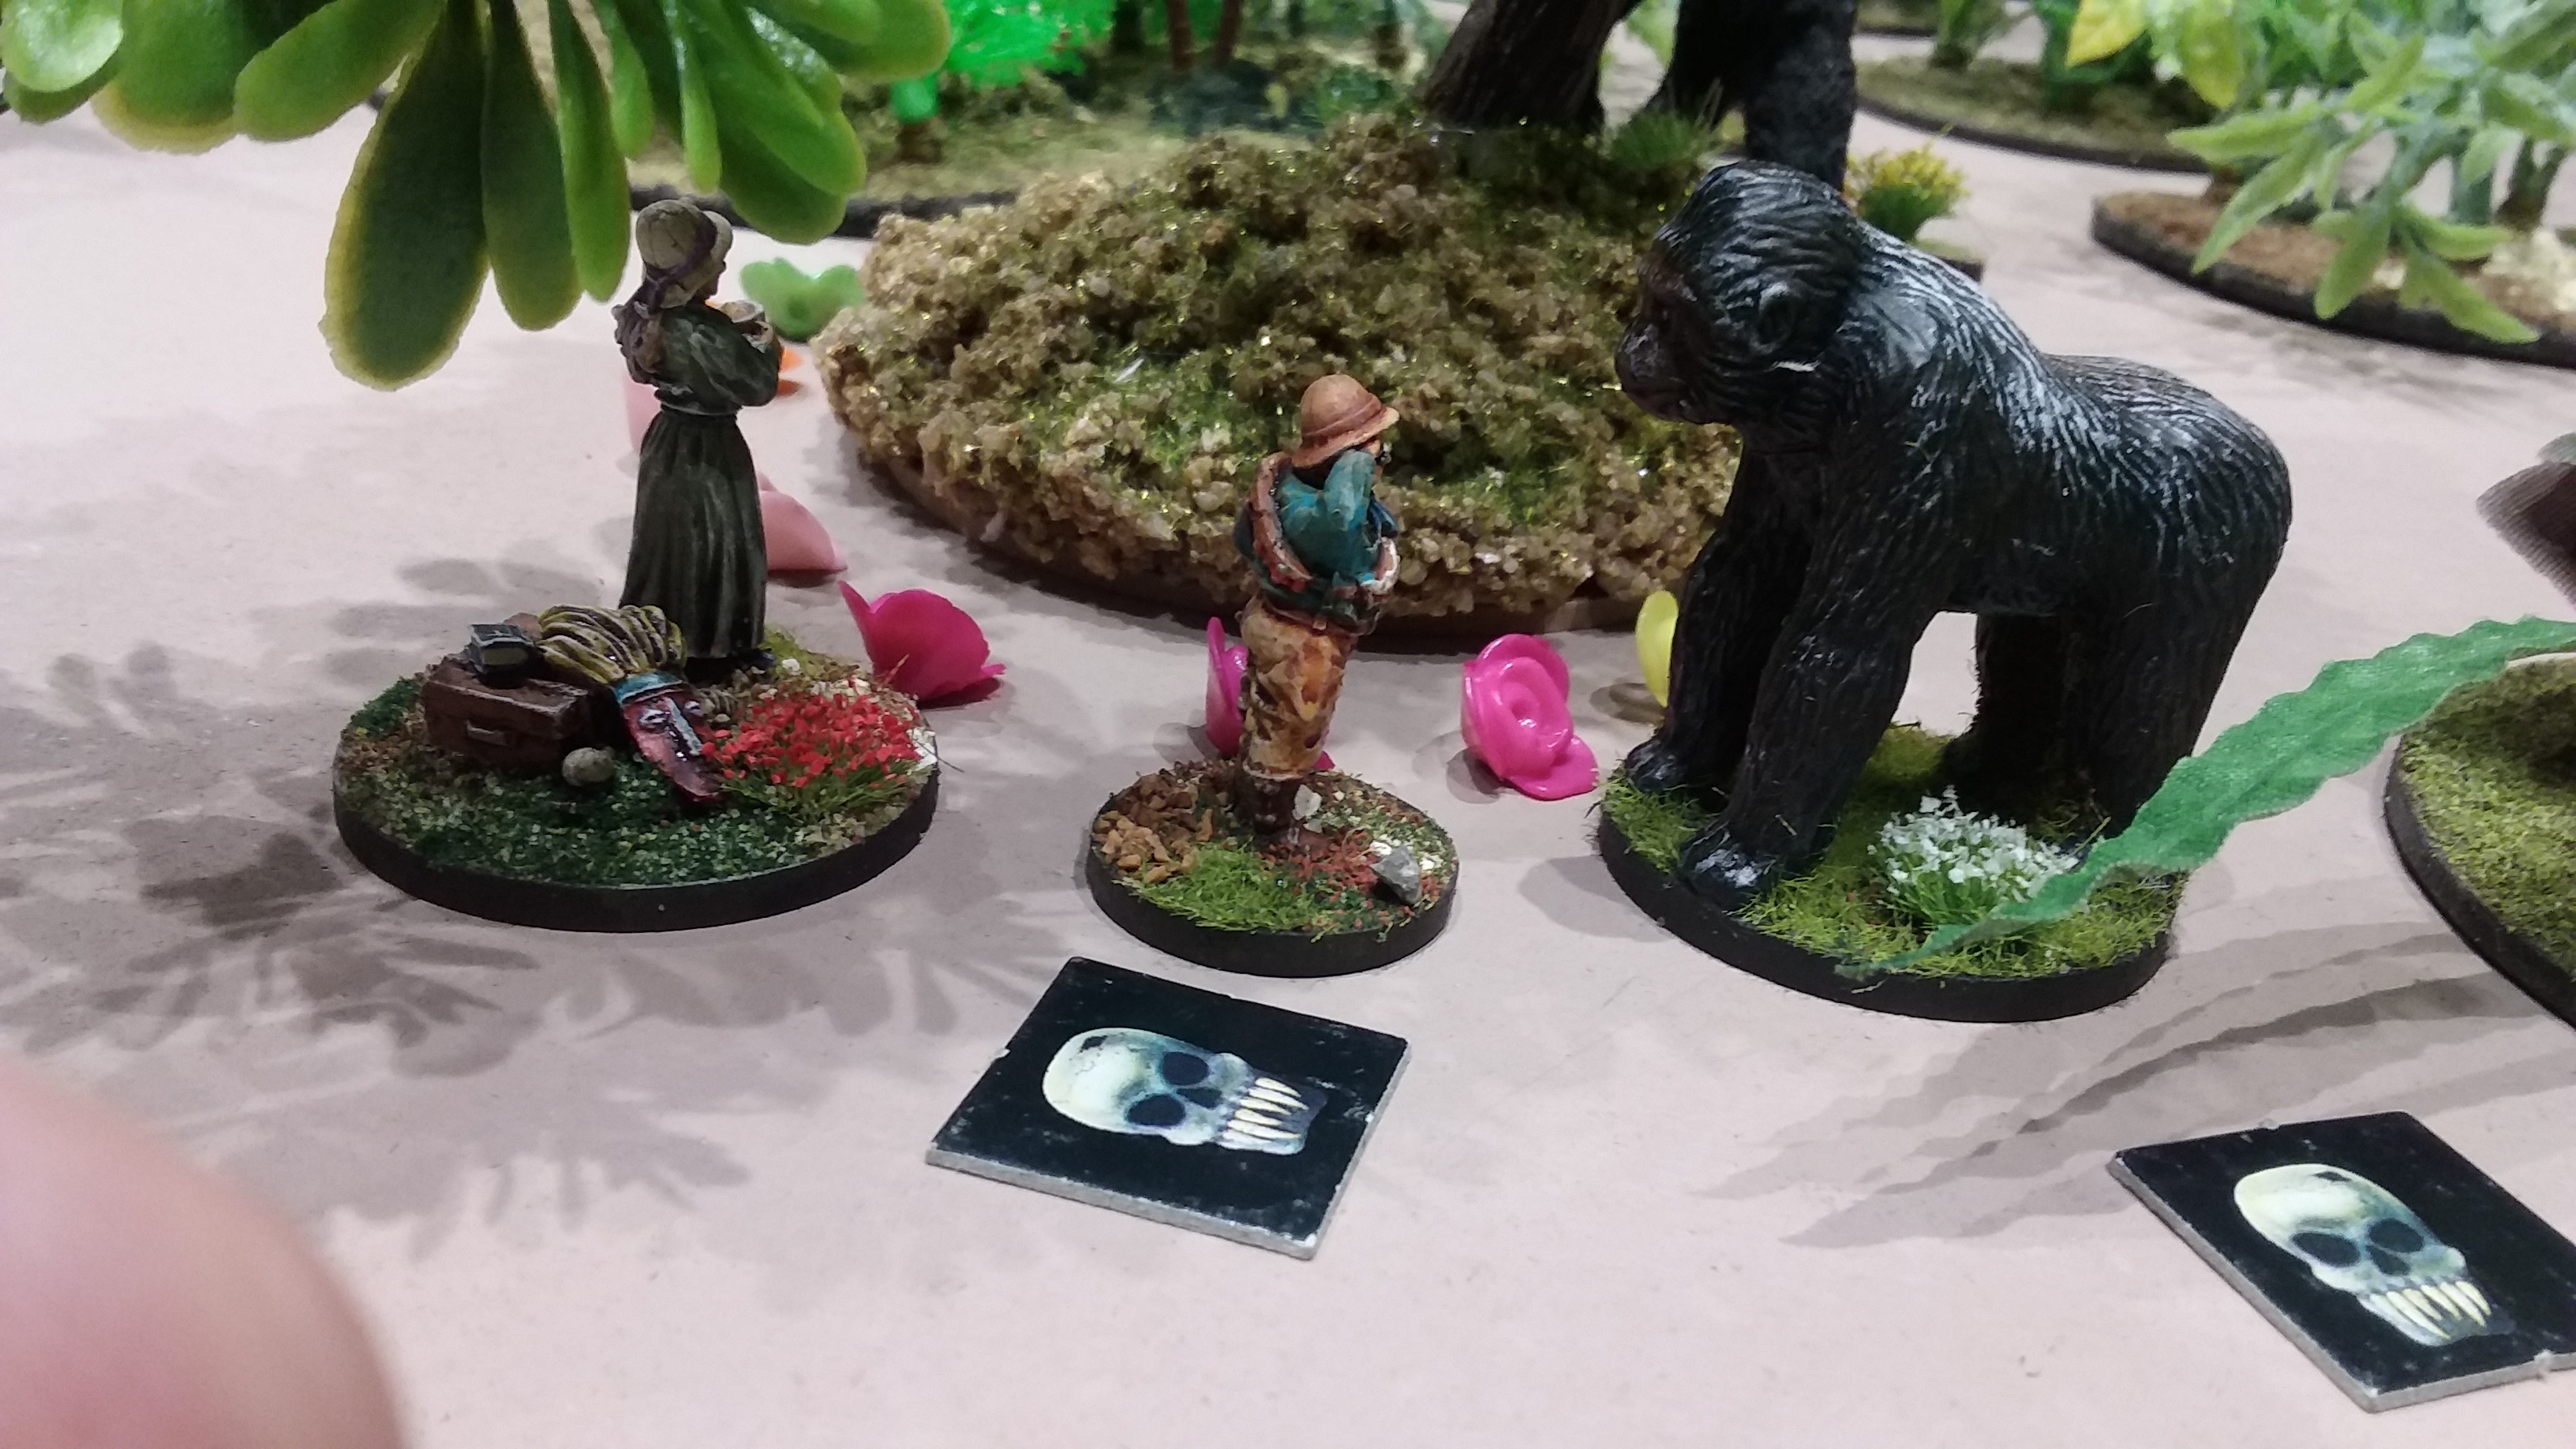
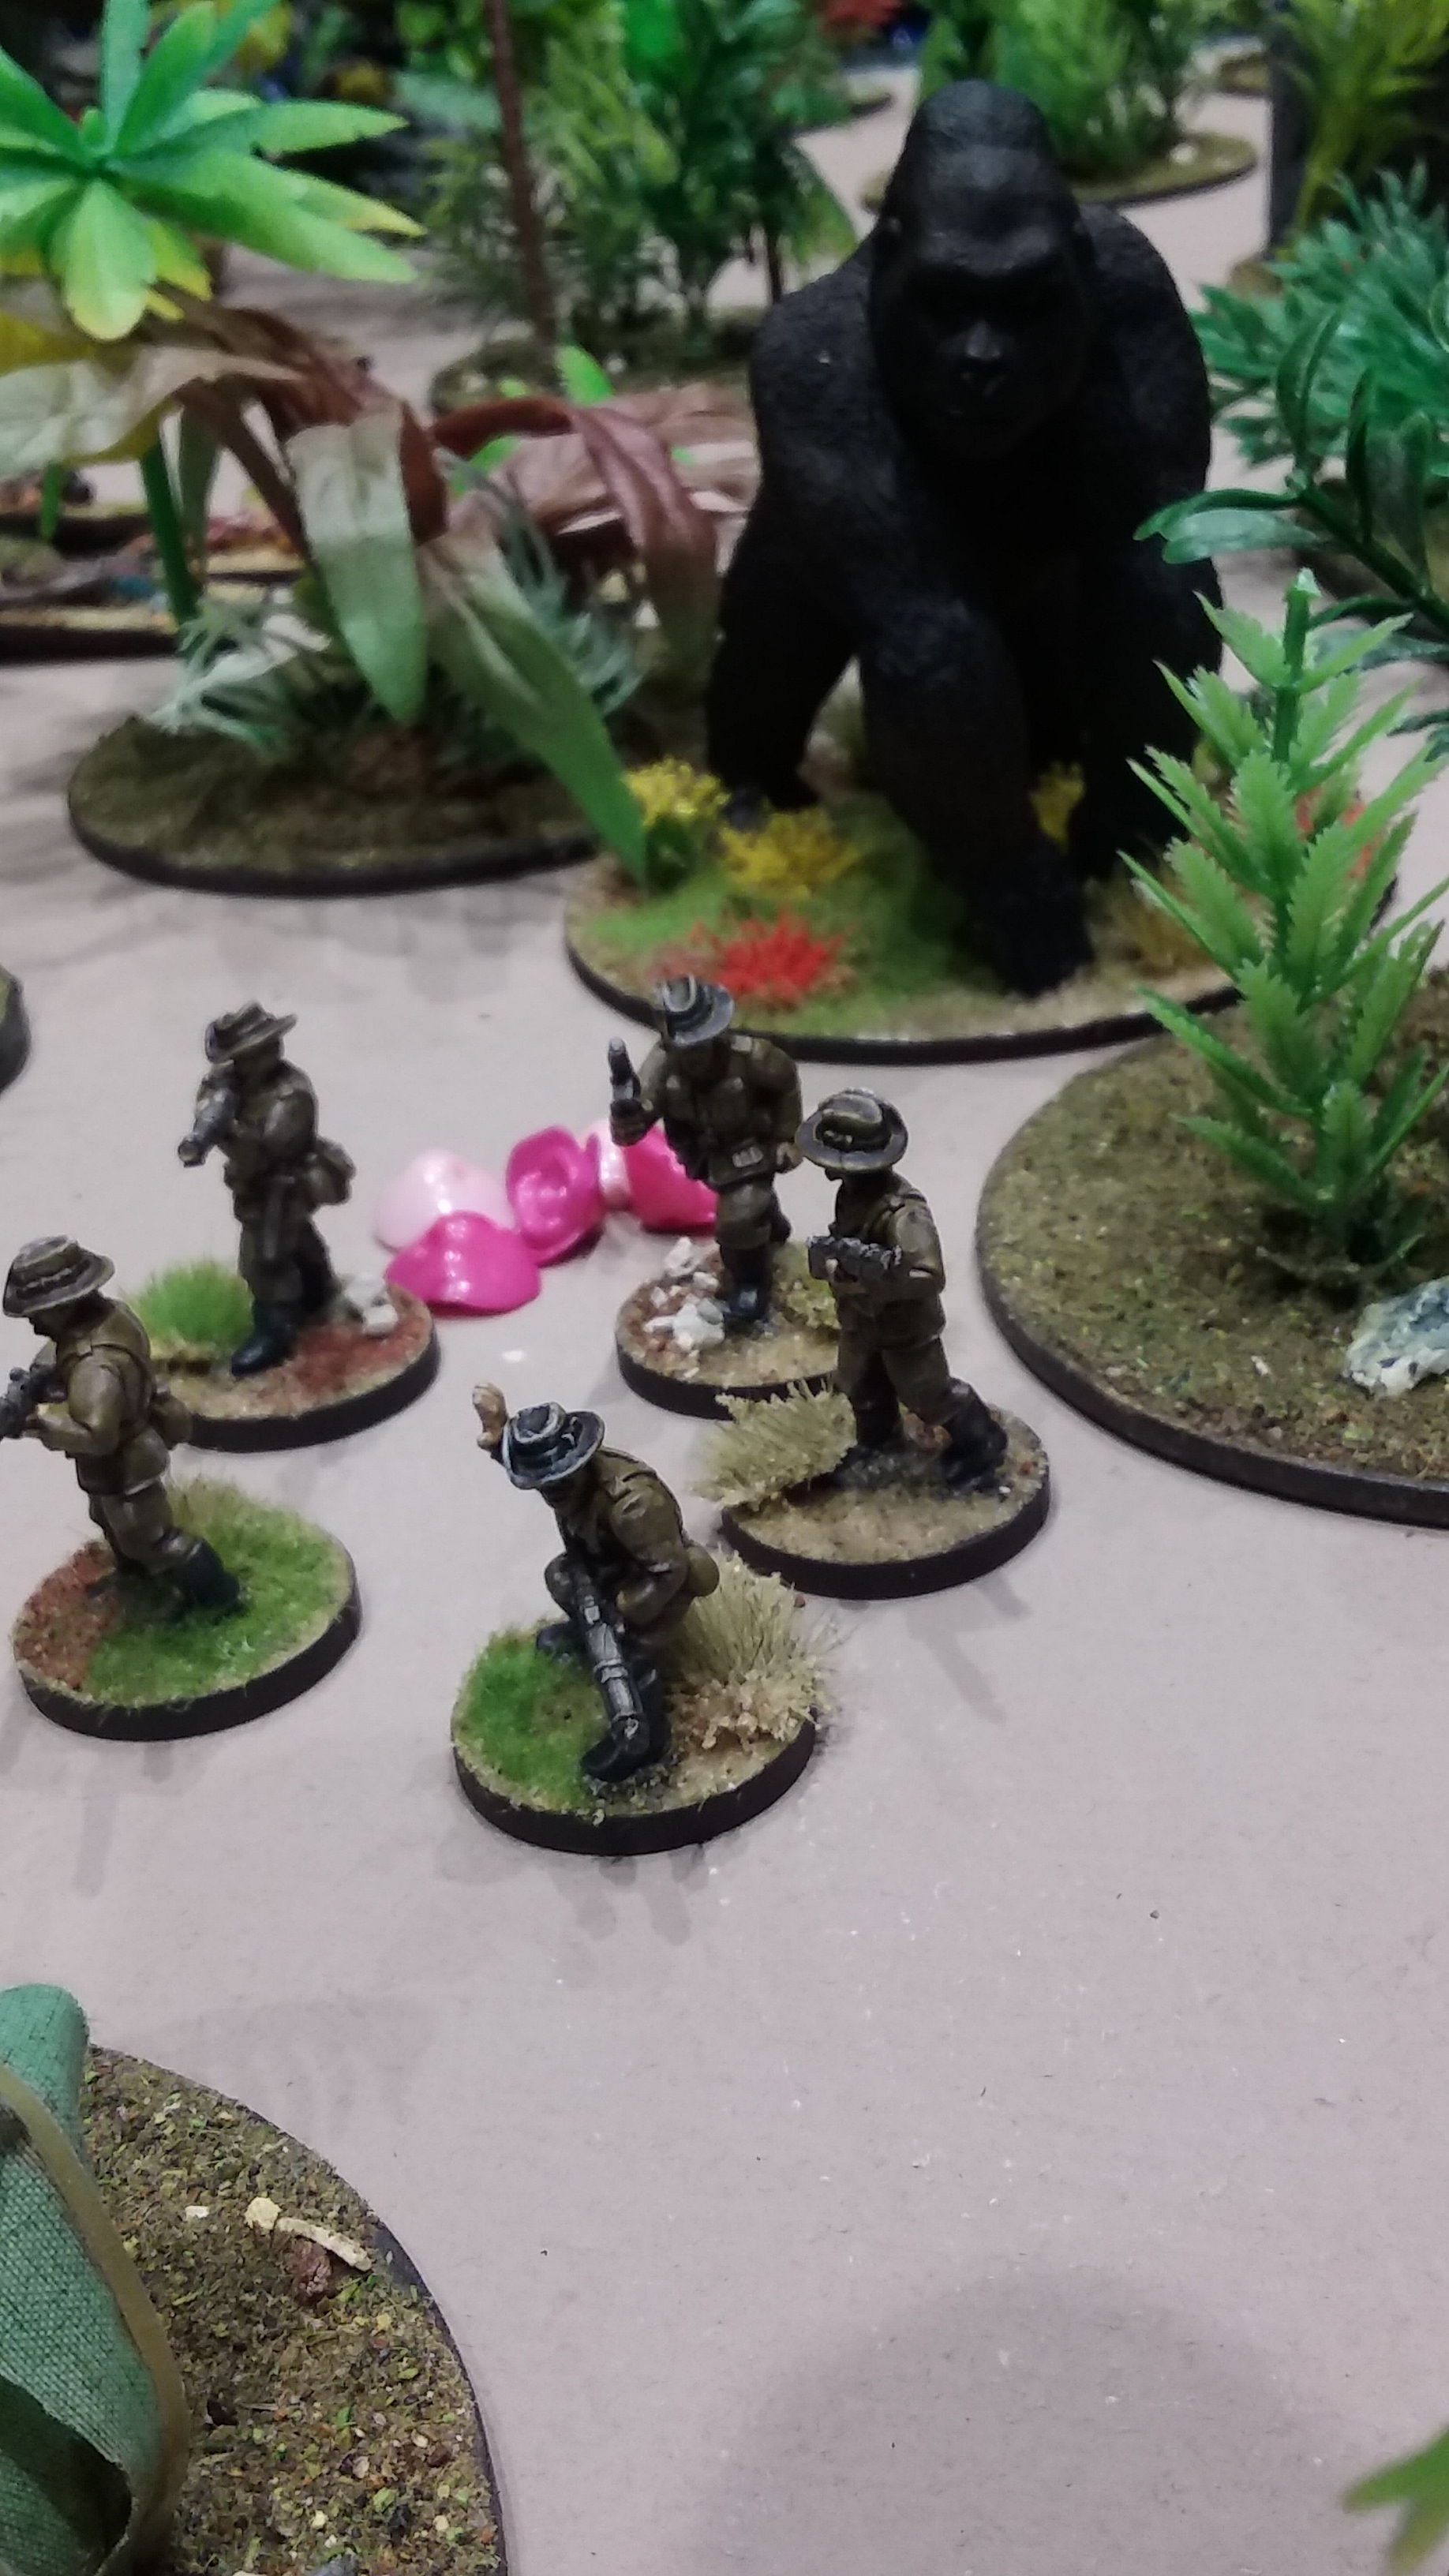
The British were the first to break through the final clearing to be confronted by the Black God.

20170524_190415While the massive ape studiously ignored them the British moved stealthy toward the piles of jewels under the shade of the Mopane tree. As soon as they had filled their sacks with jewels and started moving for home the “Black God” attacked.

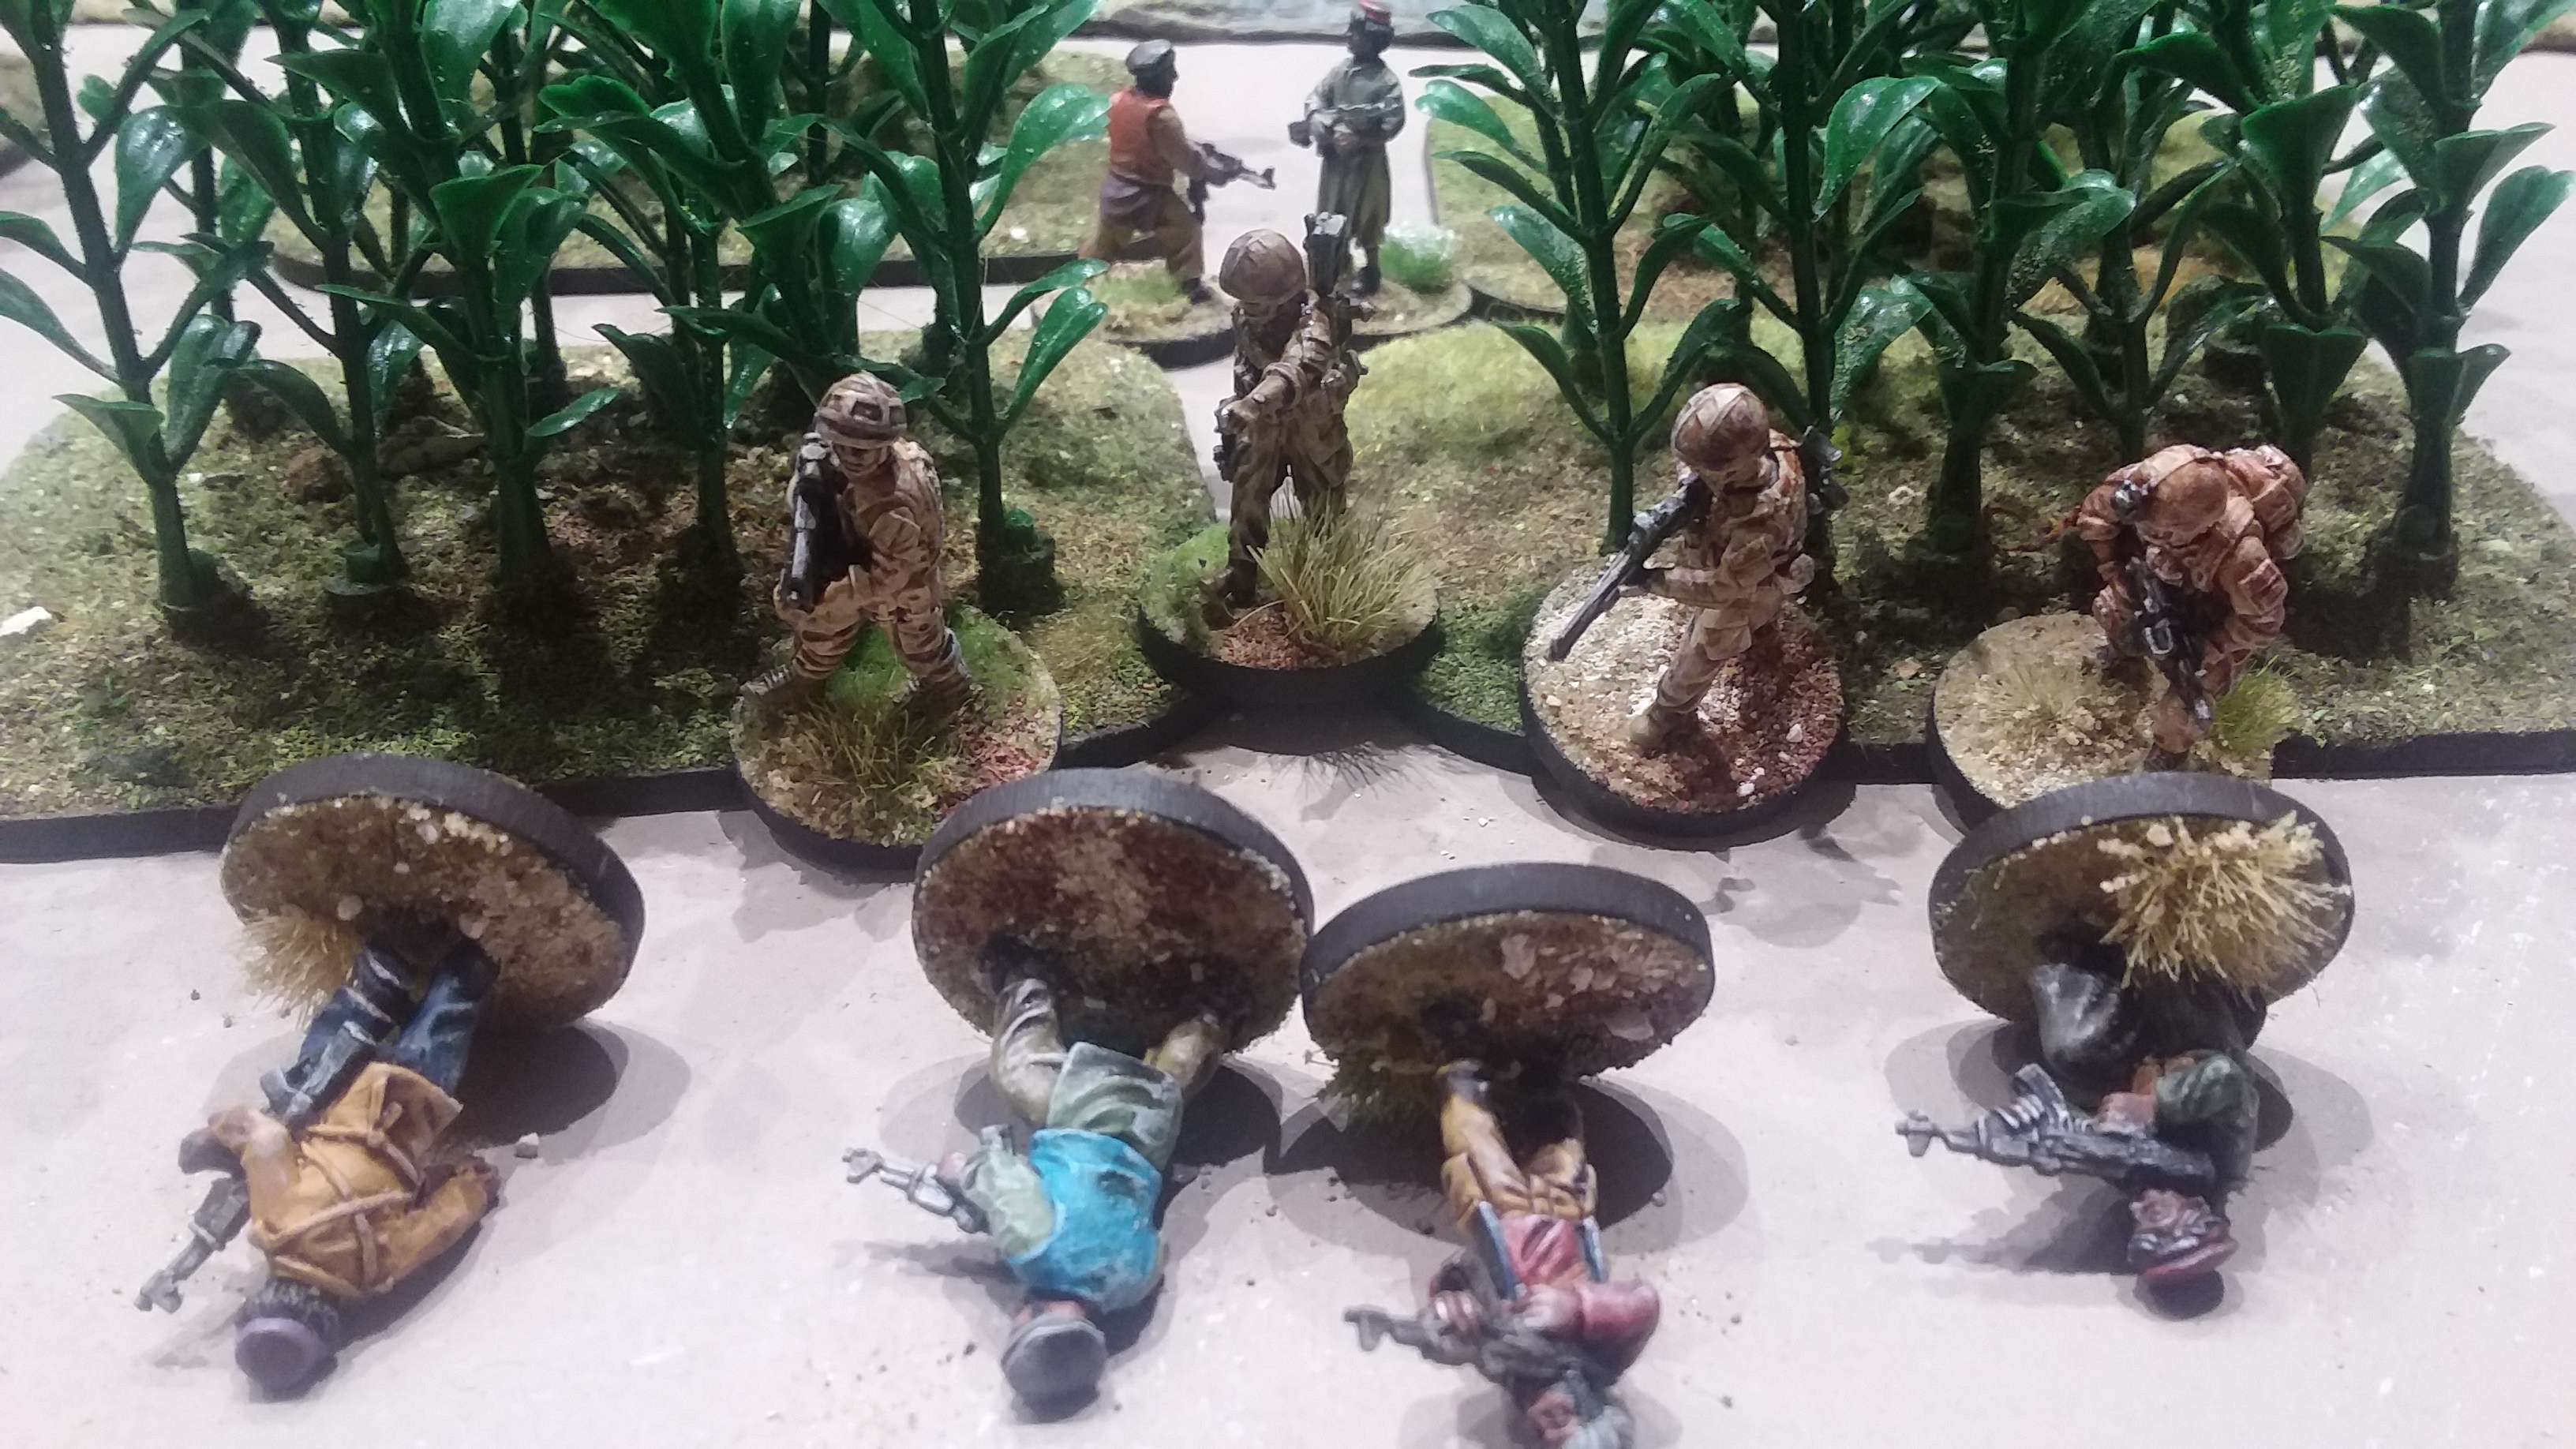
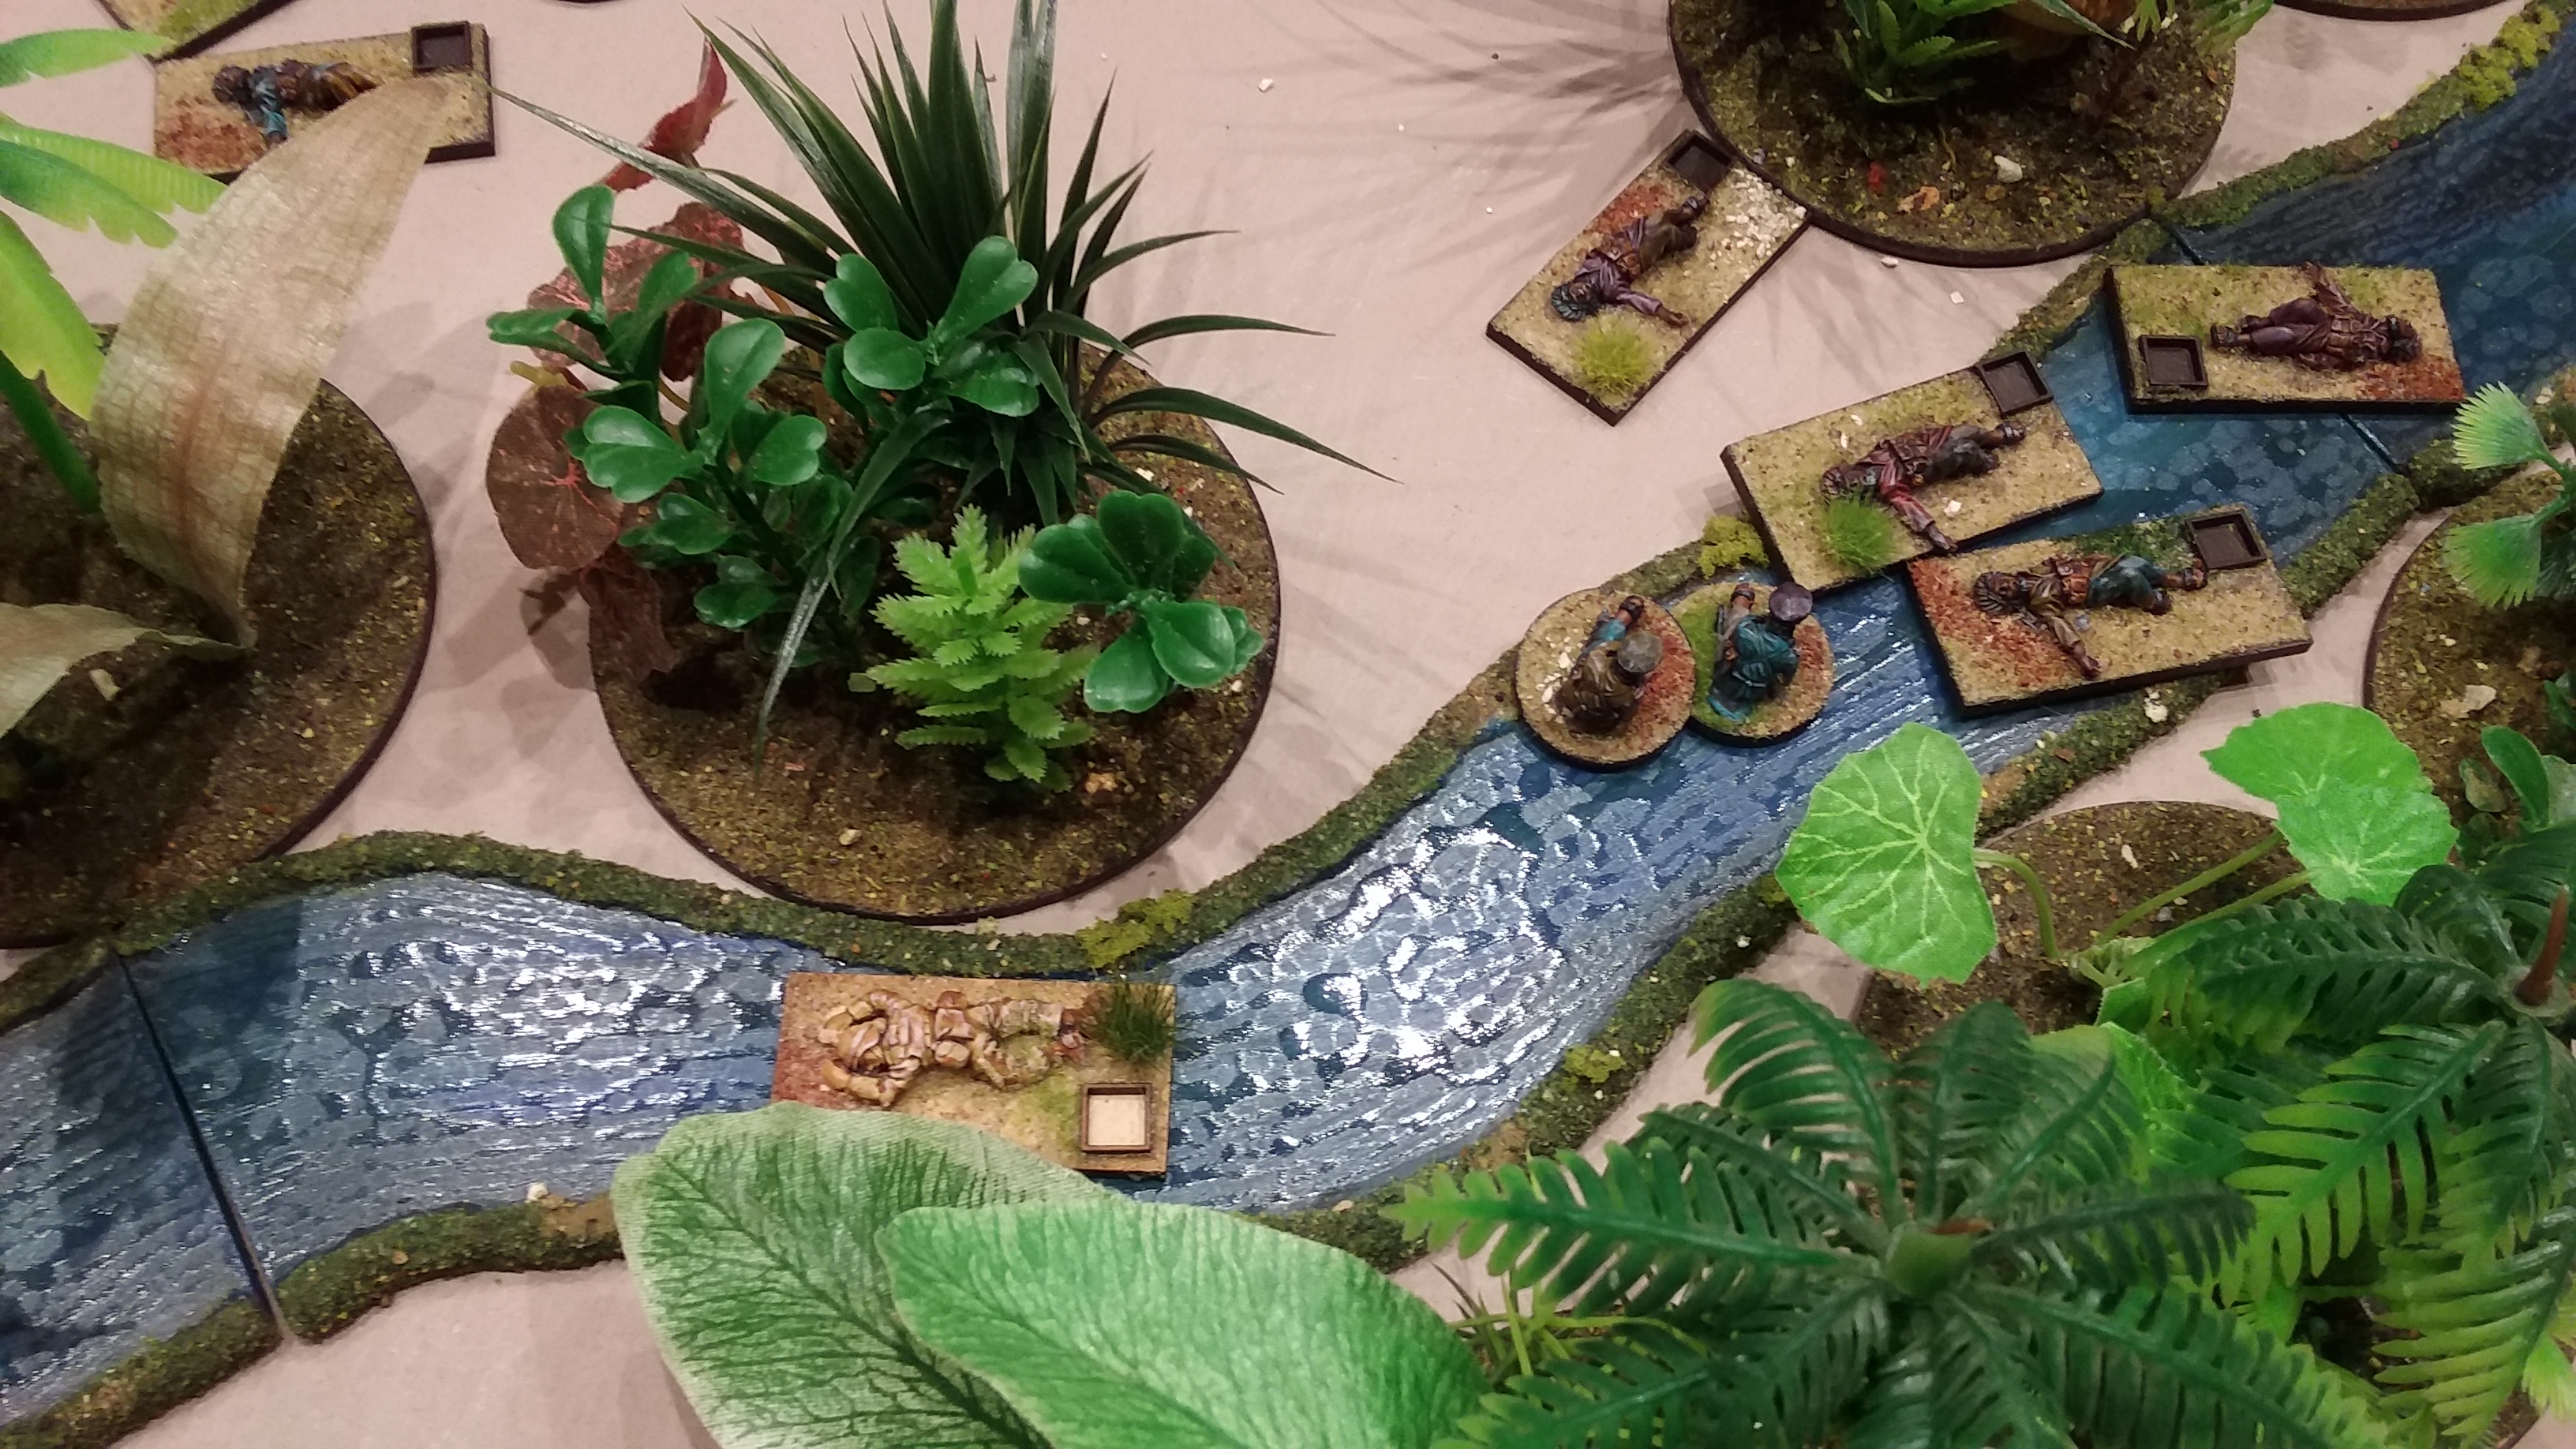
They valiantly tried to resist but were quickly dispatched by the huge creature.

At the same time as the British were being dispatched the Germans arrived at the Mopane tree and were just about to make their escape when the “Black God” leapt upon them. One by one the Germans fell but were inflicting suppression markers on the creature. Finally both Herman and the “Black God” were down to their last suppression markers. Just as he raised his shotgun to finish off the ape Herman was thrown across the clearing and fell in a silent heap.

With the creature finding it hard to activate with maximum suppression markers,  first Lily Mettlewane and a German squad  and then the British were able to sneak away with handfuls of jewels.

The race was on to see who could get the most jewels back to their camp, however the Germans were not aware that their camp was being held by British Askaris.

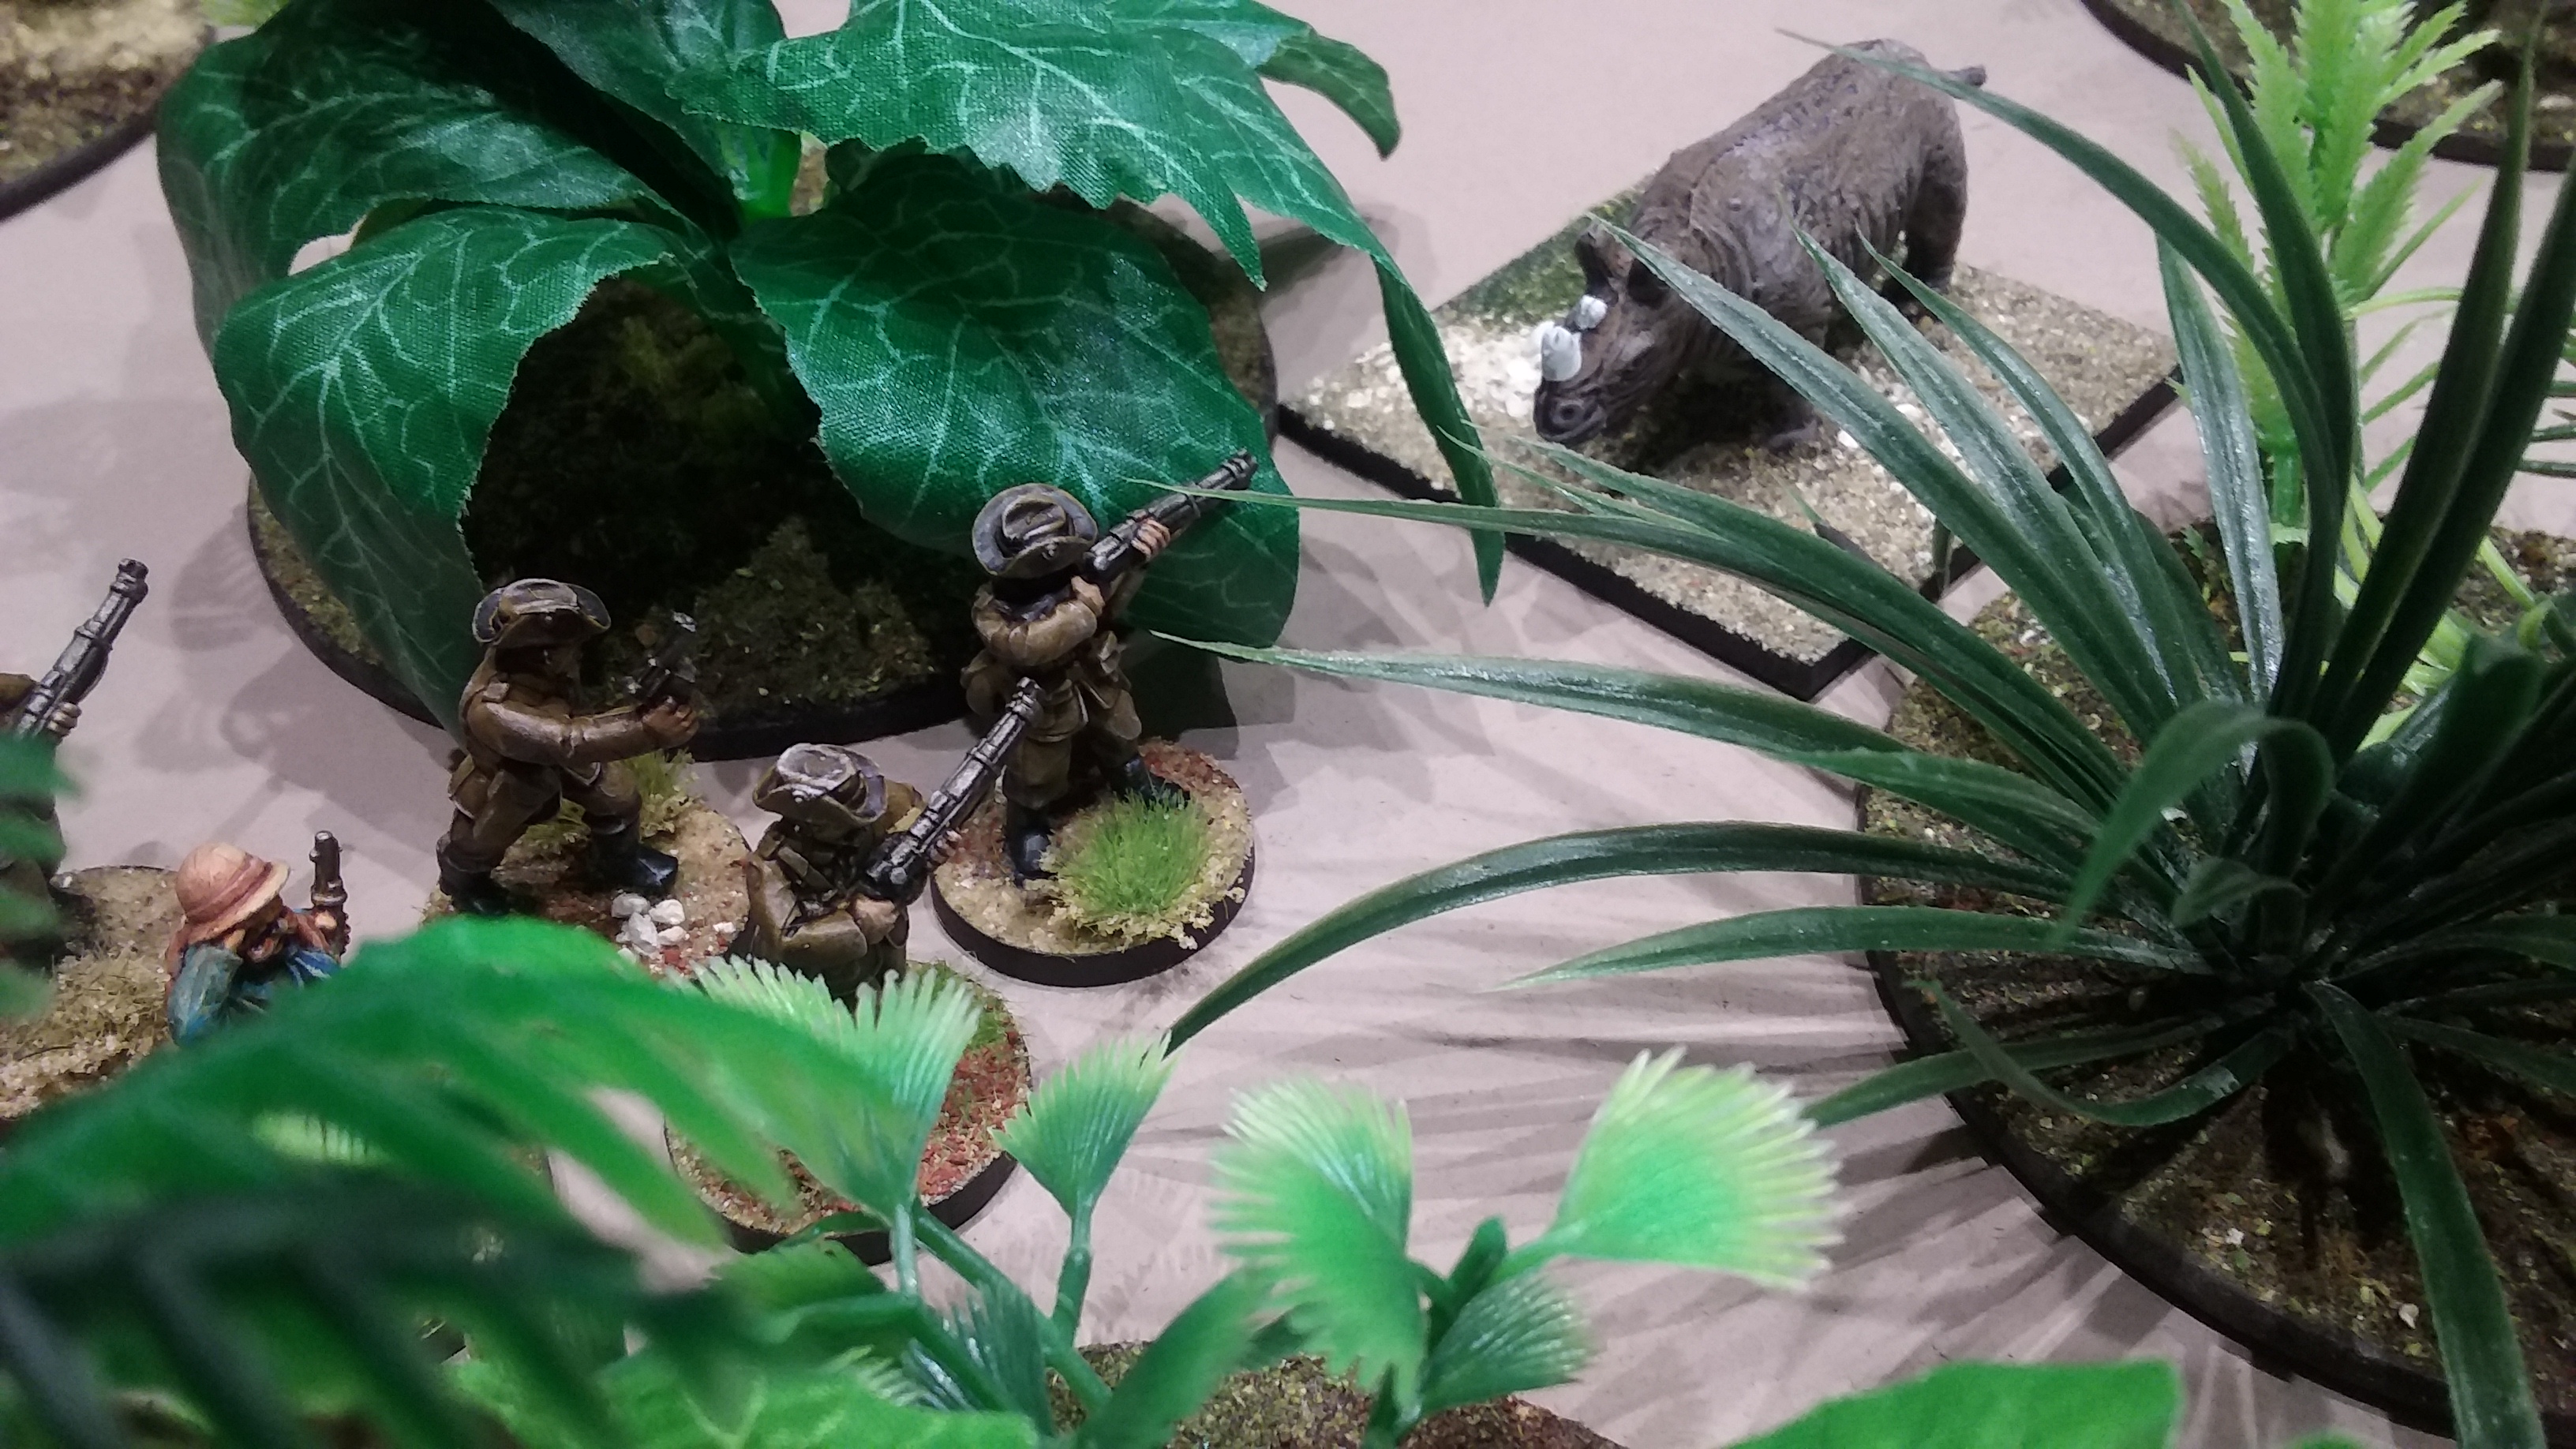
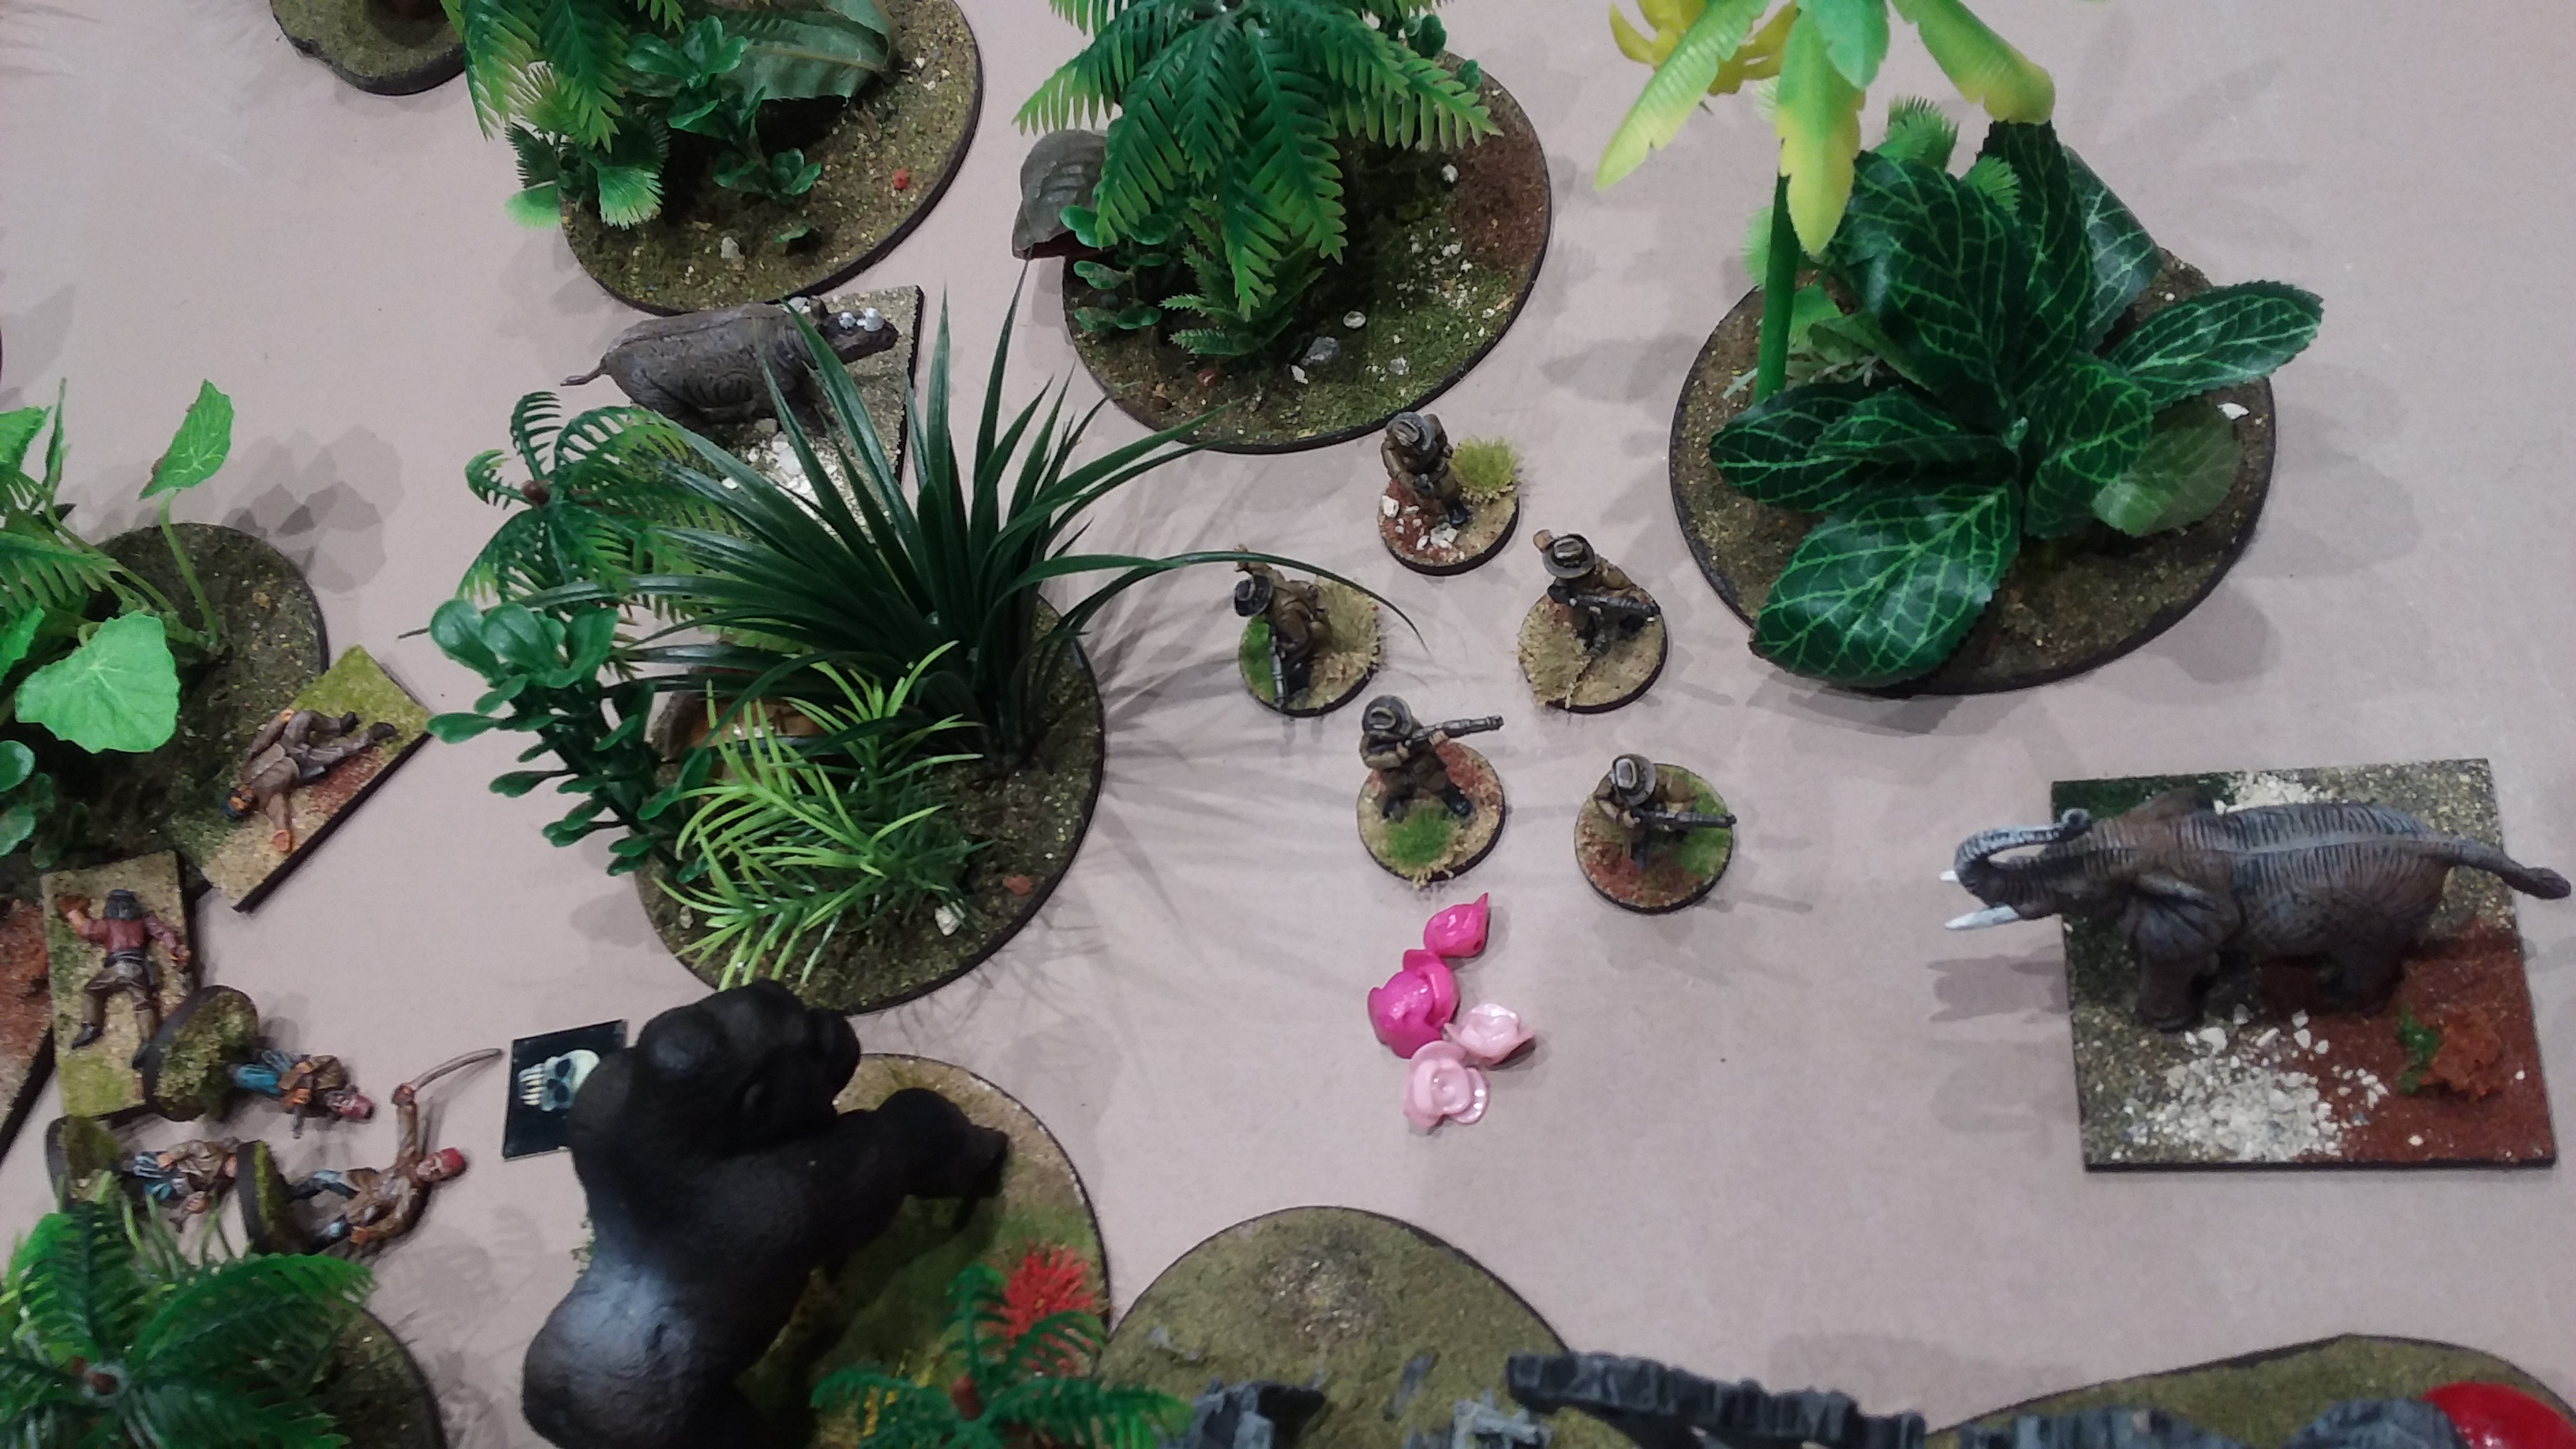
Up until now there had been little or no “nasties” appearing on the scene. Suddenly first one, then two then three and then four elephants appeared to surround the German troops. Fortunately for the players no jungle characters had yet appeared.

Meanwhile the British continued unmolested towards their camp on the river.

The Germans thought they were finally home when the “Black God” finally activated getting rid of all of his suppression markers and started charging down the pathway to collect his jewels.

20170524_220224

The result was inevitable.

The German expedition was  now in tatters with only Lily left. Vainly trying to re-capture her camp so that she could escape with the few jewels in her possession she engaged in a long range fire fight with the British Askaris. After first one and then a second Askaris fell to her expert shooting, but her luck finally ran out leaving the British and the jungle to the spoils.

The British had the luck with not having to deal with many jungle nasties, but also used their heroes well in a supportive roll to assist with activation and movement.

Another great Fubar scenario showing the flexibility and fun the rules possess.

The score was British seven jewels, the Germans zero, but they did have one rhino and two elephant trophies. The Germans were very unlucky not to have destroyed the “Black God” which would have given them an overwhelming victory.

David S.

“The dust of Uruzkan” 29 – 30 April 2017.

The weekend’s plan was to have as much Modern  gaming as lack of sleep, bubbly and red wine would allow.

The Friday commenced with a repeat of the Wednesday night F.U.B.A.R. game that ended in the same result.

A mini campaign was organized for the Saturday with the objective to gain “political points” over a series of games to determine the winner. The insurgent, Blake, definitely started on the right foot by bribing the provincial Governor’s wife with chocolate and even having the audacity to try (and succeed I may say) and corrupt the Governor with high class champagne and red wine. The result being a very quick gain in enough political points to achieve victory without a shot being fired.

Despite this, the British had a quick brew (code for more champagne) and tried to claw back enough victory points to at least gain some modicum of respect.

Scenario 1: The Patrol

The Patrol was a simple game where the British had to pass through 3 points on the table to achieve victory. A very aggressive start by the insurgents forced the British to deploy Sergeant Gainsmith forward to “sure up” what was a very precarious position. He fought off two insurgent groups before being medevaced to recover from serious wounds.

20170429_110101

The British were always on the back foot and were forced to retreat leaving their ANA partners to hold the ground over night. With only one area being patrolled by the British the victory points were:

British 1 VP

Insurgents 2 VP

Scenario 2: Interrogate the Locals

With enough civilian groups scattered over the table now was the chance for the British to hit the lead in political points. The insurgents declared their tactics early by shooting at their own townspeople to make them disburse off the table. The tactic back fired when they soon realised that they can only gain political points if the “good guys” (Rule 1 – he who has the blog password writes the history!!!”) failed in their interrogation.

20170501_194434[1]

In between taking the odd pot shot at insurgents the Platoon Sergeant and “Terp” went from group to group. After rolling two ones in a row the “bad guys” (see rule 1) had two more political points to zero. The result could have been far worse as a further roll of 1 for each group would have meant that one of the civilians would have been a suicide bomber and unleashed carnage on the interpreter and any in close proximity.

Finally, the Sergeant who grew up on a farm, was able to obtain some important information from one of the local goat herders.

The damage had now increased with the totals:

British 2 VP

Insurgents 4 VP

Scenario 3: Recover the Scimitar

Alas the scenario was not as romantic as the name conjures in the mind. No trying to recover some long lost weapon of the prophet, because whilst you could argue that it was technically owned by “Big Tony”, you could hardly call the British PM a prophet, although some die-hard supporters might.

After falling way behind in the political war the British were determined to succeed.

With higher morale and the associated initiative, and some aggressive and enlightened patrolling, the Scimitar was only just outside the deployment range of one of the drop-off points. With the hero from Scenario one, Sergeant Gainsmith, now returned to duty things were looking bright for the British.

Sergeant Gainsmith repaired the vehicle in two phases and had it roaring on its way off the battlefield.  Even some hasty RPG shots failed to stop the British from achieving a quick and decisive victory.

20170429_220243

British 4 VP

Insurgents 4 VP

With the game over so quickly the insurgents decide to enable the British to recover from the initial bribery and corruption scandal if they achieved total victory.

I am sure that the Governor’s wife would argue that the corned beef and roast vegetable dinner had already made up for the chocolates, if not the champagne and the red wine.

The Scimitar was allowed to return and the game continued as an encounter battle.

The British patrol phase had allowed them to command the cover of the irrigation ditch, whilst their 82mm mortars were able to bombard targets at will. Insurgent team after insurgent team were destroyed with the battle ending with only the insurgent leader and junior leader left (amazing how these the guys in power always survive).

With both sides remaining on 4 Victory points the weekend was declared a draw and a complete success.

Medevac the wounded – Wednesday 26 of April, 2017

As I was having a Modern Gaming weekend I wanted to start getting organized so a game of modern Fubar was set up for David K and Andrew W to play while I heckled and umpired.

The scenario was an escalating one where the British forces were trying to evacuate 2 wounded from a newly built mosque (see a previous blog). Random forces were being sent to aid in the rescue whilst a rag tag group of insurgents were trying to prevent them.

The early arrival of two “technicals” did not help the British, although a Scimitar did even things up causing damage before suffering an RPG hit.

Instead of evacuating the wounded their number was gradually increasing as members of the rescuing force came under heavy fire.

Even the arrival of a an RAF Reaper UAV with two “hellfire missiles” was unable to turn the tide. A decisive victory to “Insurgent Dave”.

Andrew, if it is any conciliation, I suffered the same fate on Friday night against Blake!!!!

The trials of Sergeant Aitkin (or should that be aching) 29 March 2017

Well it was time for another of those damned patrols in the green zone. Insurgent  forces were known to have infiltrated as far as the major irrigation canal through the normal patrol zone and were causing problems for the locals.

Both Dave’s were up for another game of modern Fubar this time using the optional morale and ISAF casualty rules they had just discovered.

Dave K had his usual insurgents with 2 only 6 man green units with RPG and a veteran unit also with RPG. These were lead by a veteran tribal leader.

Dave S had a British force led by Sergeant Aitkin a veteran of twenty years and two squads of 4 veterans armed with a variety of weapons.

As normal the patrol began with Dave K’s insurgents charging forward and the British of David S advancing cautiously trying to position one section on a hill that would provide flanking fire. Suddenly as they rounded a bend in the irrigation ditch both forces ran into each other. With the Desert Hawk airborne providing positive identification (PID), Sergeant Aitkin quickly seized the initiative and the insurgents were quickly in trouble as Alpha squad rained a torrent of fire  down on them.

 20170329_202200

When the dust settled no insurgents were left standing.

20170329_204035

Alpha squad moved in position to direct suppressing fire on the insurgent veterans on the hill while Bravo squad failed to activate for the third turn in a row. Massed fire from two insurgent squads caused a hit on one of Alpha squad which Aitkin diagnosed as a T2 (rolled a 3  with a plus one for diagnosis in the field without a medic) requiring medical evacuation (Medevac) as soon as possible.

20170329_204822 
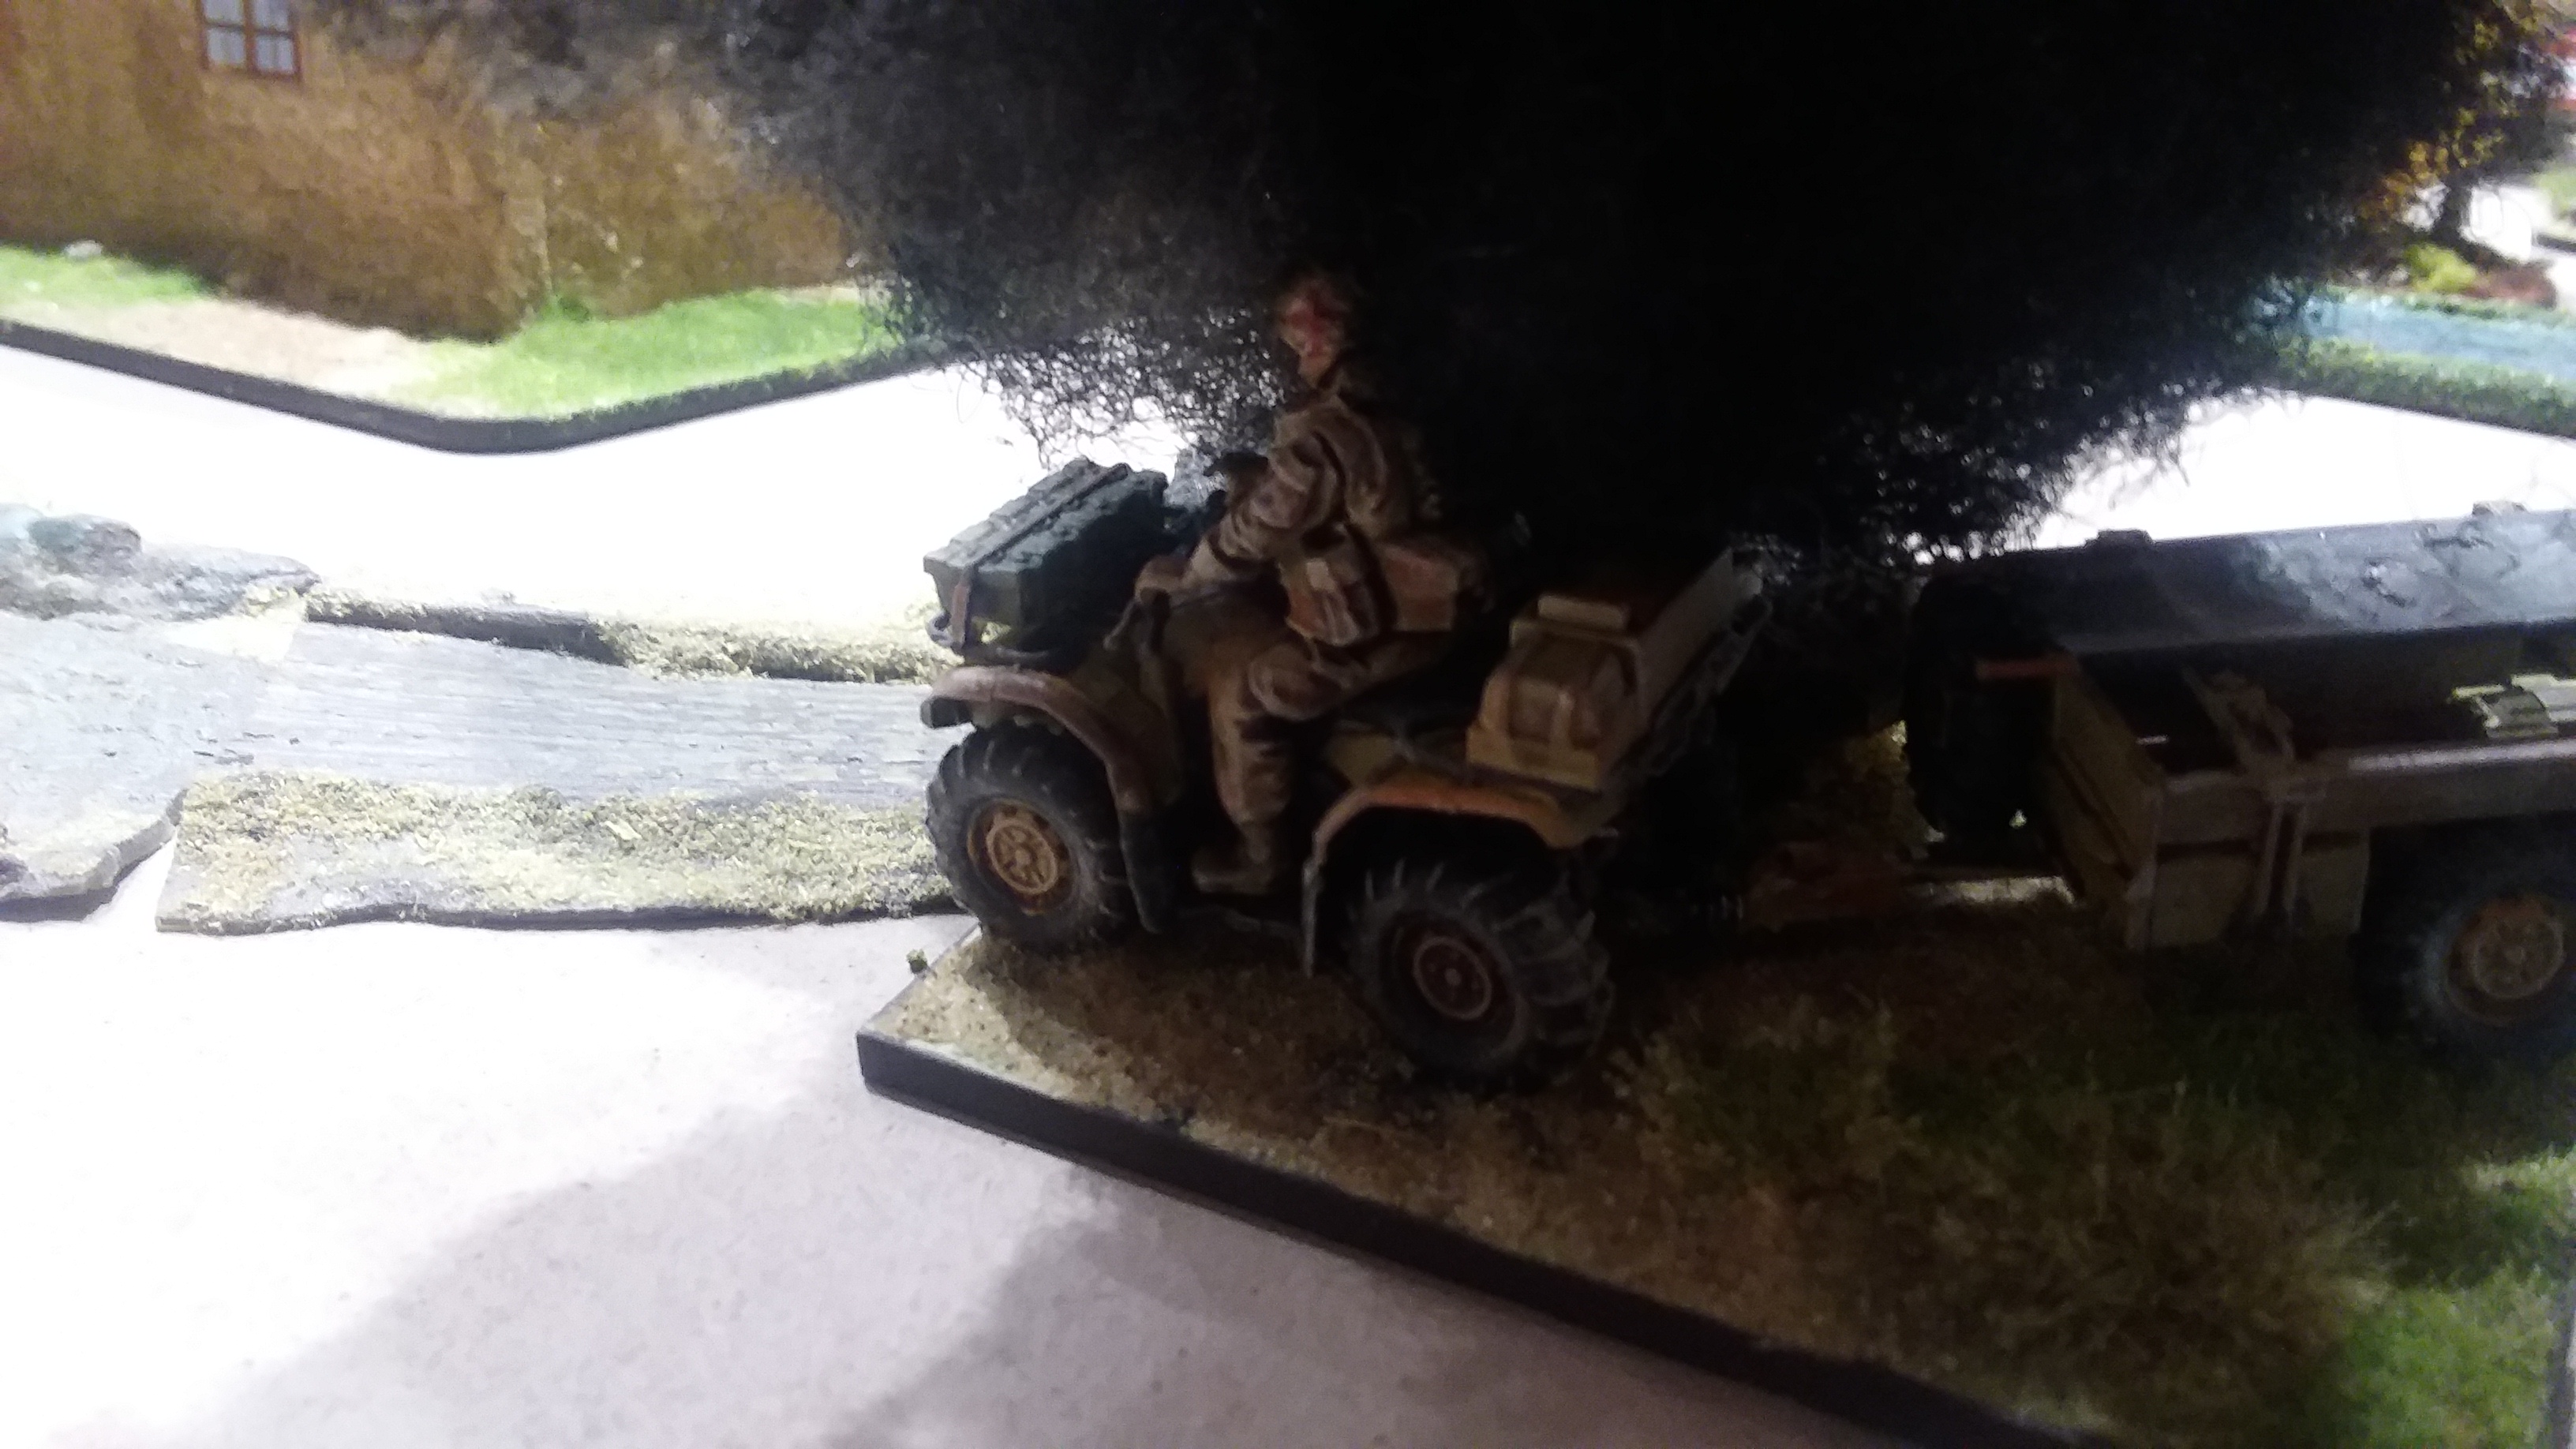
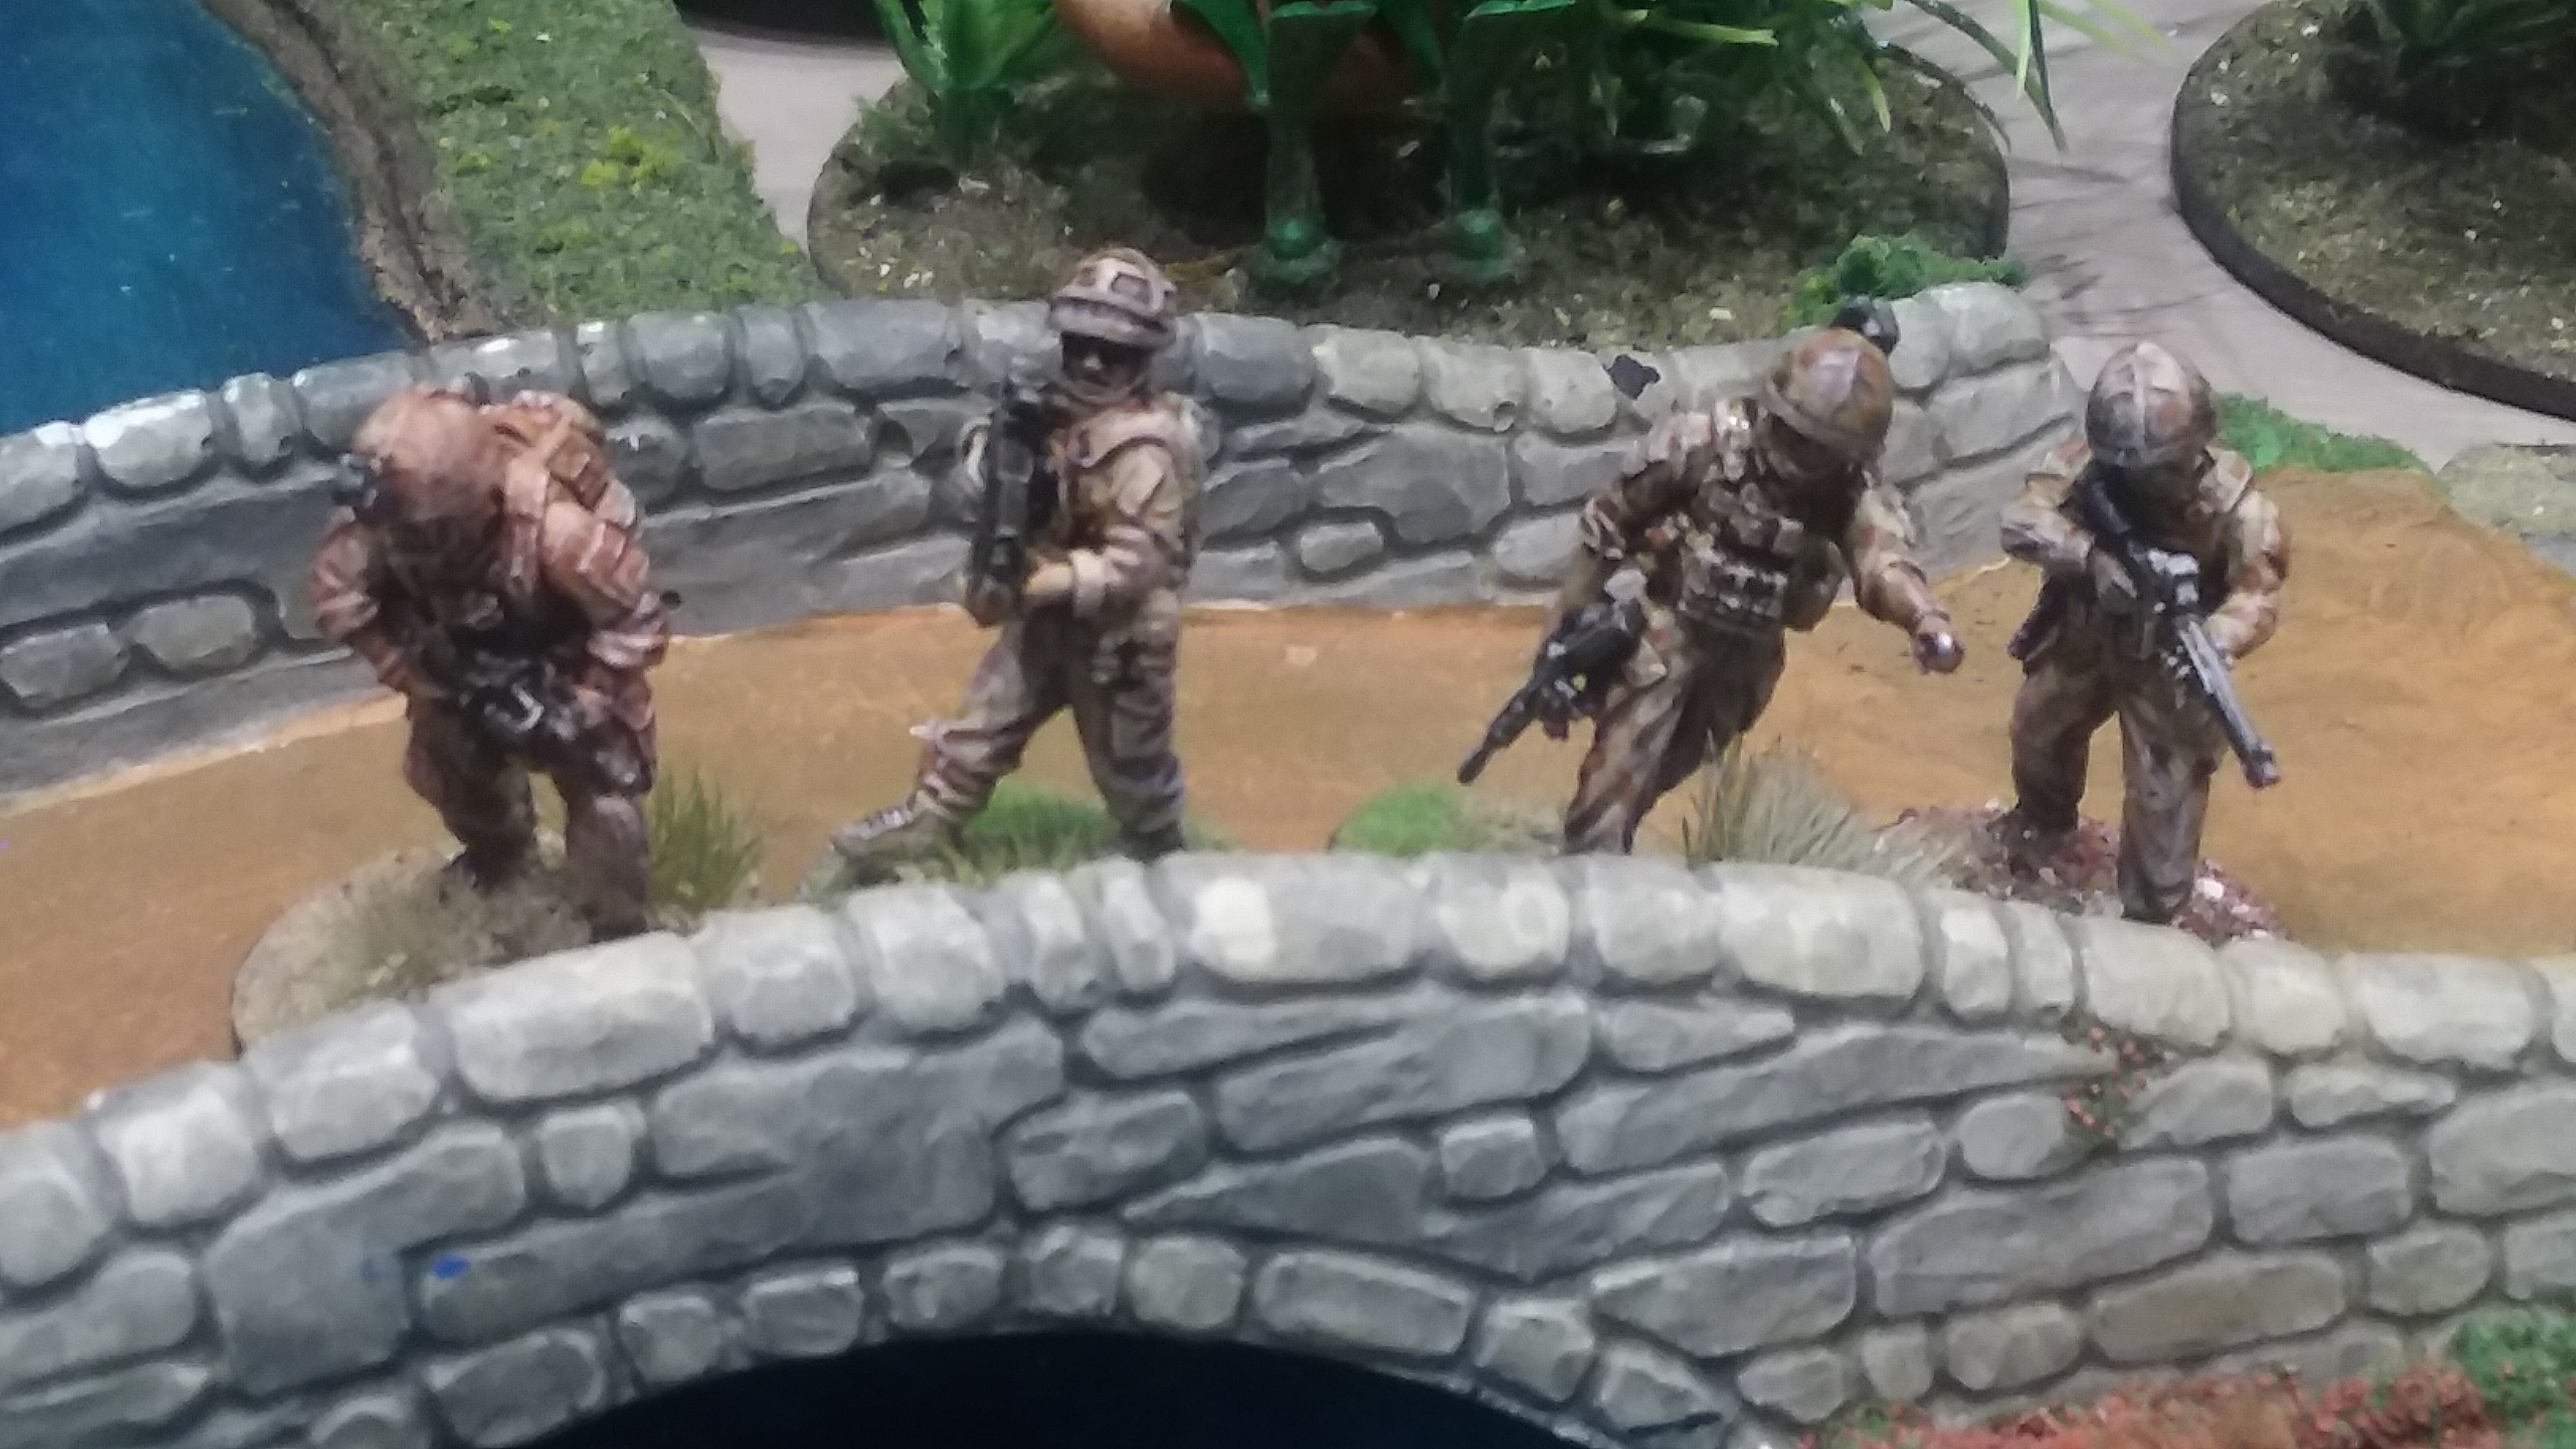
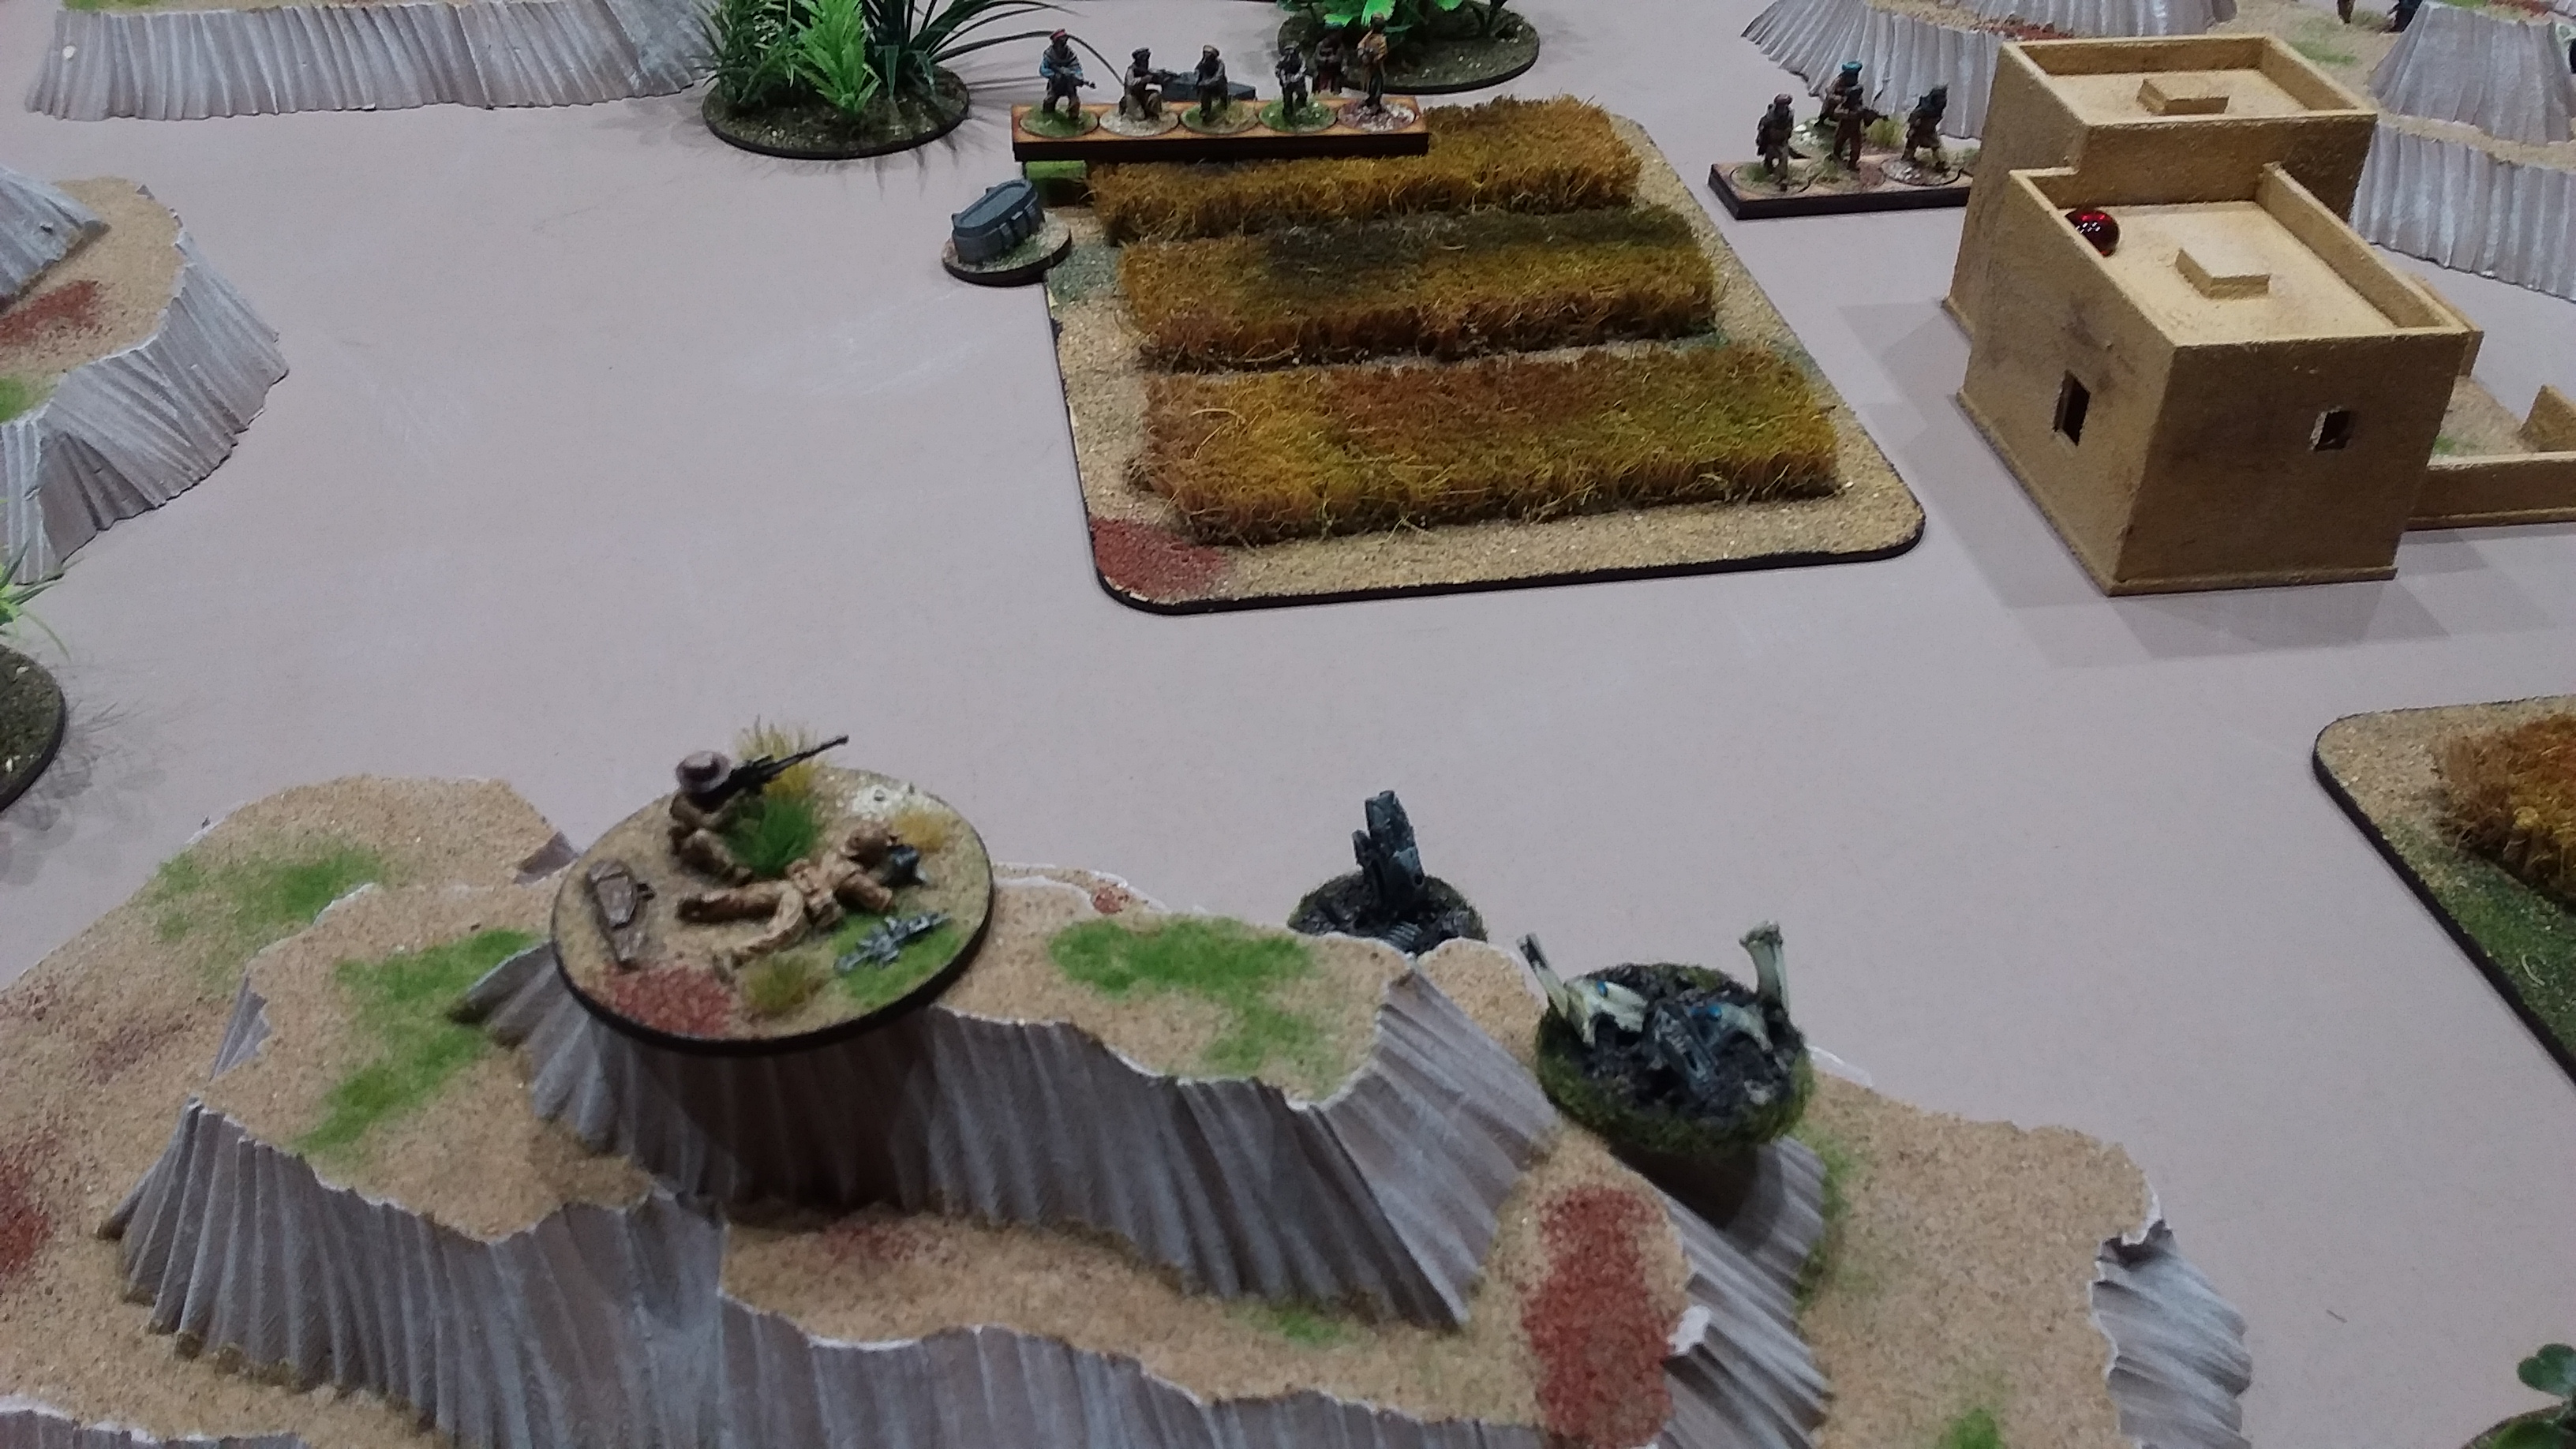
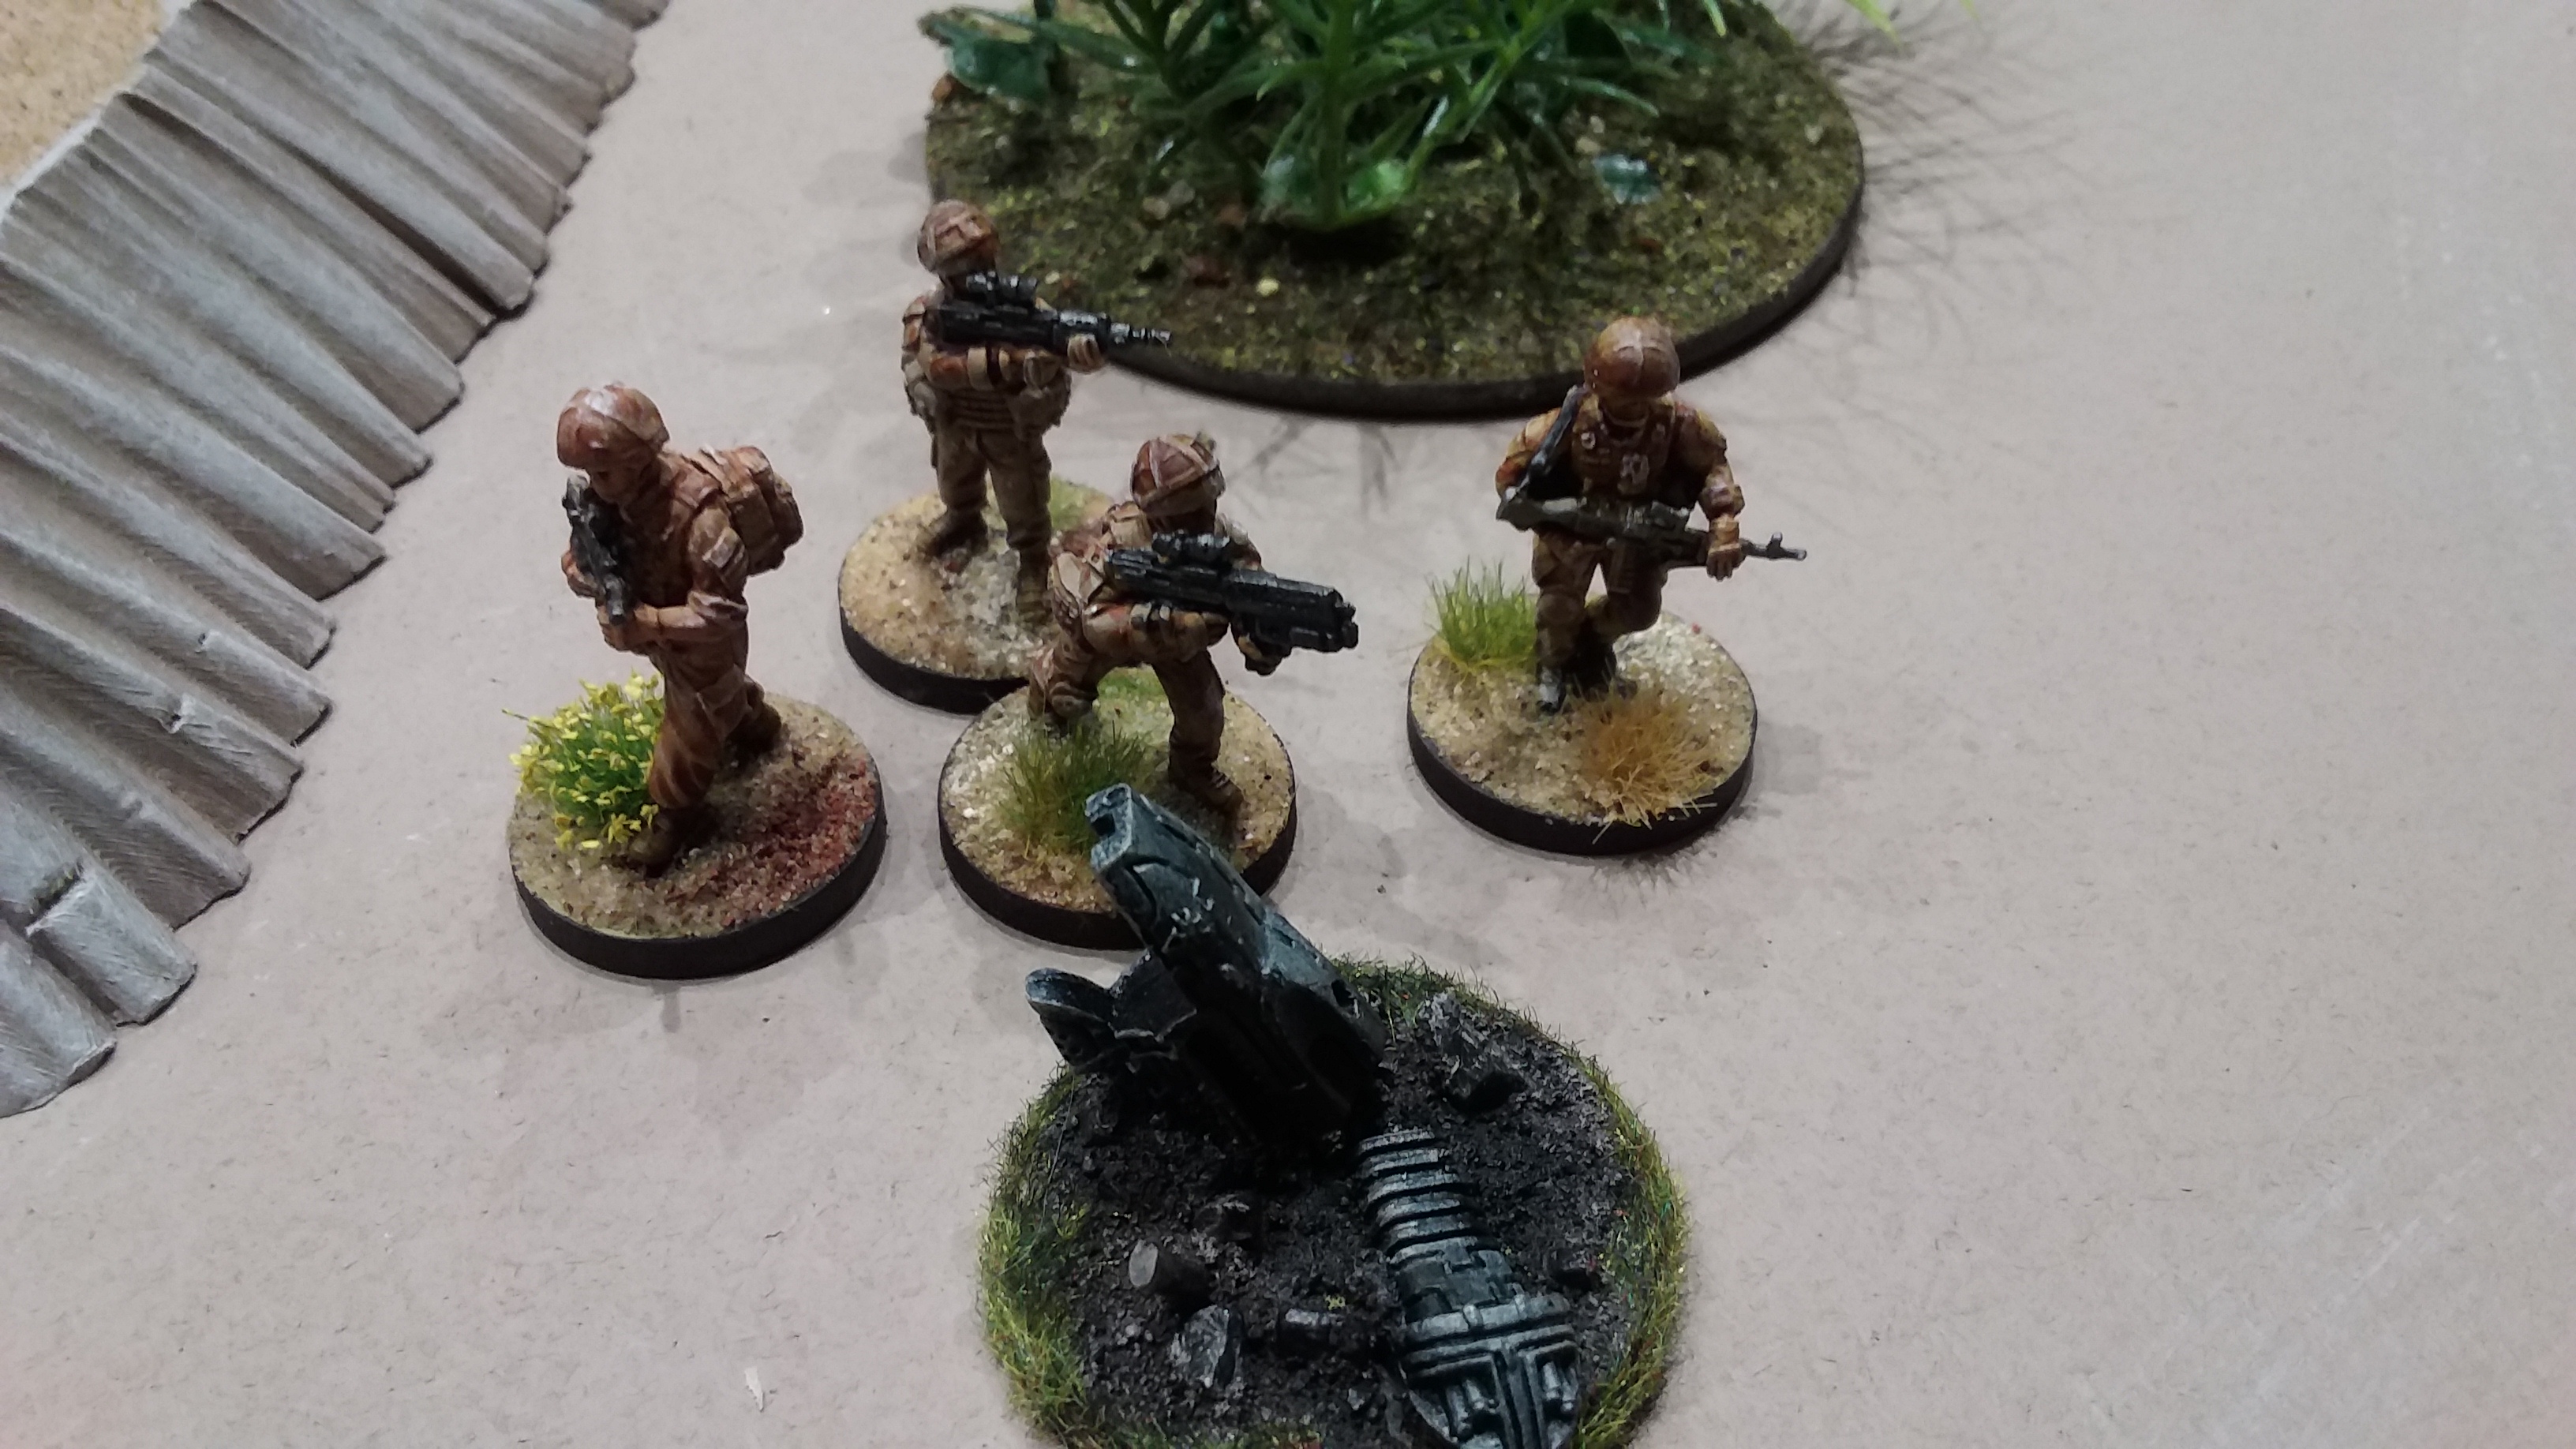
Aitkin held their current position while Alpha squad escorted their wounded comrade back to the Medevac area (rear centre of the table).

20170329_204101

Bravo squad finally earned their pay with devastating fire on the insurgents on the rocky outcrop leaving only a single survivor.

With Alpha squad temporarily out of action and Sergeant Aitkin out on a limb the situation was in the balance. David K, seeing his chance, charged Aitkin with his leader and Veteran squad.

Whilst crossing the open ground Bravo Squad was able to bring down the insurgent leader.

20170329_203027

Despite this the veterans continued the charge and leapt into the irrigation canal.

Bravo squad moved to reinforce Aitkin, who brought two insurgents down before they reached him, and another in close combat before he fell.

20170329_205808

Bravo squad could finally draw a line of fire on the insurgents who were about to dispatch Aitkin. The Bravo squad marksman (DMR) fired two shots and Aitkin was safe.

This was enough to break the morale of the two surviving insurgents who ran to fight another day.

20170329_210020

When the Bravo squad finally reached Aitkin they found him dazed, but otherwise AOK (rolled a one on the casualty table!).

With his head aching from the graze on his forehead Aitkin lead Bravo squad back to the Medevac area where they were informed that their colleague had been wrongly diagnosed as a T2 and would be back to the unit in a couple of days (rolled a three with a medic present = “return to combat”).

Although the patrol was a complete success the result was so close to being FUBAR!!!

Wargaming – Skirmish wargaming on a grand scale

Medieval F.U.B.A.R using Schleich Knights.

Hi all I have finally had time to get this post on-line. Sorry about the delay.

20170215_203052
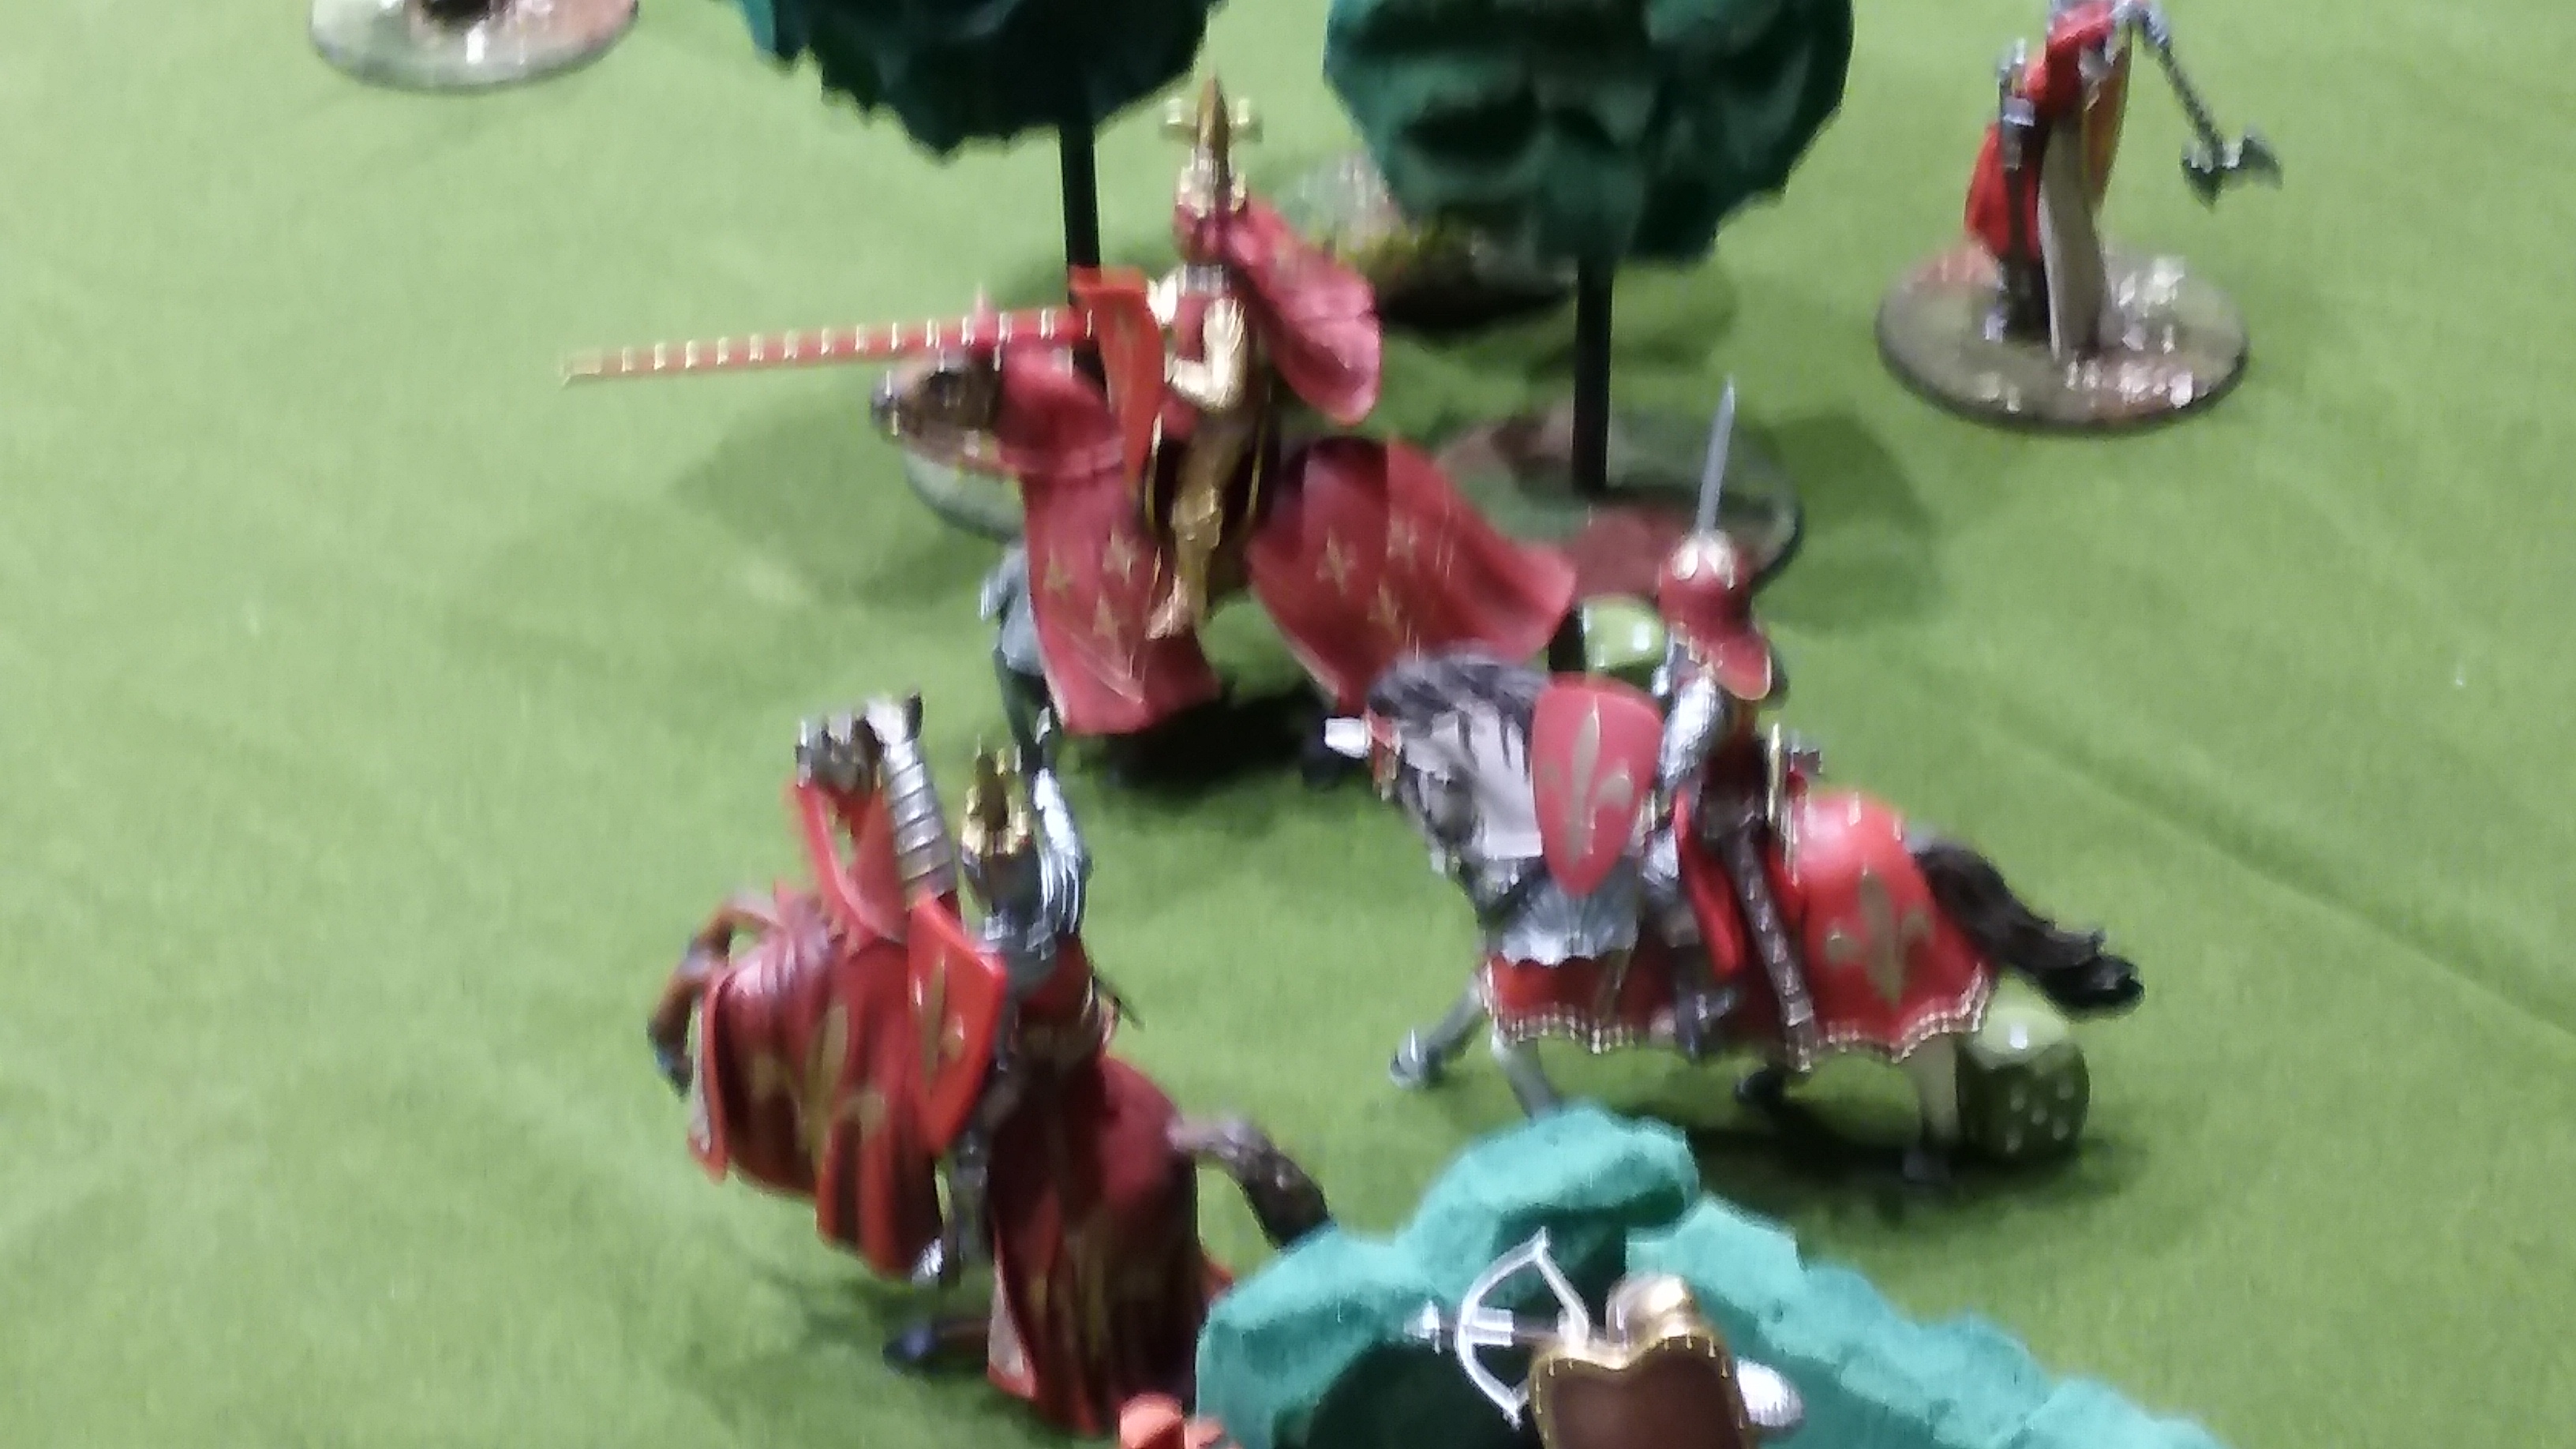
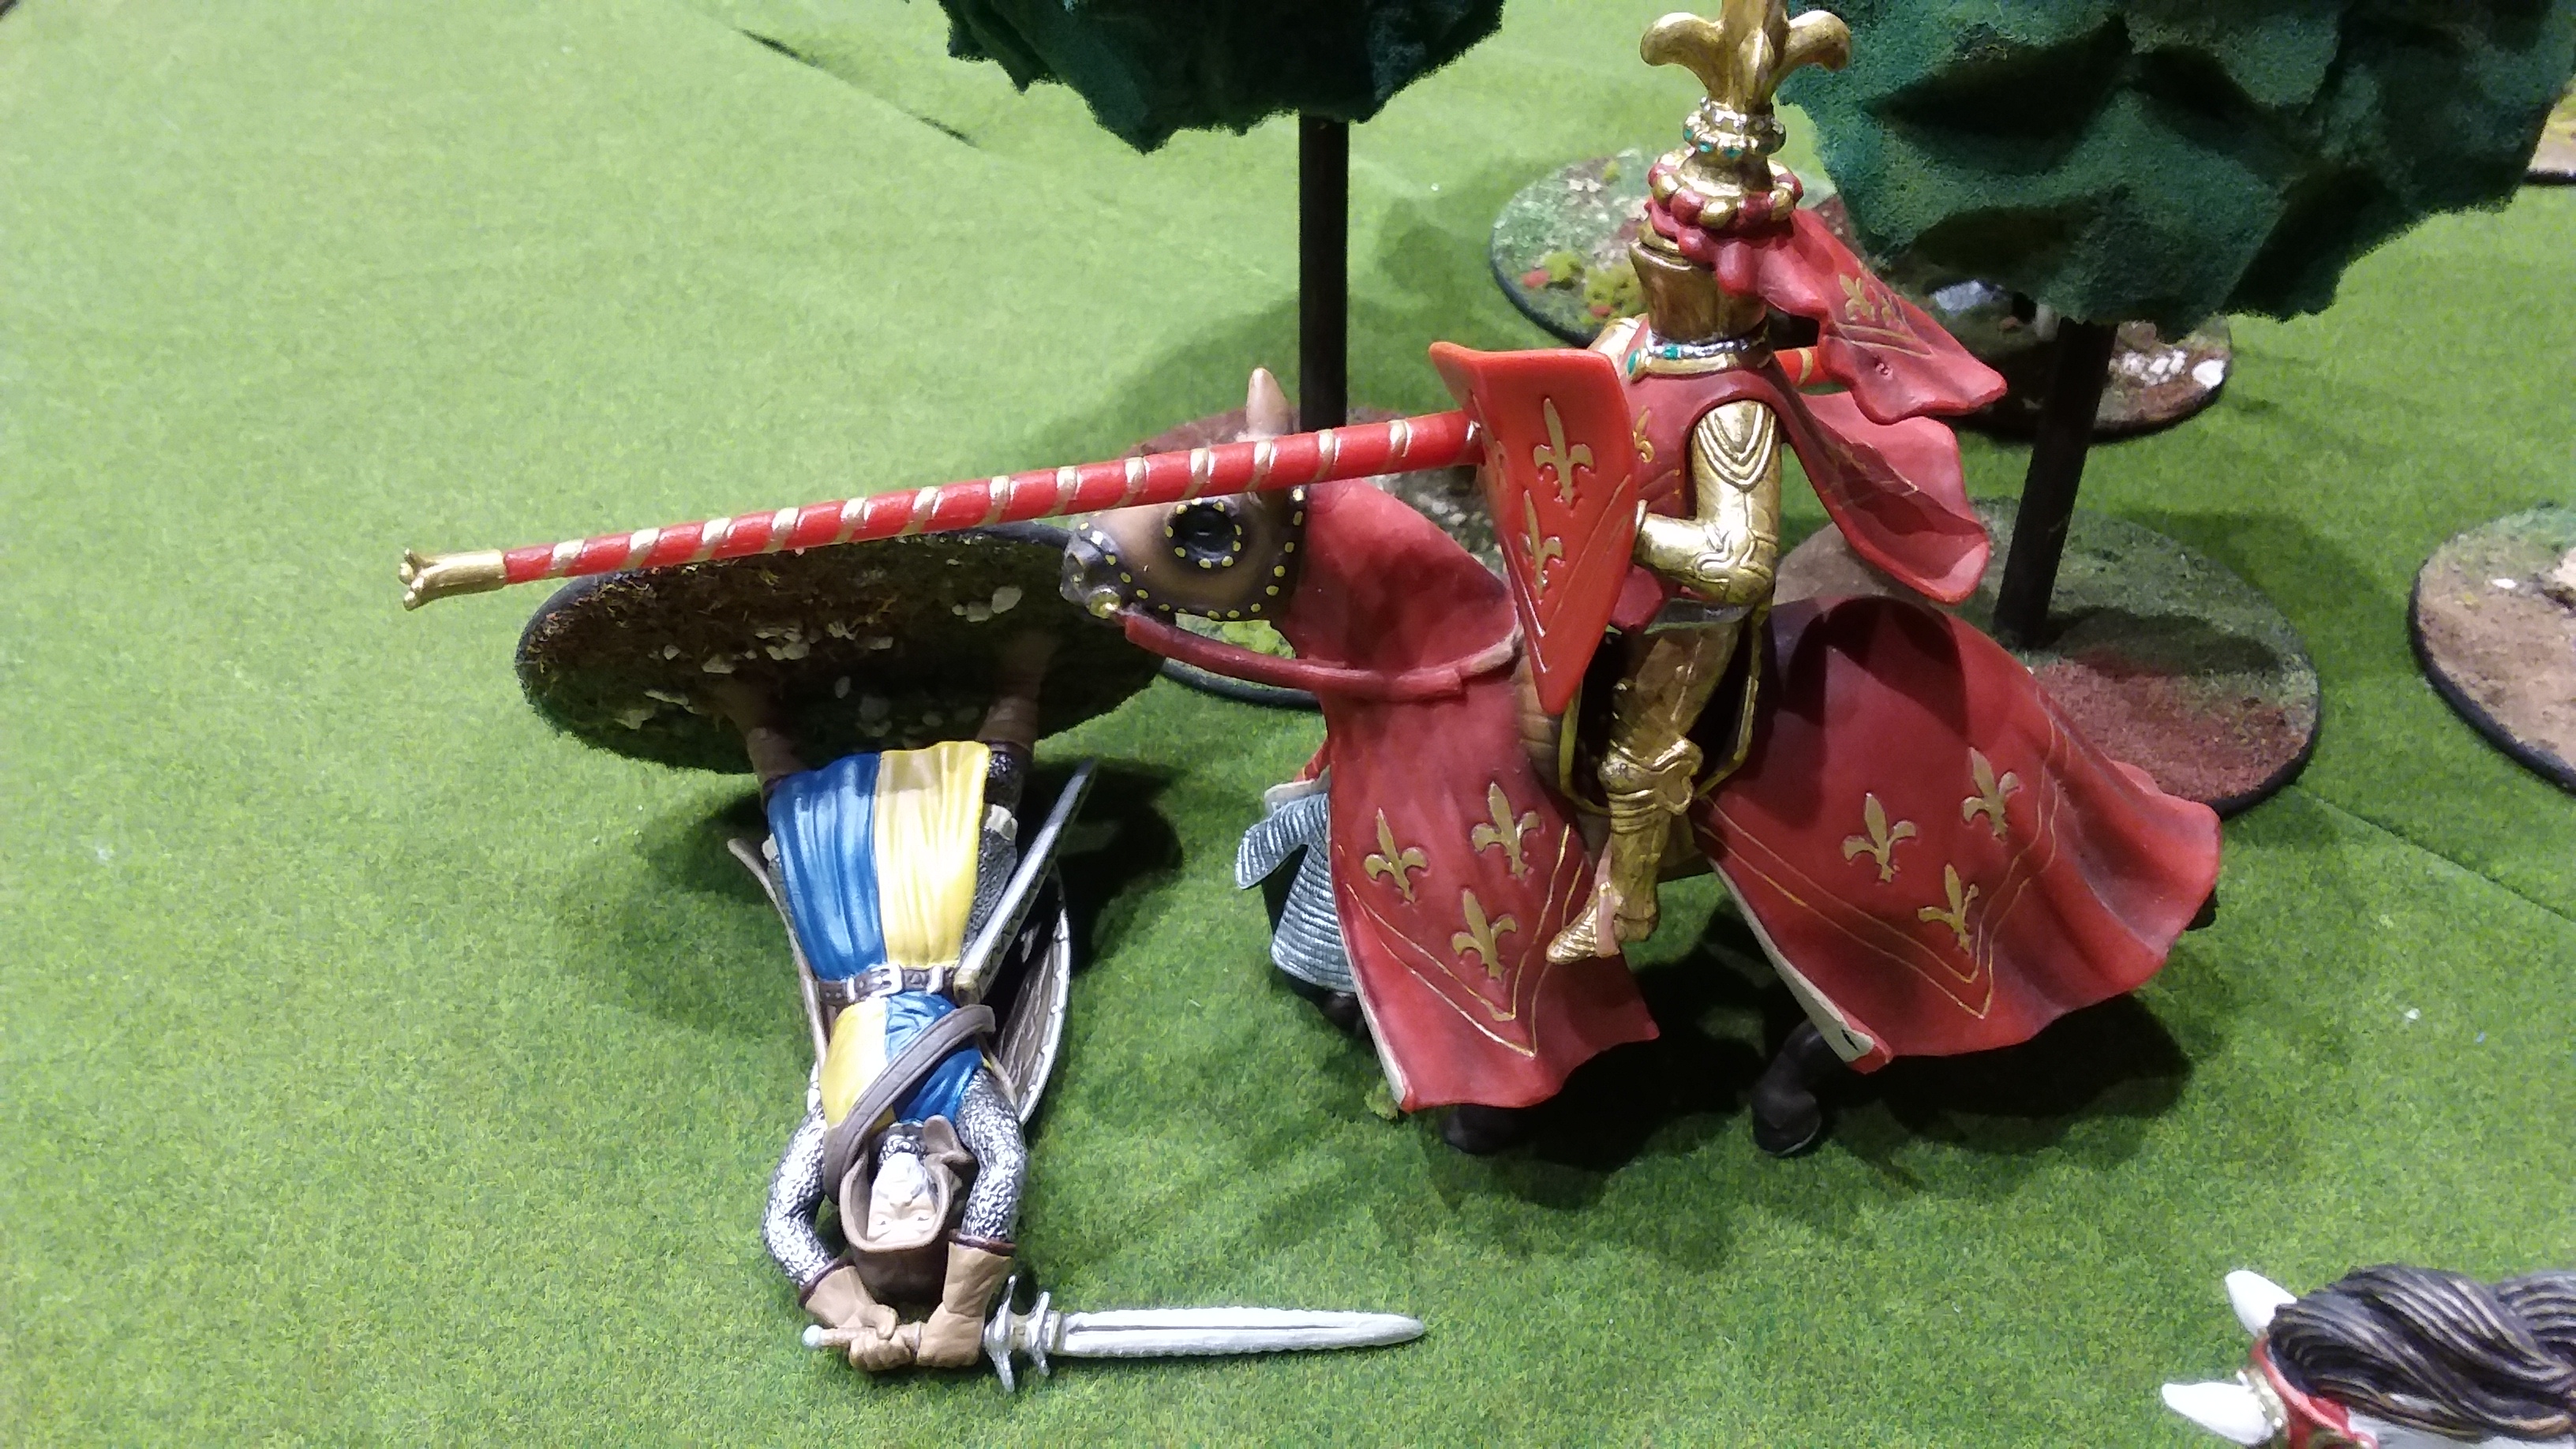
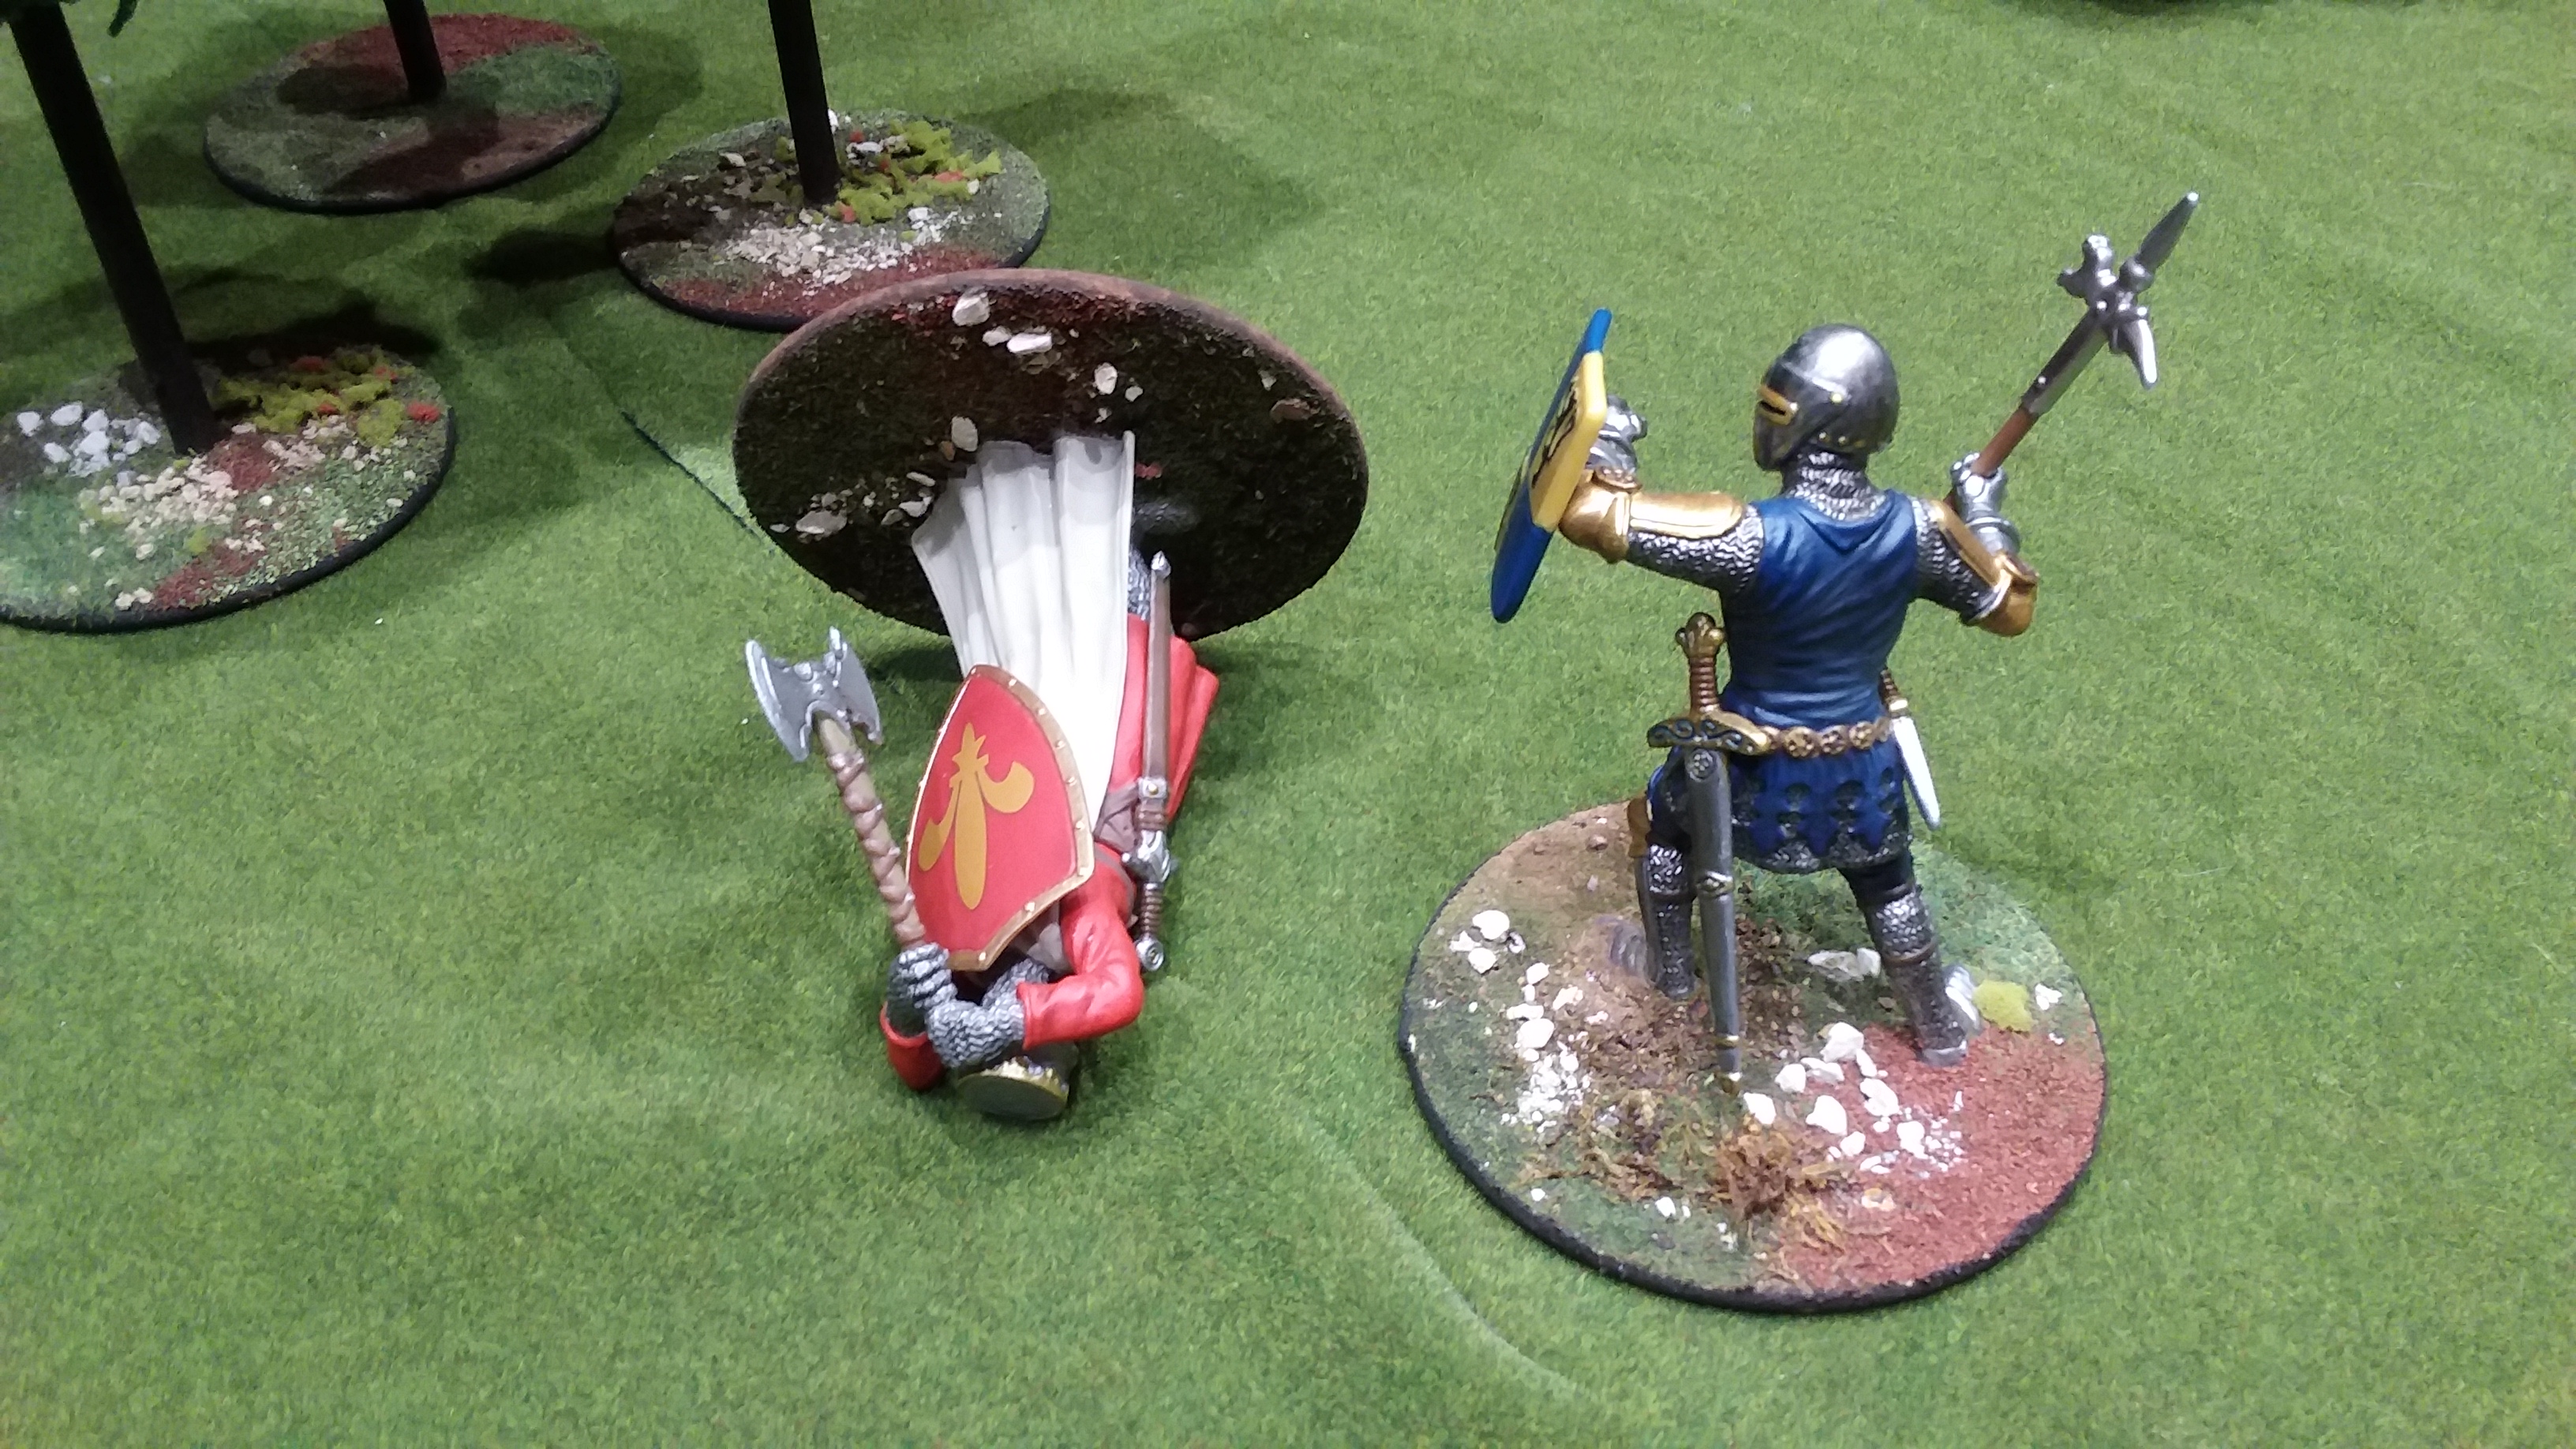
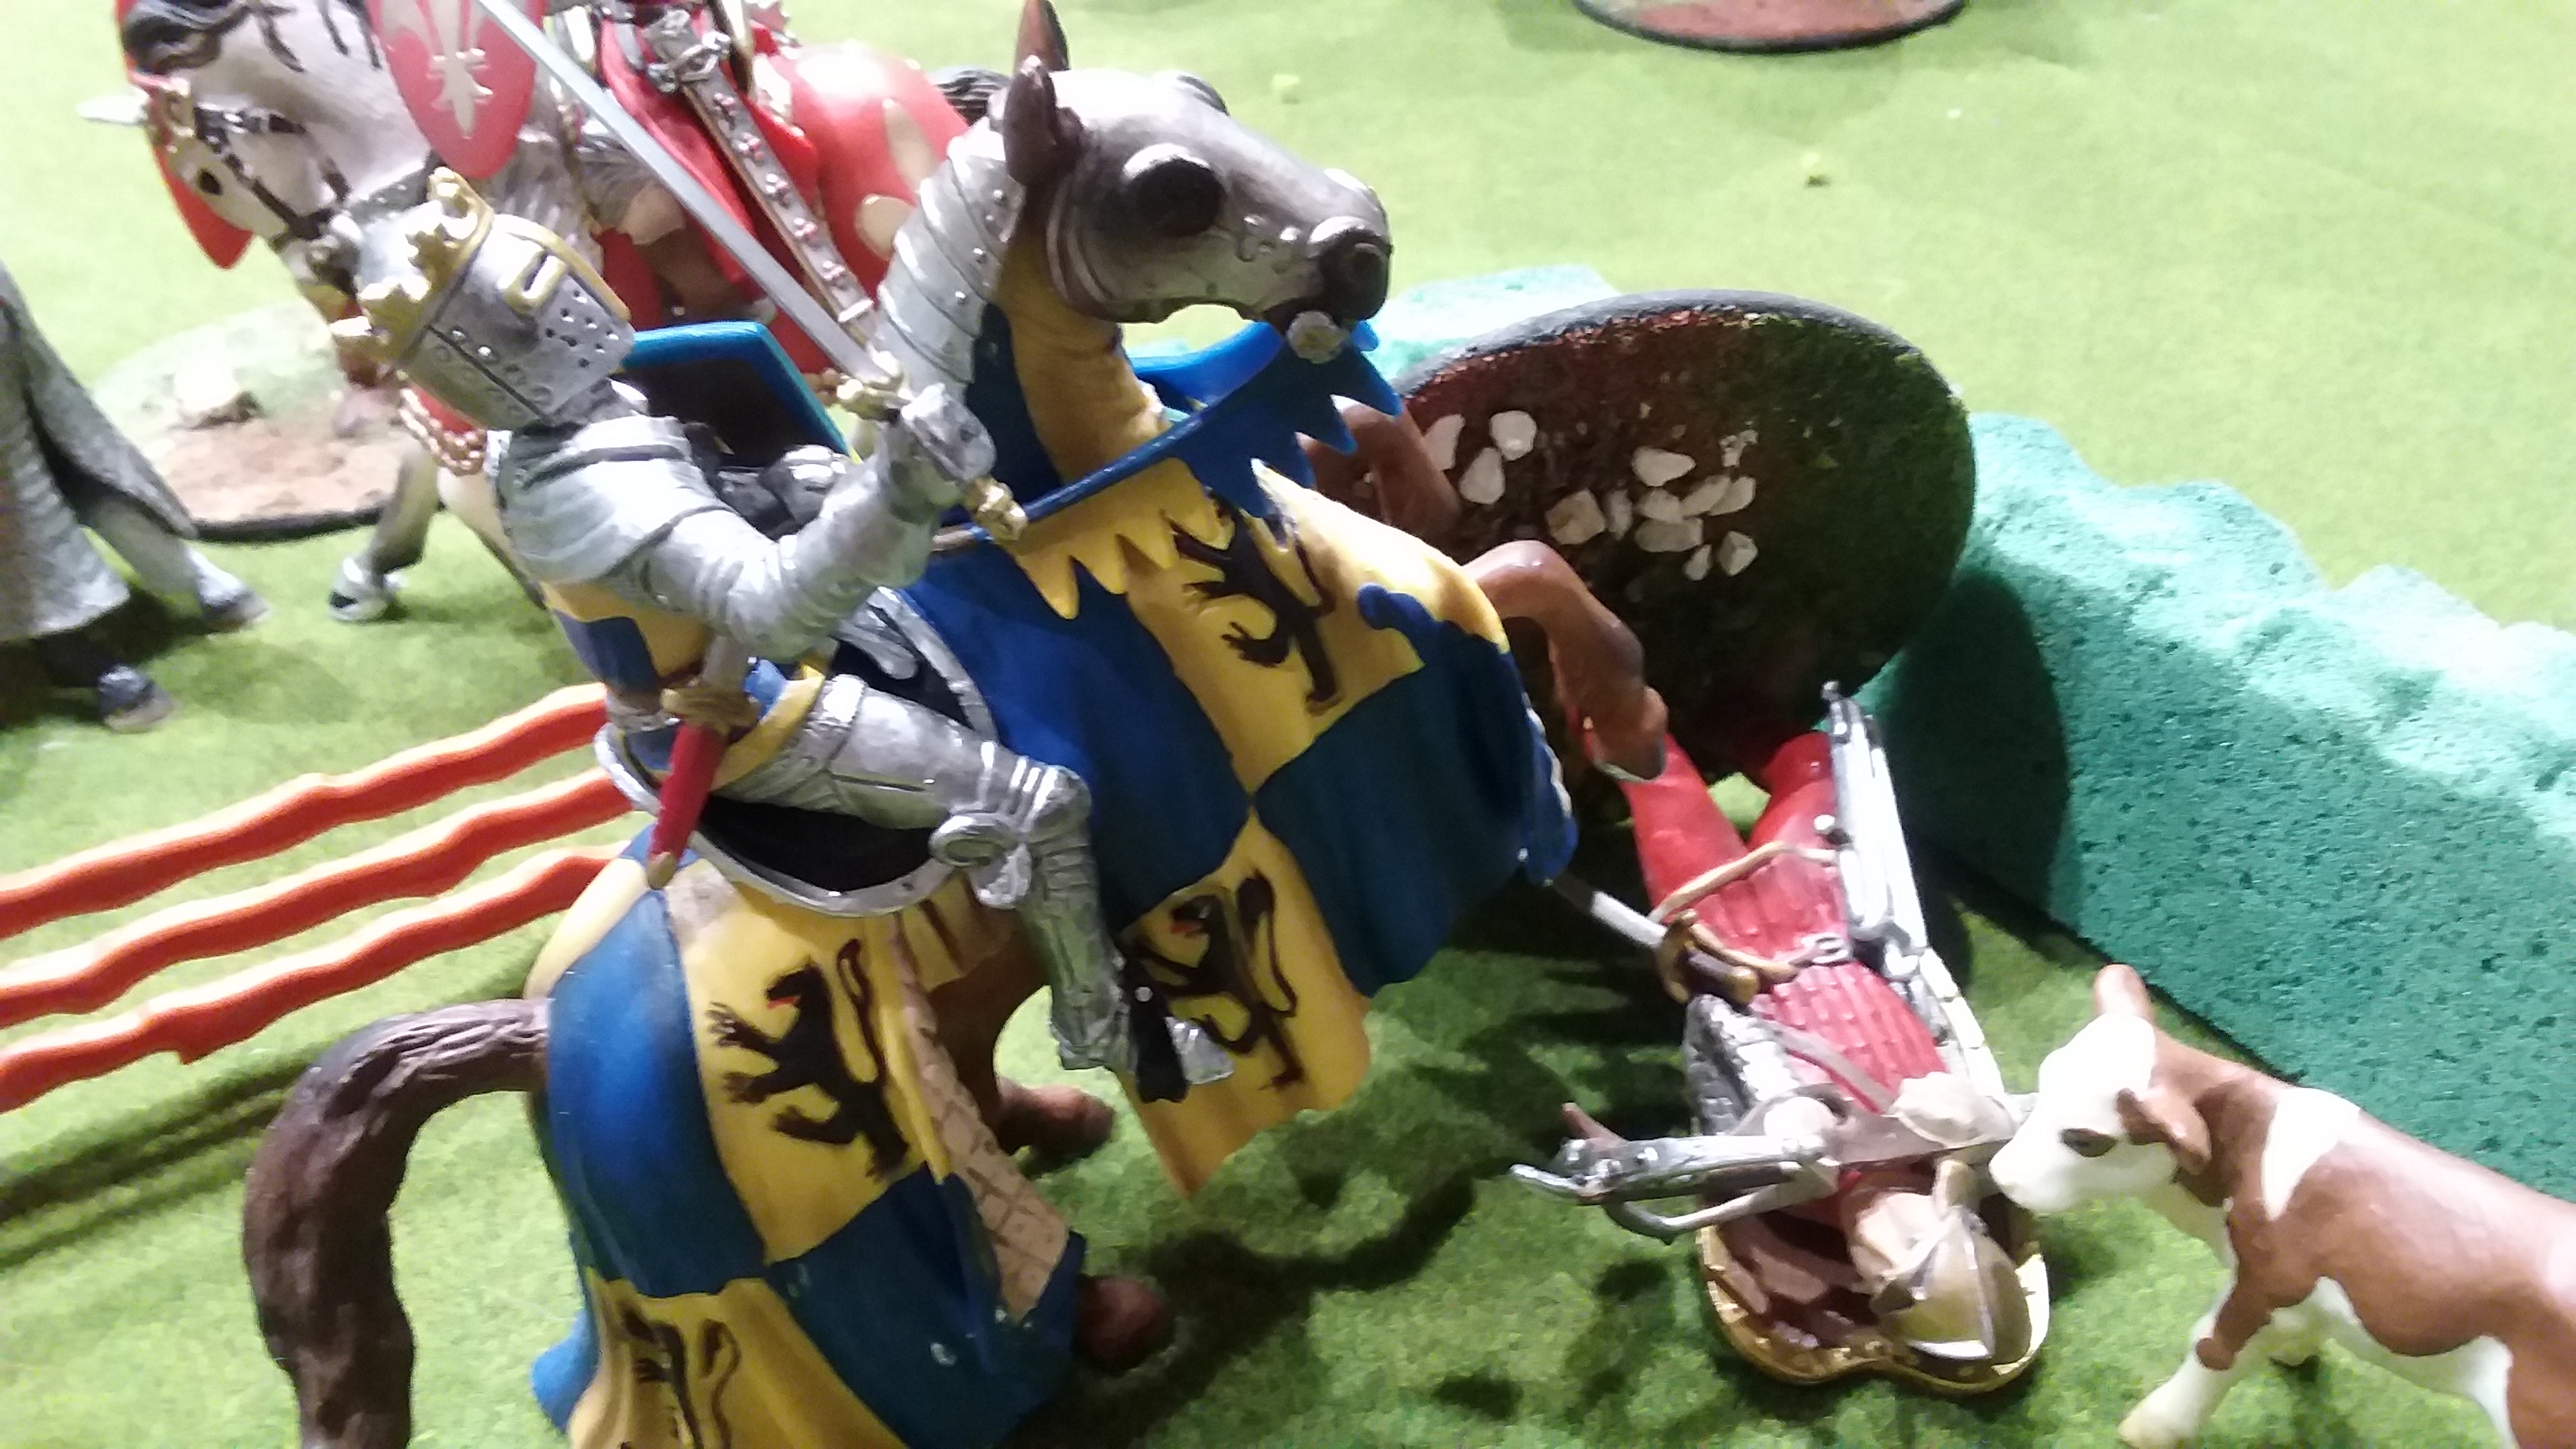
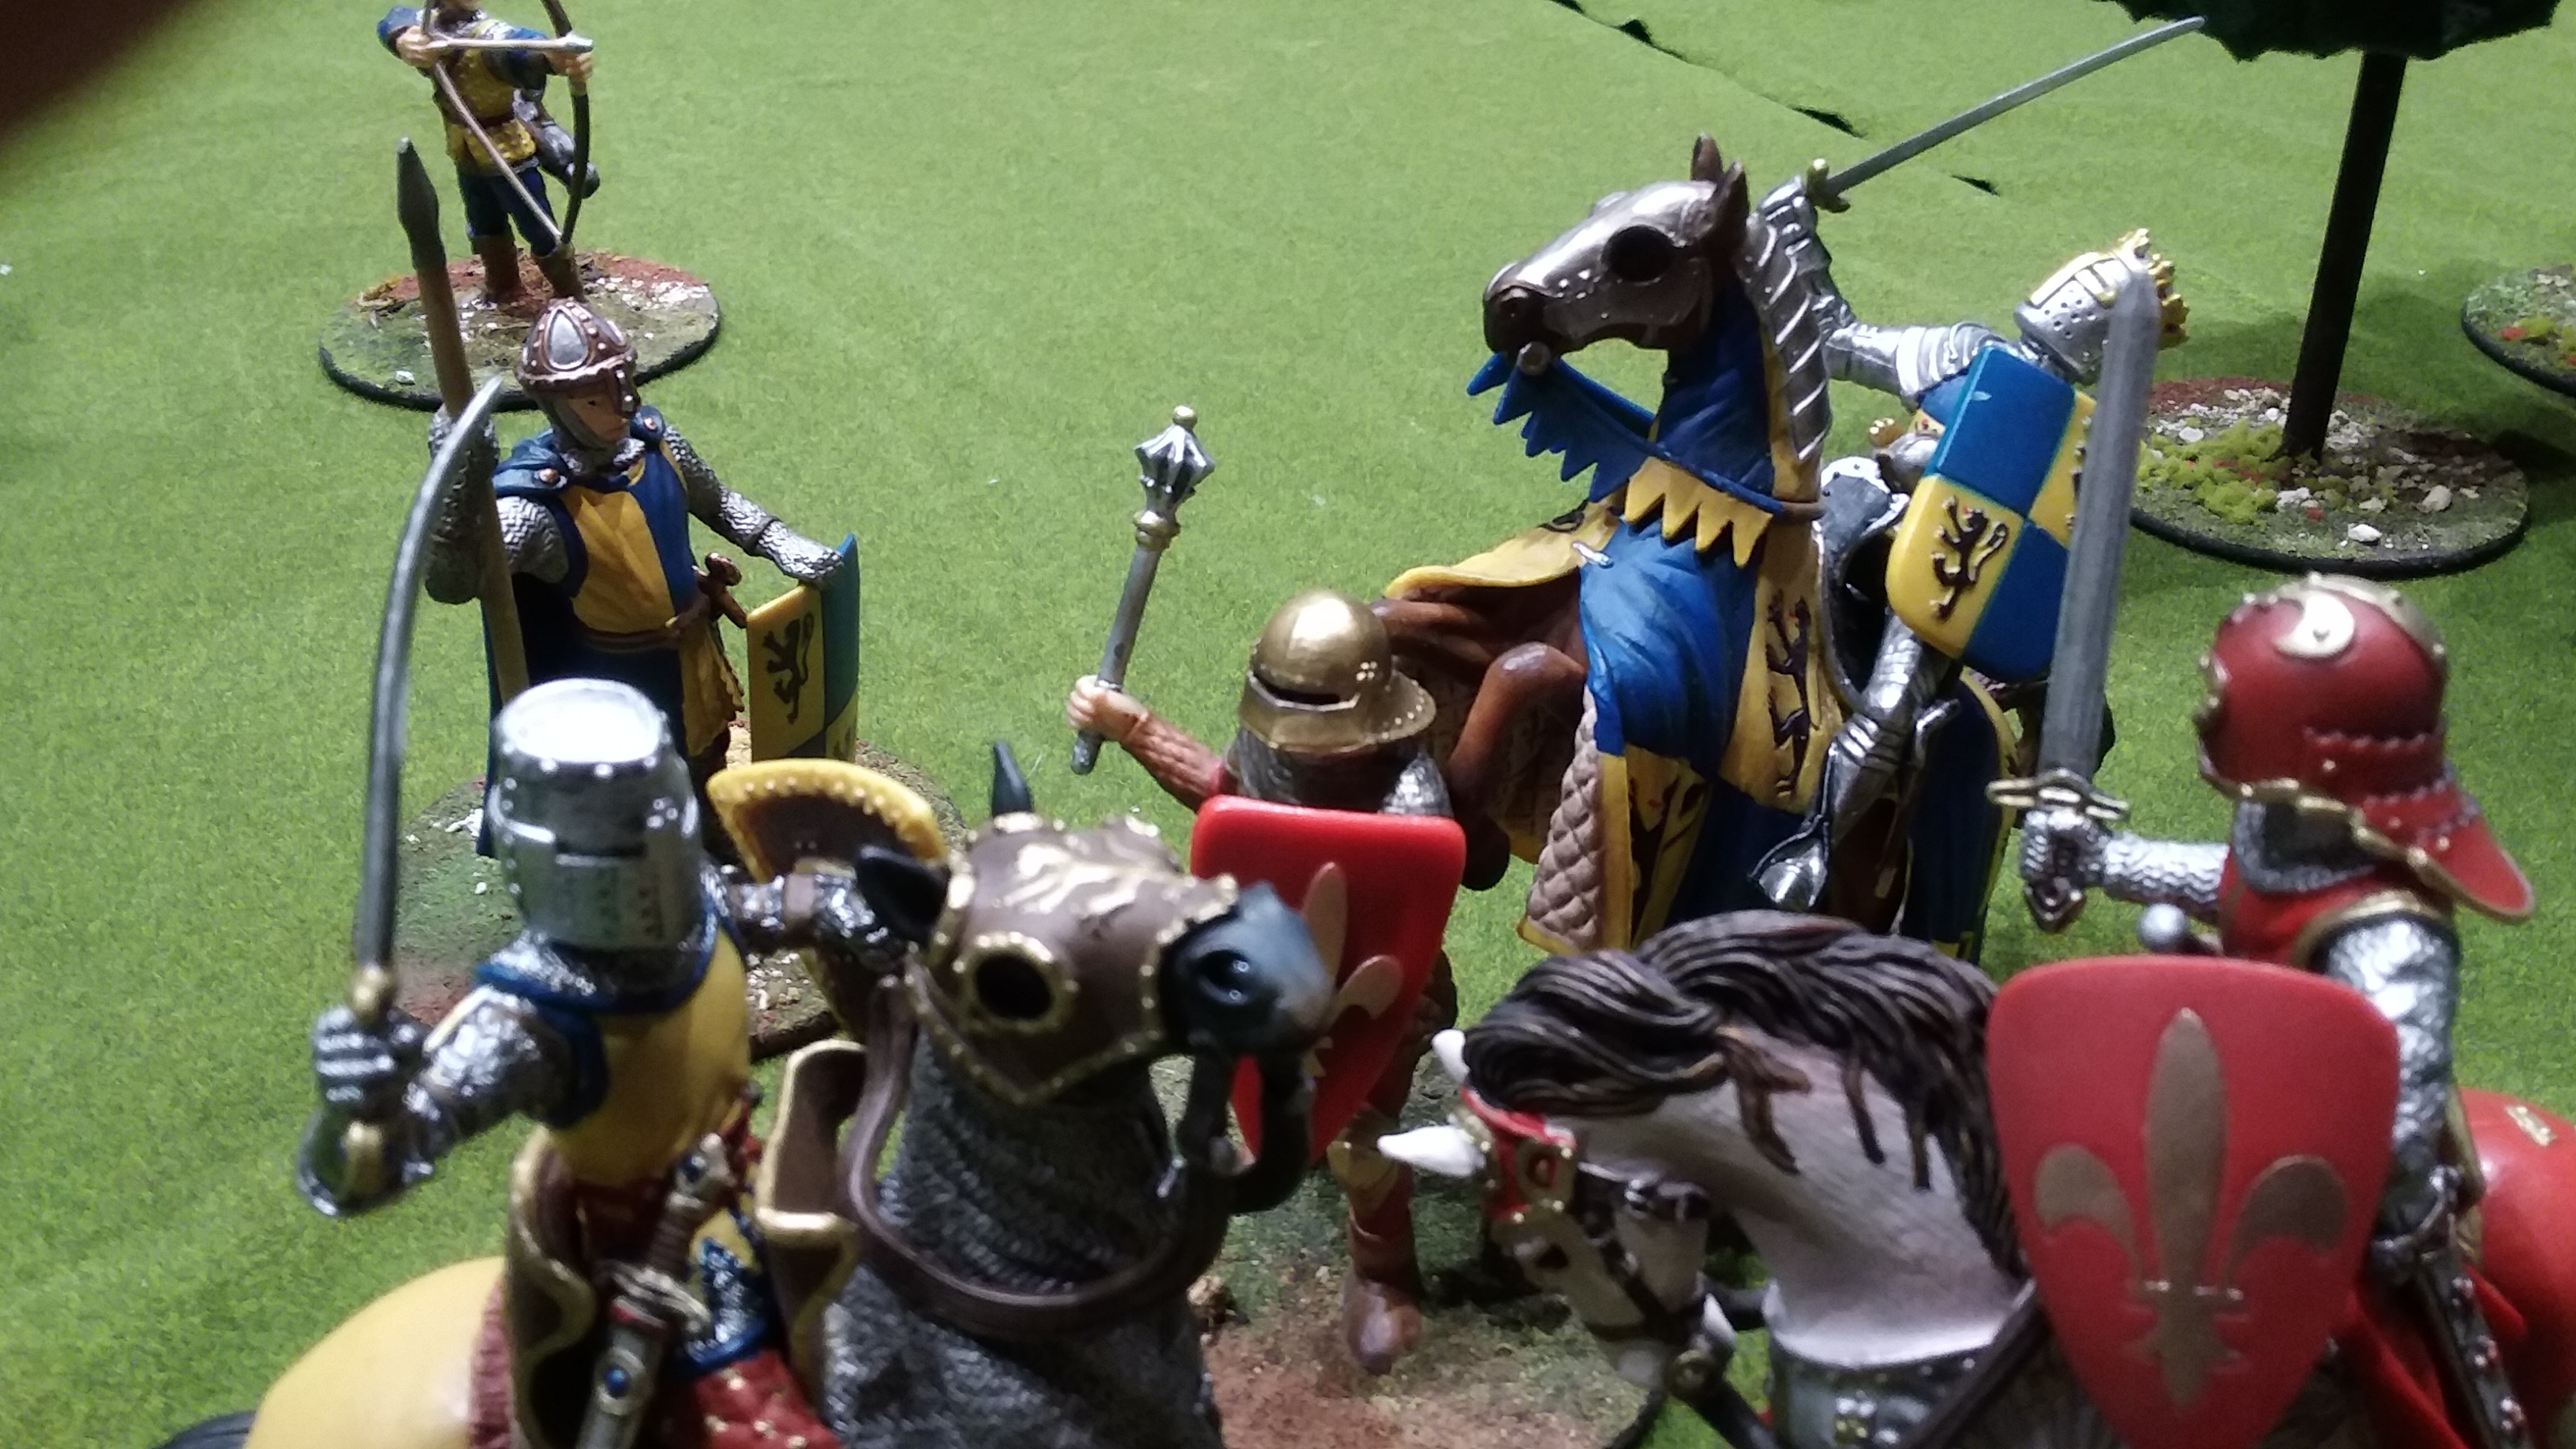
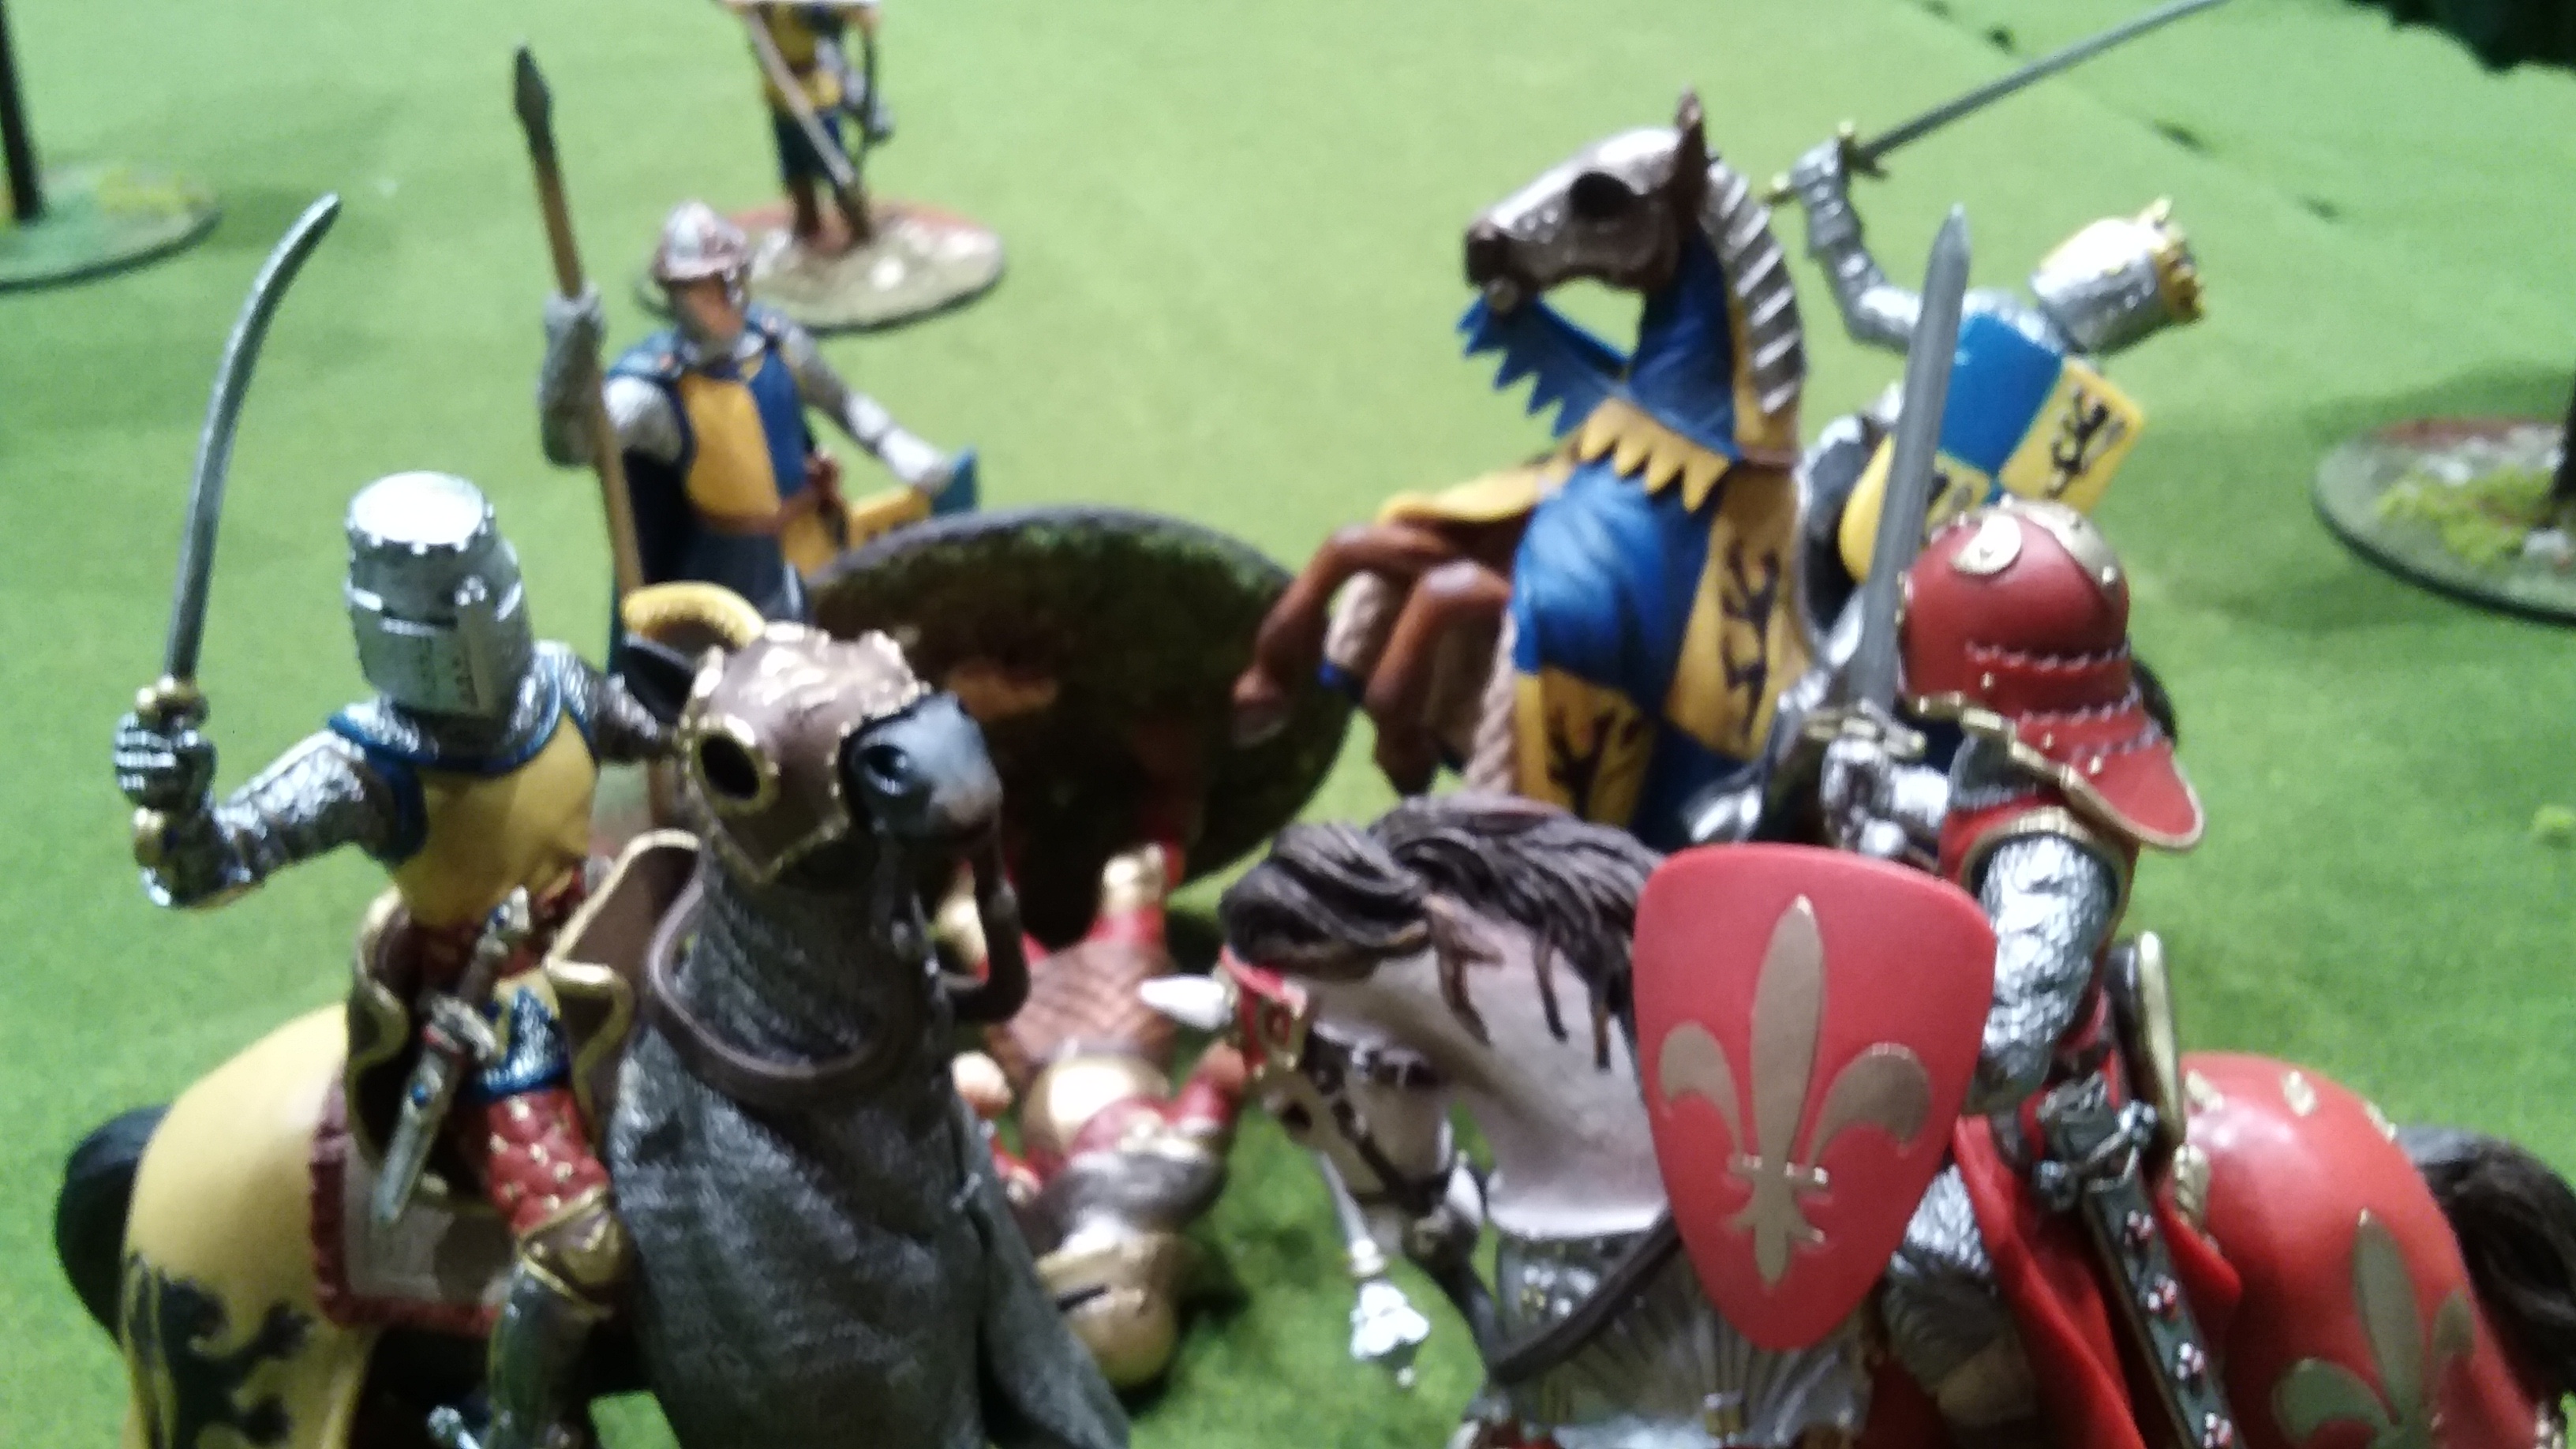
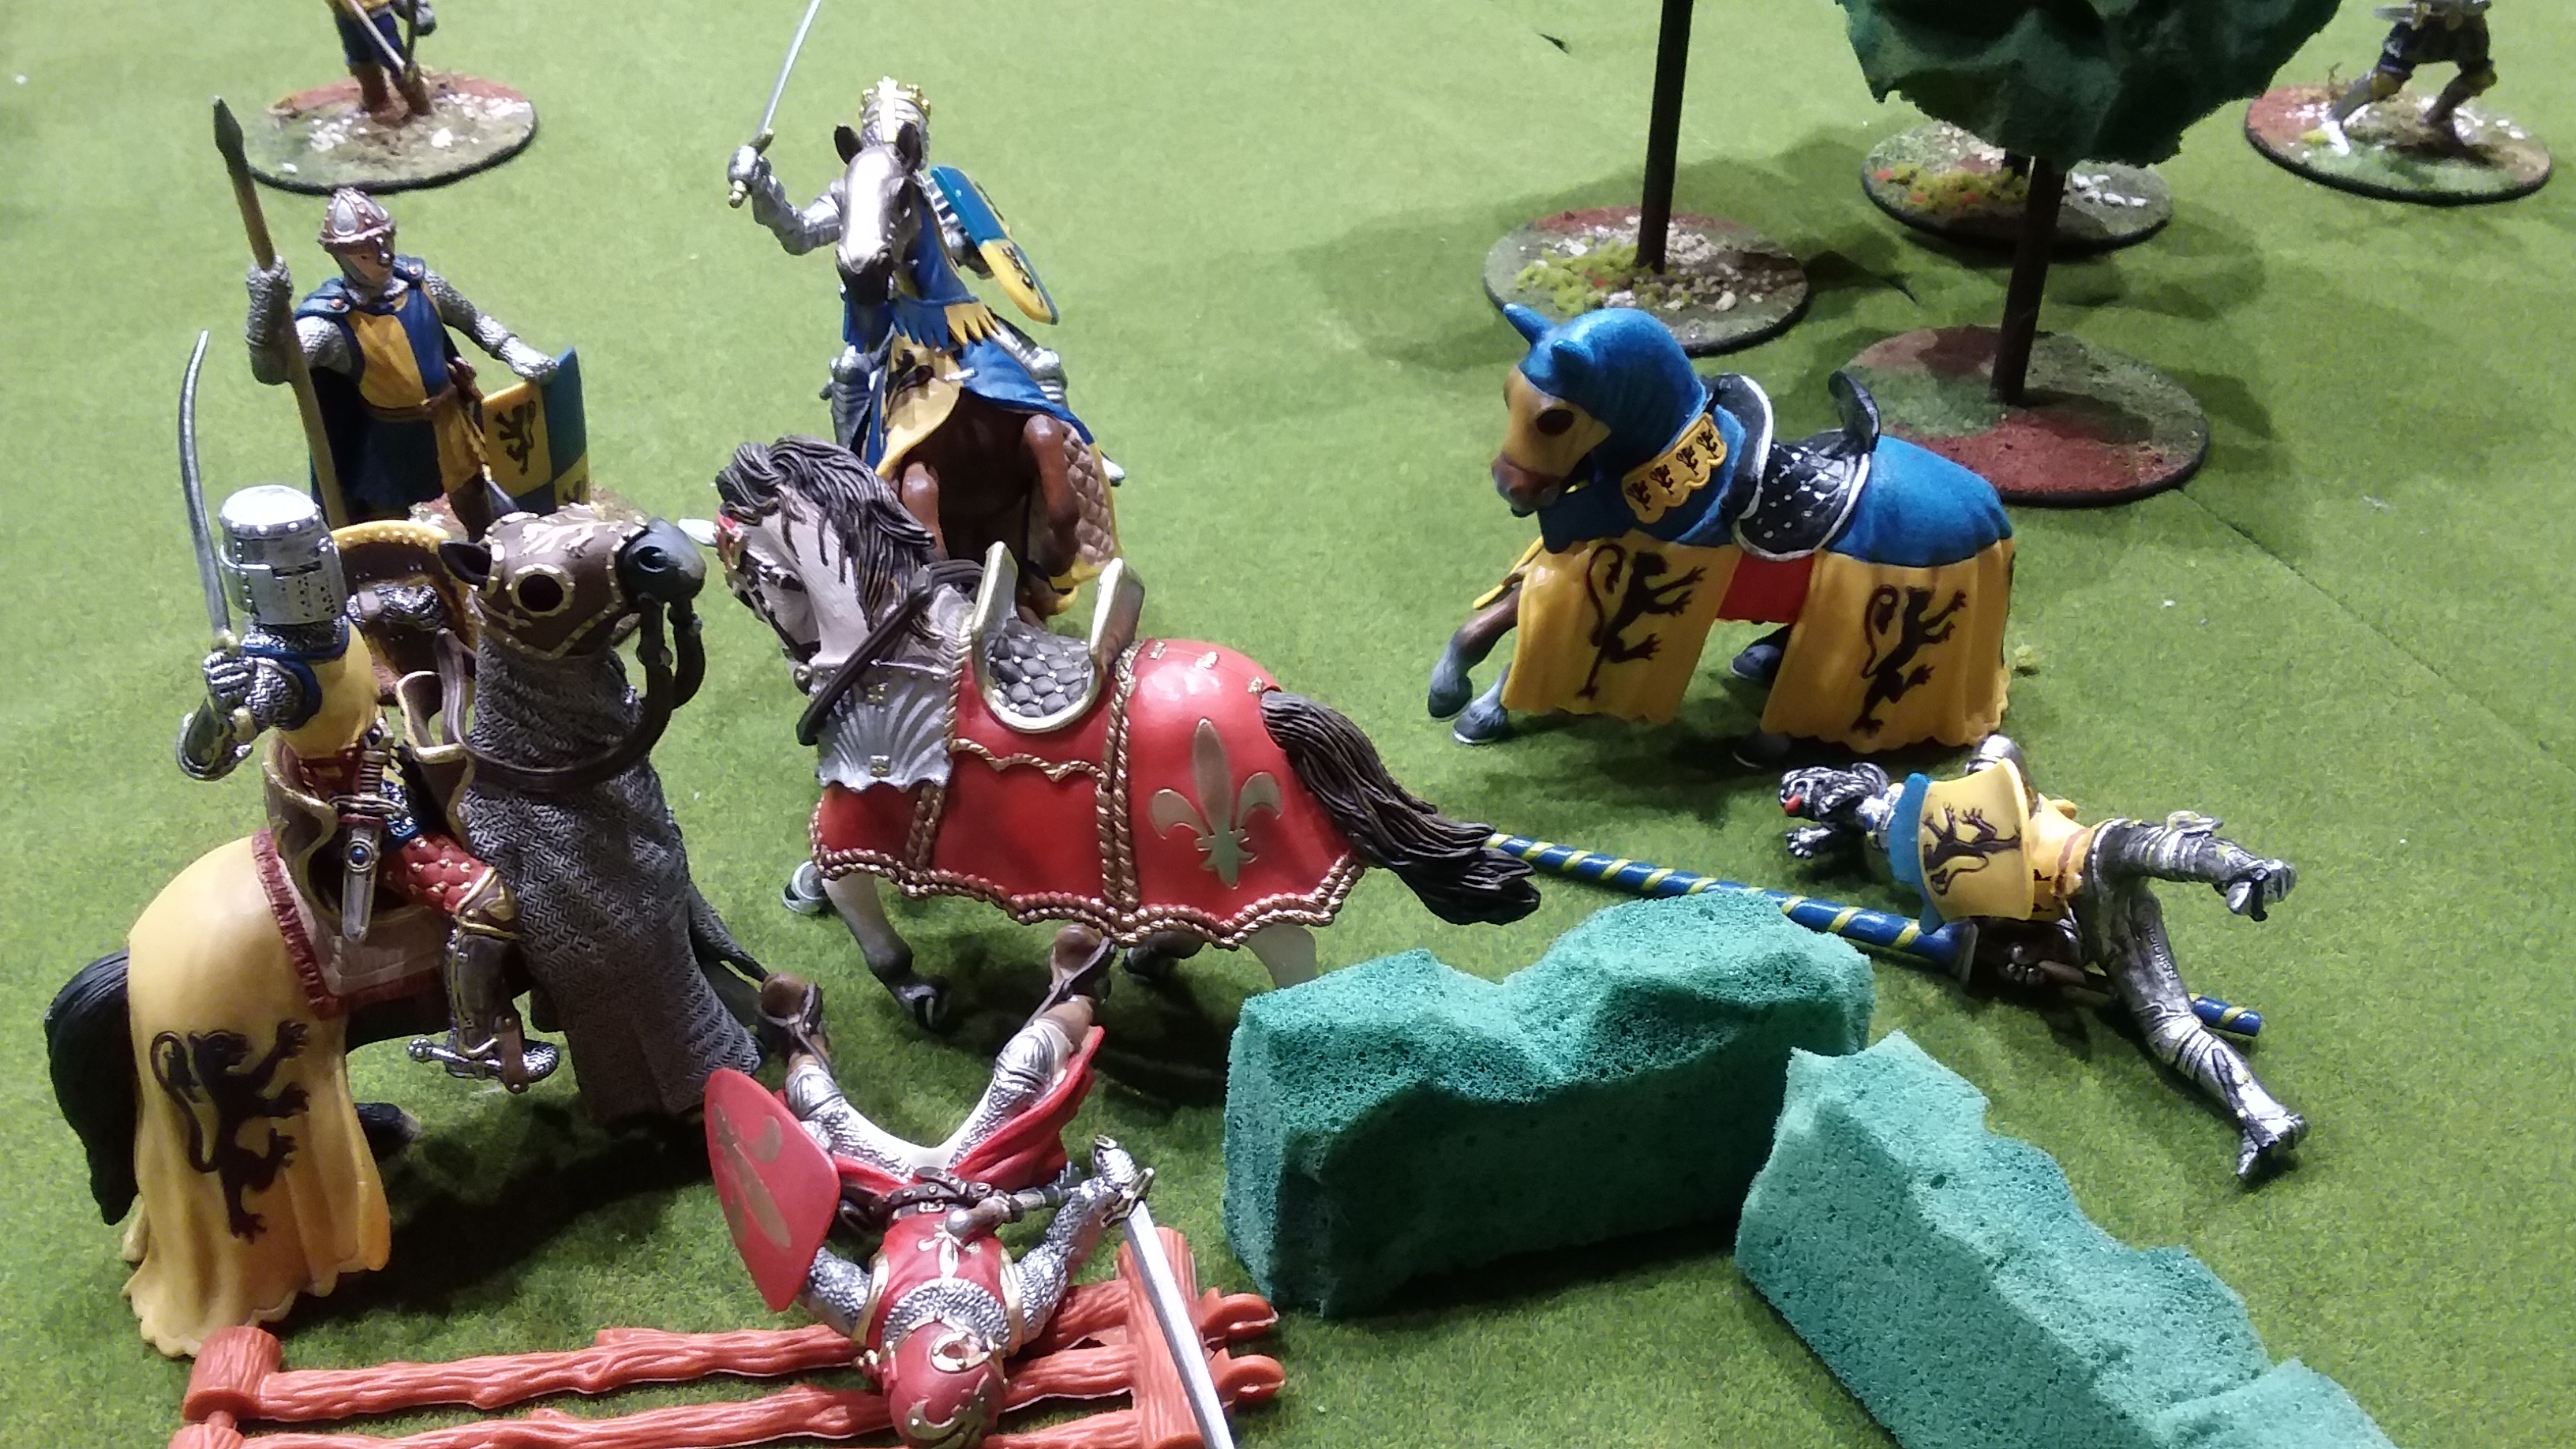
You would have seen from my previous posts that we are fast becoming fans of the F.U.B.A.R. “one page” rules systems. They have a great selection of Medieval versions that cover Dark Ages, Arthurian and High Medieval.

https://fubarwargames.wordpress.com/

Having organized a display game with some Schleich Knights some time ago I thought it was about time that they surfaced again as they would make a simple introduction to Andrew (of Count Andrew infamy) to the rules. The real advantage of Schleich Knights is the amount of time that it takes to paint them!! While the price is high at about $10.00 an infantry figure there are some “games” companies out their that are charging this for an individual 28-32mm figure.

If you need an excuse – the Grandchildren really love the knights and farm animals. They would be an excellent purchase so they can play with Grand Dad’s “special toys” on their next visit – honest!!!

Given we were playing with 90mm figures, a 6 feet by 8 feet table was used. Terrain was a combination of purpose built, and some “cheap” farm fences that were scrounged years ago from somewhere. A fair sprinkling of Schleich farm animals were scattered around  the pens and fields for atmosphere. Some of you will remember the “attack of the killer geese” from our display game, but alas for this game the animals were only spectators.

Each figure was treated as a single unit with only one hit point. I will include a spreadsheet on the “Our Rules” tab of our blog that provides the statistics for each figure.

The one difference with the High Medieval version of the rules is that there  is no suppression capability for units (figures). All unsaved hits are simply treated as wounds.

Retinues were basically the same with both the Red and Blue Knights having two mounted  knights, a mounted sergeant, a long-bowman, a cross-bowman, a dismounted knight, and three dismounted sergeants.

Almost from the start of the game the Blue Knights imposed their superiority (good dice throws) and quick and fun game ended with two casualties to the Blue Team and the Red Team – well there was no Red Team

New “Hoth” terrain and Star Wars figures.

As I have said in the last few F.U.B.A.R. blogs I was really looking to utilize the rules for use with my old “25mm Westend Games” figures.

I have now rebased all of the figures I had painted and finished the terrain for the games. I just need to finish those pesky rebels he says sounding as if he is having an asthma attack. Photos of terrain and figures below. I am looking forward to games in the next few weeks.


Wampa Tunnels:

I have introduced a new rule for Wampa tunnels.

4 Wampa tunnels are placed in turn prior to deployment, two by each side.

20170206_054609

Only characters can enter a tunnel with the following D6 effect:

6 Move to the entrance of any tunnel of your choice.

2-5 Move to the tunnel entrance that corresponds to the number rolled.

1 Attacked by Wampa roll again next turn (this may result in another attack).

Any hero or unit within 6 inches of a Wampa tunnel is automatically attacked if accompanied by a droid.

On subsequent turns an activated Wampa will roll for Initiative and activation as a new Indigenous Neutral Player. They will automatically move towards the closest unit or hero and attack if in charge range

1 February 2017 – Another F.U.B.A.R. Afghanistan Game

20170201_210041

We had another two games of modern F.U.B.A.R. to get more used to the rules. I have to say that while a one page rules has significant limitations the more we play F.U.B.A.R. the more we enjoy the surprising amount of subtleties within the rules.

These rules work best with dense but realistic terrain. For the evenings games we set up terrain to depict fighting in the “green zone” with crops and irrigation ditches everywhere.

The first game was between a British Type 2 Fire Team of four men and two Tier 3 “Green” Insurgent units of six men each. Out numbered three to one the British ability to activate and hit what it was shooting at proved decisive. The ability to P.I.D. (positively identify targets) when the Hawke 3 drone was in the air enhanced the ability for the British to hit targets at long range and avoid close combat.

For the second game we added another Insurgent Tier 3 unit to try and even things up a little bit. Again the British were able to pick-off the “odd” Insurgent at long distance, and  this ability to reduce combat effectiveness before the enemy came close proved the difference in the end.

The game was a “near-run-thing” with Dave K’s inability to roll sixes in close combat being the only reason why the British were not overrun.

20170201_211350

20170201_211855

With the British being surrounded in the grove things were not looking good!!!

With some good luck holding off the Insurgent close assaults, the use of grenades, and a risky final charge into the enemy, the two remaining insurgents were sent running for the hills.

What we liked about the rules was the way they depicted the ability of a small group of modern well trained regulars to out maneuver, out shoot and out fight far greater numbers of green militia in a “stand-up” fight.

F.U.B.A.R. Modern Afghanistan 25 January, 2017

 I have been looking for a set of fun miniatures rules to use my old 25mm West End Games Star Wars miniatures with.

The F.U.B.A.R. set of rules looked promising, with their Unit and Hero cards making it even more attractive. The way they incorporate “The Force” into their mainstream rules was excellent and very simple.

The full set of F.U.B.A.R.rules can be found on their website at:

https://fubarwargames.wordpress.com/

If you are not familiar with the term “F.U.B.A.R.”, I suggest you google “Military Slang Terms” for an explanation, or try:

  https://en.wikipedia.org/wiki/List_of_military_slang_terms

I was hoping to have the Star Wars figures and “Hoth” terrain ready for the next game at my place, but when one little pig “went to market” this happened a week earlier than expected. Not to be deterred I quickly swapped from the Star Wars variant to the F.U.B.A.R. Afghanistan version as this would allow Dave K and I to get a feel for the general game mechanics.

We had two great games, the first between two sections of British SAS and a heap of Tier 3 Afghans. The game lived up to its name with the SAS failing three times to activate (three consecutive ones on a D6in a row) – a real F.U.B.A.R. moment!!! Despite the slow start the ability to activate, the additional fire power, and a sniper made quick work of their enthusiastic but inflexible enemy.

The first scenario we played was “UAV Down” where both sides were trying to recover pieces of a wreaked UAV that was carrying “Hellfire” missiles. Both sides recovered one piece of wreckage but unfortunately the concentrated SAS firepower destroyed all of the Afghan units.

The rules played well and we particularly liked how the accumulation of suppression points made a unit harder to activate. You were often on the horns of a dilemma – do I take a casualty or a suppression point?

The second game was just an old fashioned “shoot-em-up” with both sides using seasoned troops. Learning from the first game that the Afghans could not stand toe to toe in a fire fight, Dave K. moved quickly into close combat.

fubar-21

With a man down, three suppression and fighting in the open  these British were going to be in trouble.

fubar-22

Holding on grimly they were supported by the second squad attacking from the rear. In the end only  British were left standing, but the casualty points made for a decisive Afghan victory.

fubar-23

All in all a good set of rules which I think will do well for my Star Wars games. For modern gaming I will stick with the “Too Fat Lardies” Chain of Command rules.

I look forward to posting in the next few weeks about how Darth Vader destroys the Rebel Heroes and the alliance before the rebellion gets started.